What components have you used for “hot swap” XIAO-to-board connections?
I’m working on a carrier board that needs connections to the bottom side of the XIAO — the RST and BAT+ pads in my case.
My current best solution uses the following Mill-Max components:
2 x 310-43-107-41-001000 sockets (for the carrier board)
14 x 3320-0-00-15-00-00-03-0 straight pins (for the XIAOs’ through holes)
2 x 0906-2-15-20-75-14-11-0 pogo pins (between the carrier board and the XIAOs’ RST and BAT+ pads)
Manually assembling the socket isn’t a problem, just once assembled I need to swap XIAOs without additional soldering/desoldering.
Can you recommend alternatives? Ideally low profile solutions, that minimize the height between the boards? The 310-43-107-41-001000 sockets (above) are .165" tall. Some space is available under the carrier board, in case components extend through the board.
That adapter doesn’t break out the BAT+ pad. Just to confirm: is there an alternative way to connect a LiPo, without connecting to the bottom side of the XIAO?
Hi, nottheoilrig,
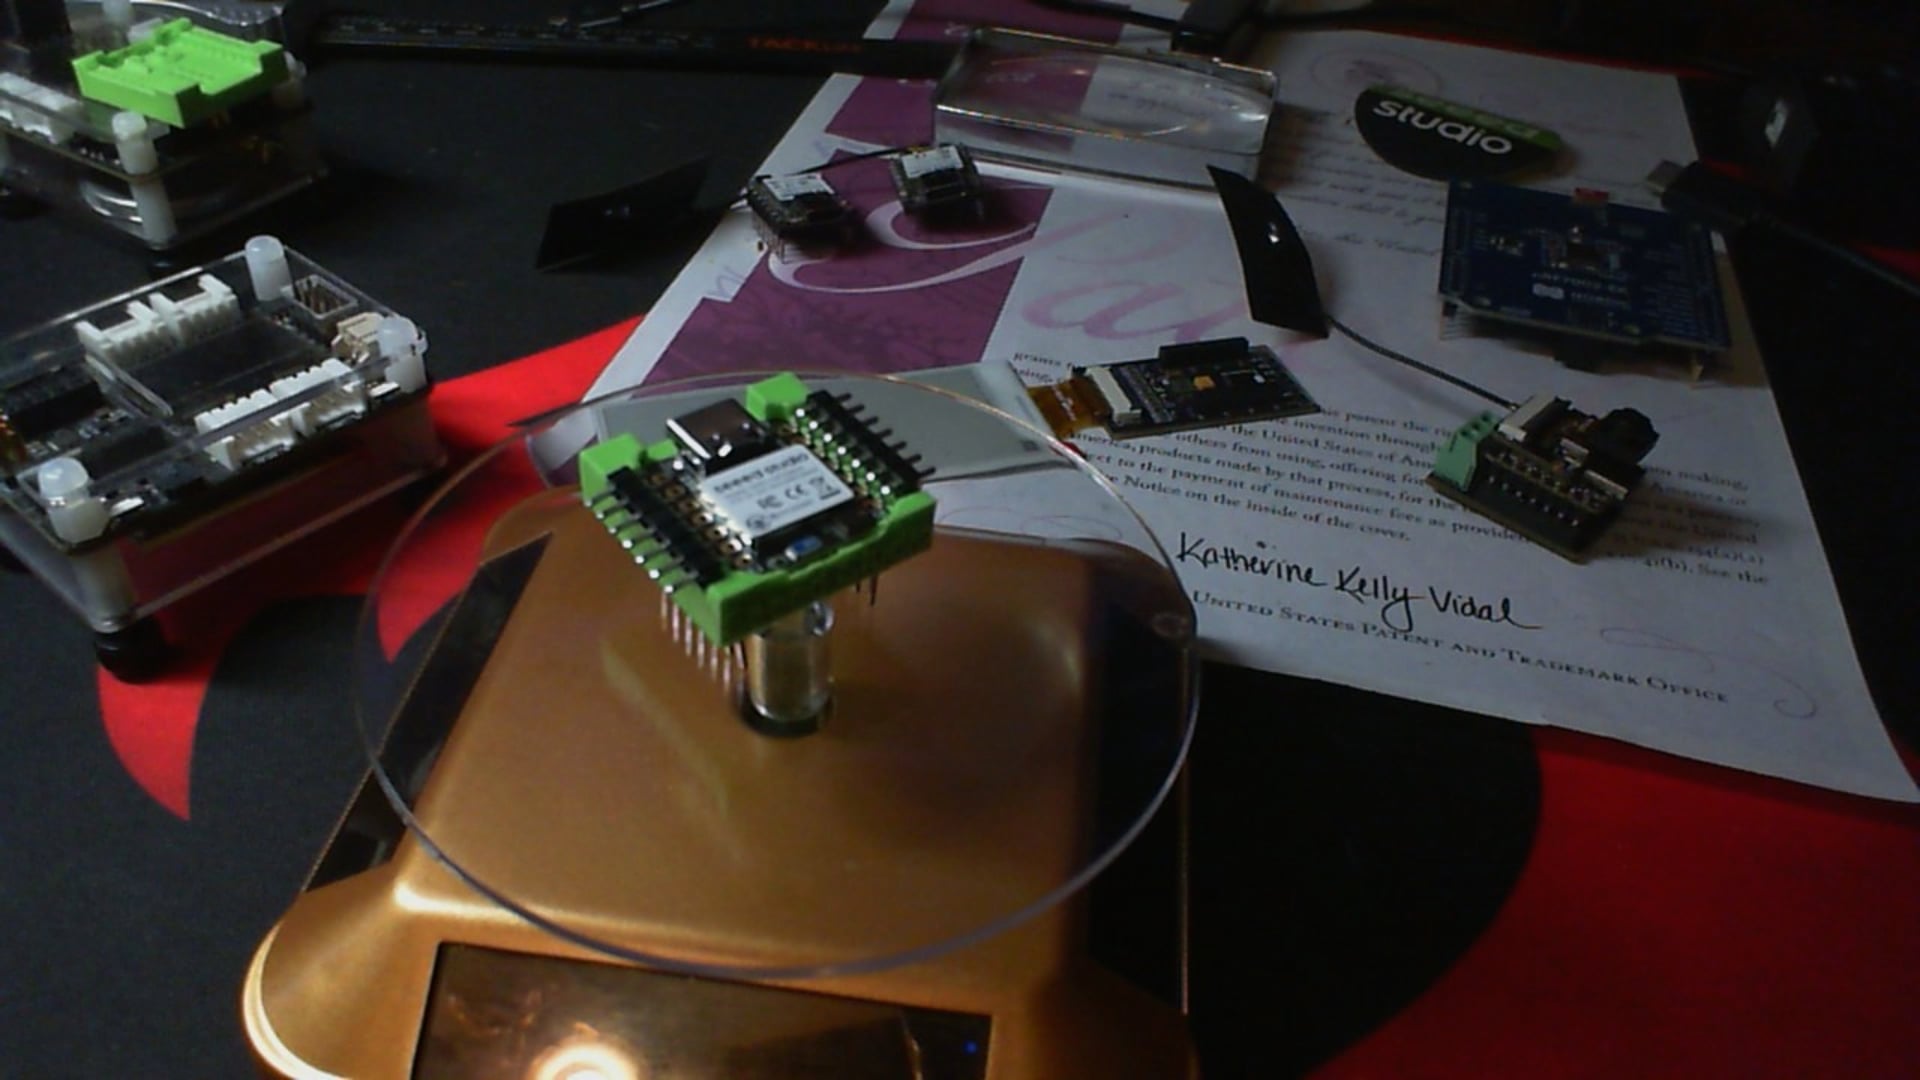
Nice find, Pogo’s on Amazon, I 3d printed the adapter and added the right angle Pin headers for pins and connections. I’ll 3D Print one like the Xiao/QT and allow holes where battery connection for pogo’s for a complete solution, the socket is in the link on my post about btw, AFAIK you can only use the pads to take advantage of the battery charging capability. You can direct connect to pins like 3,3 and NOT use the USB connector at the same time obviously.
Oh my gosh! That is beautiful! I came across your post after doing a search for Xiao 14-pin sockets with pogo’s and the link to your post came up. All I can say is wow this is beautiful and your design is exactly what I need for a project I am currently putting together. Are you selling these sockets? If not, would you be willing to share a 3D print file? I will happily compensate you if its within my ability. Nevertheless, great job! I have been playing with these tiny Xiao’s for some time now and, with each new model, I’m seeing more and more pads on the bottom that I would love to use, but working with pogo’s are difficult for me and my disability. I think you’ve got it nailed down beautifully with this design. Again, great job.
SO, It’s inspired by the ESP8266 and by the Italian guy originally
It’s up on thingeverse and on here at the end of the posts, The STL
s’ and the FreeCad files. There are a couple way to put them together once you print them. some have the pogo’s and some don’t. You can use header pins or just cut and form some old resistor ends, (original-post) Just search “Xiao Socket” you get all of it
So,
Yea, the “chip clip” check the video “when Xiao’s Fly” on here , thing has a built in ejection Seat… on a timer.
The LED base was Cool AF but , the socket wasn’t up to the task for the cost I was told,
My 1 minute short, is the Truth. my socket needs a small PCB is all to connect to the pogo’s and a top retention clip (to hold it Down) is the best design so far. IMHO
The pressure fit is great. NO SOLDER.


 PJ


 PJ