Hello - I am new to ESP32 world. I am a tinker. I came across the XIAO ESP32S3 without camera and thought it might be what I need. So I ordered a handful of the them allong with the expereimenters board. I build small plastic airplane models and would like to be able to control the speed of a small DC motor and turn on and off a few leds installed in the model. I know I would like it to be bluetooth as I do not want to use wifi for it will be complicated to do for this old man. I am 75. I do not want to use iphone as the controller. Also will it be possible to select different receivers with the same transmitter? Is this possible to do? Are there any sites or info I can go to in order to make something like this? Any help or links would be great! Thank you!
Hi there AlanL, and Welcome
Well you’re only as old as you feel IMO… ![]()
![]() Z80, 8086 assembler age
Z80, 8086 assembler age ![]() here
here
Absolutely within the wheelhouse of the Xiao line of Devices.
BLE support is Very good BTW, the motor easy with a grove module attached. Check out seeed’s web site for those You hook the motor to it then it to the Microcontroller, You can use the Nrf52840 Xiao BLE , for basic Bluetooth along with some digital IO’s (consider some PWM) analog in and out. Super simple , super basic.
UP_a NOTCH…
Use the Nrf52840 Xiao BLE Sense version and add Tap to turn on and off or if you pick it up it turns ON , or orientit a specific way or pattern type of thing (built in Accelerometer)
Controls would be through a BLE app , you build with like MIT app inventor for android (free) or basic send receive like terminal commands with nRF_Connect for android BLE.
All doable easy if you make the choice. same goes for the ESP32S3 pretty much (no IMU)
but has WiFi. Start with what you have its easy to swap if you set it up right.
You use Arduino IDE? or PlatformIO?
hardware is pretty easy too with the dev boards they offer. Check out my Threads on here for the IMU , and displays.
get the basics down first selecting board (BSP)and USB port, Upload/download etc. and are you windoz, or Penguin ;-p
All cool and Possible with the Xiao line.
HTH
GL ![]() PJ
PJ
PJ - thanks for the reply. I have the latest Arduino IDE installed and can find my way around it. I have managed to load sketches into my boards OK.
I do not want to use a smart phone at all. I am ols school and like knobs and buttons. If I understand I will be able to construct a little handheld box with a pot and buttons and be able to send my commands via Bluetooth to an XIAO ESP32S3 setup as a receiver?
Also wondering about being able to control different receivers from the one transmitter.
I am Windows 10
Alan
Hi there,
Great You are well on your way ![]()
In that scenario you can have one Xiao as a BLE Central(server)Knobs and buttons ![]() the other Xiao as a BLE Peripheral (slave) with the connections to Models LED’s & Motor shield/hat.
the other Xiao as a BLE Peripheral (slave) with the connections to Models LED’s & Motor shield/hat.
pressing buttons to connect and disconnect from any number of peripherals and there is a mode for more than one at the same time. LQQk at Msfujino’s (i call) BLE Nija is a member here has posts to that configuration definitely next level read.
You can use the nRF_Connect for desktop and the Nordic $9 dongle connected to the computer as I do instead of phone. (until my app is ready for it…) absolutely makes BLE stuff idiot proof for testing.
looks like this;
comes like this;

No brainer
HTH
GL
PJ - very easy for you. ![]() I am still crawling! So I take it the ESP32S3 I have should be sidelined and I could get some nRF52840 devices? Does SEEED have them. I got their little development board with a display on it I assume it can only be used with SEEED ESP32 devices.
I am still crawling! So I take it the ESP32S3 I have should be sidelined and I could get some nRF52840 devices? Does SEEED have them. I got their little development board with a display on it I assume it can only be used with SEEED ESP32 devices.
I came across one of your posting where you said where you were from and now live in FL. I spent first 18 years in the subs of Philly PA. Went into Naval Aviation for 30 years. Anyway I have a lot to learn. I will take a look at the info you sent. Hope you can help me out with all this. Its a challenge but fun!
Ya man ,
Pittsburgh DNA… lots of philly buddies.
The expansion board is the truth(I have two ![]() )…Works with all the Xiao (except some swd stuff with the C3 AFIK)
)…Works with all the Xiao (except some swd stuff with the C3 AFIK)
check out the Magnifier and BLE , or ESP32S3 for stuff and here is a post and video of some goofing around, pointing out how you have to select the device each and every time to upload to it, and the IDE’s lack of basic Upper Case LC device names for searches.
there is allot of smart folks here willing to help, So jump in the water is FINE ![]()
I’m in Hollyweird (hollywood). Still have family and friends in the burgh though, I visit when I get tired of that LOUD ass Latin music ![]() for a few weeks and run when it gets cold
for a few weeks and run when it gets cold ![]()
![]()
HTH
GL ![]() PJ
PJ
ps my younger brother did the Groton conn. bootage. He’s a Proud Navy Man. LOL
Received the nRF52840 devices along with the Nordic Dongle today. Where would you recommend I start? As a reminder I simply want to make a small handheld transmitter using bluetooth that can control a small DC motor speed and direction with a pot and turn on and off a few leds.
Just found out we will be heading to Cranbury NJ for the holidays! Grandkids etc!
Thanks for any help!
Alan
Hi there, AlanL
Awesome, I would div into the Bluetooth LED example (uses Bluetooth to turn on/off LED a sketch with and without feedback.) get familiar with that , as a peripheral role and as a central role is really all you need. The IO is straight forward as on any MCU, READ & WRITE to PORTS(PINS) Analog and Digital and some PWM. Use Polling or Interrupts (getting familiar with the part & nRF52 series)
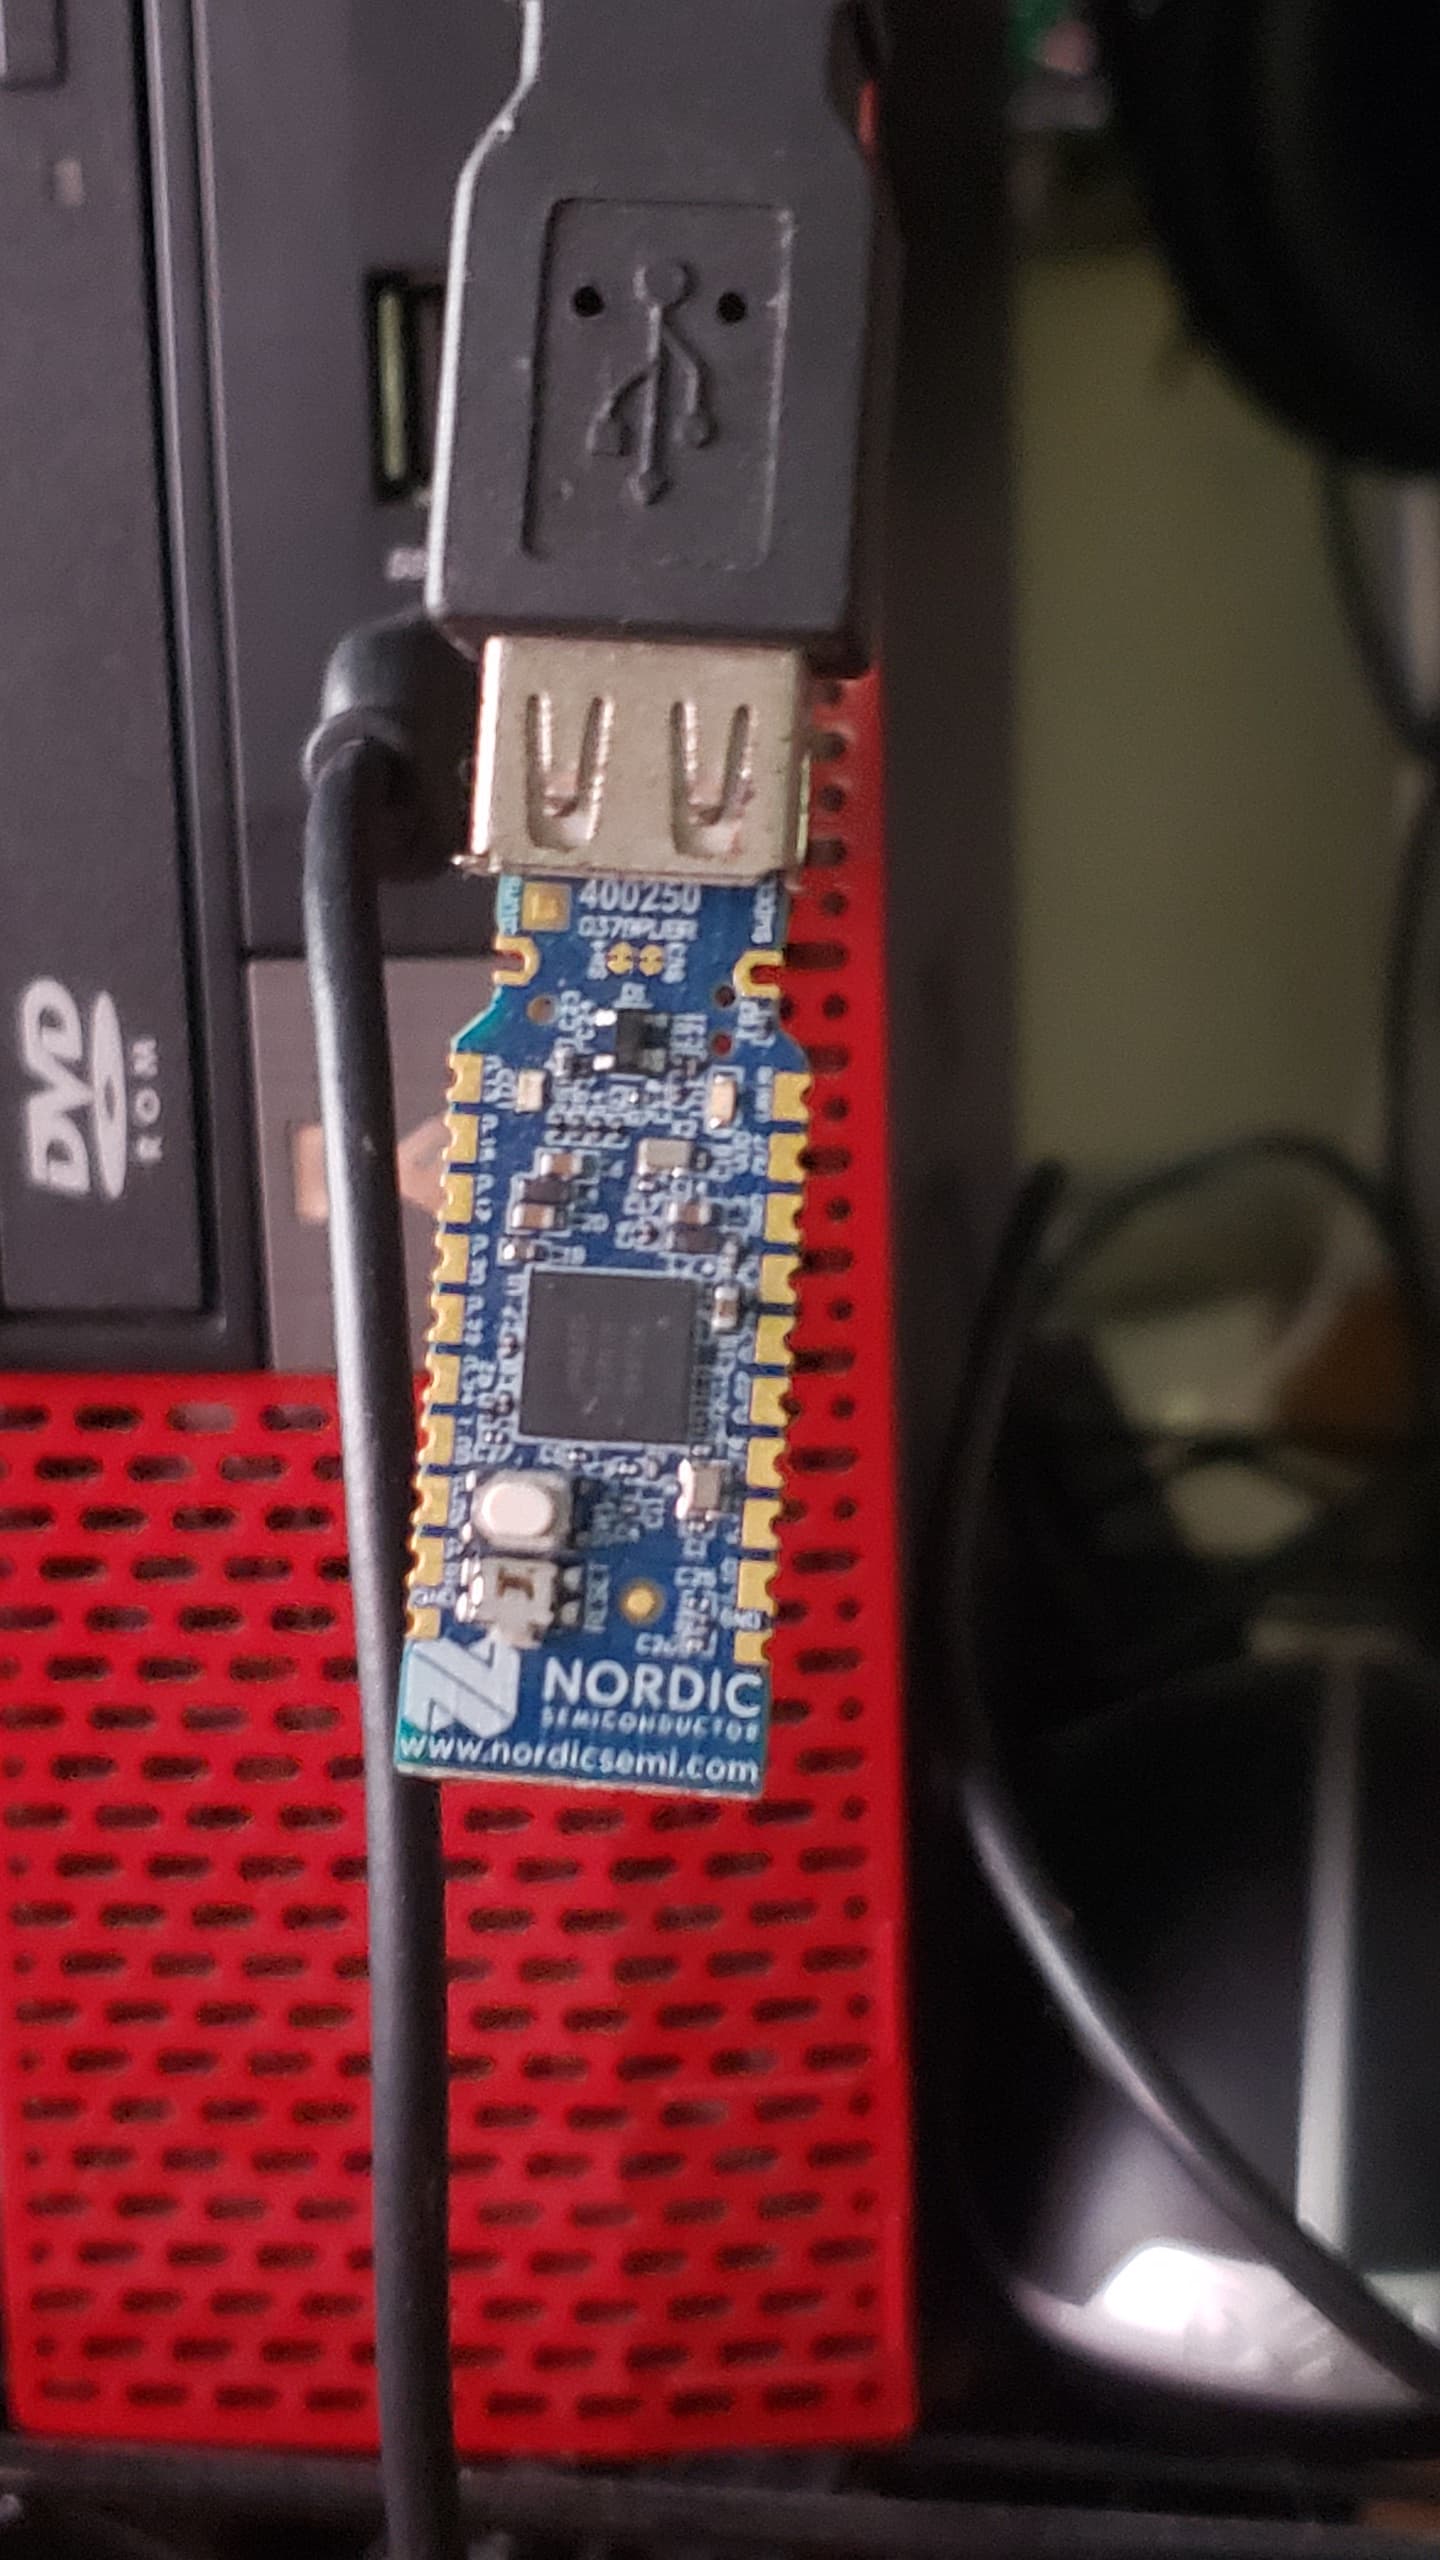
Use the Dongle on your computer with Nordics Nrf_Desktop app (download) in there are several apps that the dongle can be used with each and will reprogram it on the fly which is very cool the Nordic stuff is the SHazzizle… IMO they wrote the spec on BLE so., Also things like wire-shark can do BLE sniffing and much more with it too. You will use it mostly to see what the BLE stuff is about that the chip can do. (here I used it to read the chip with a j-link Programmer)
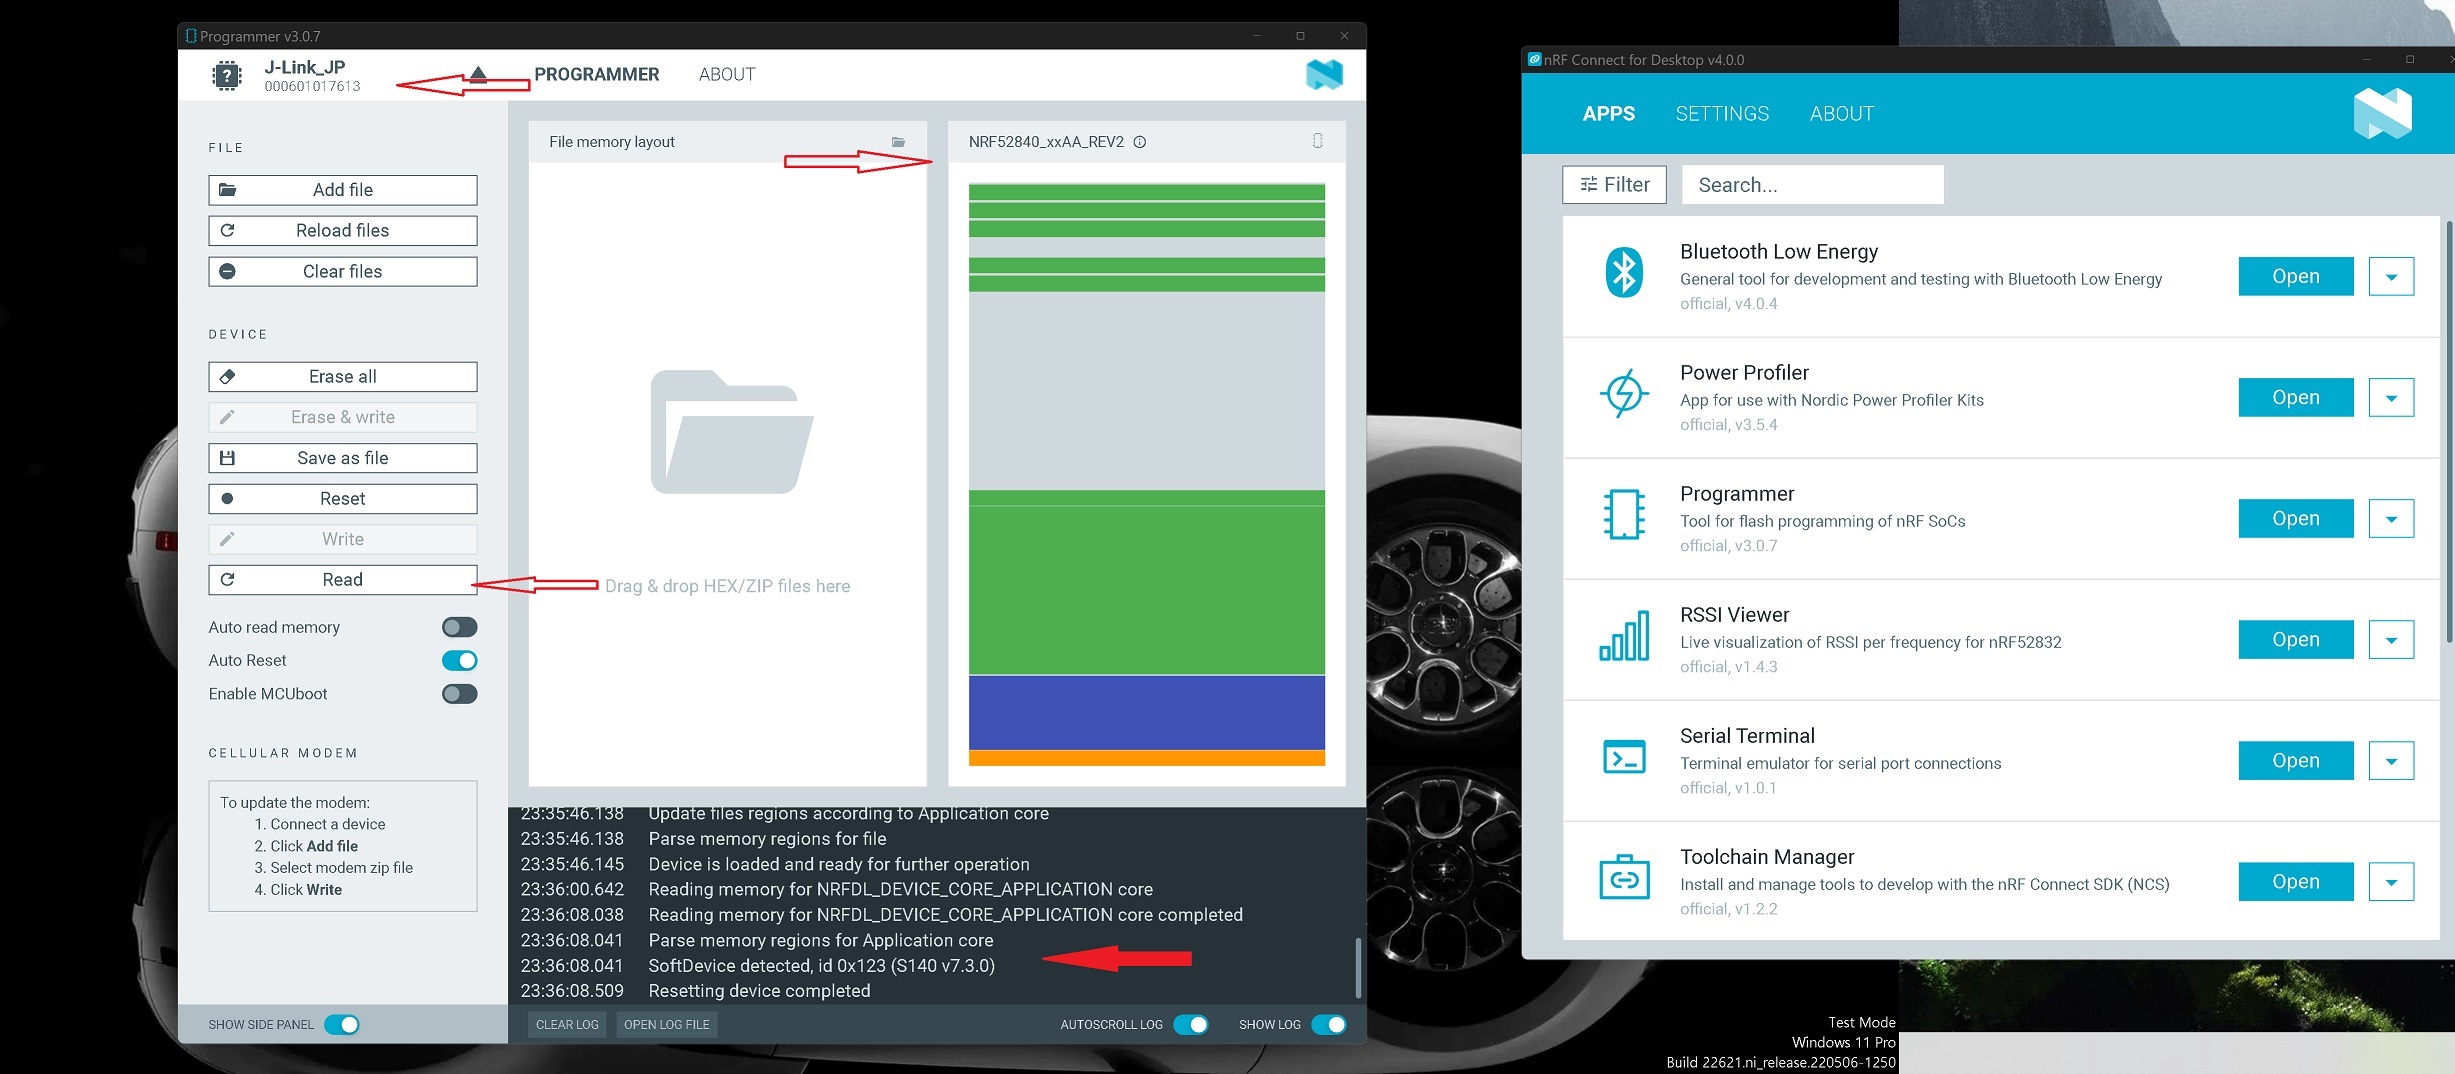
this one is the BLE tools that the dongle utilizes.

You have the Expansion board with display(like having a built in Print debugger ![]() , button, battery, RTC and more. too so , that’s a leg up also. Puts everything right there if you want. I have two
, button, battery, RTC and more. too so , that’s a leg up also. Puts everything right there if you want. I have two ![]()
Try out a couple of my examples and attempts at the wiki’s demo’s “that Work” it’s Great hardware but Software support is Low but High effort by support IS there.
Check out some of the grove peripherals & accessories , Switches, Pots &LED’s etc. for easy connections and quick prototyping.
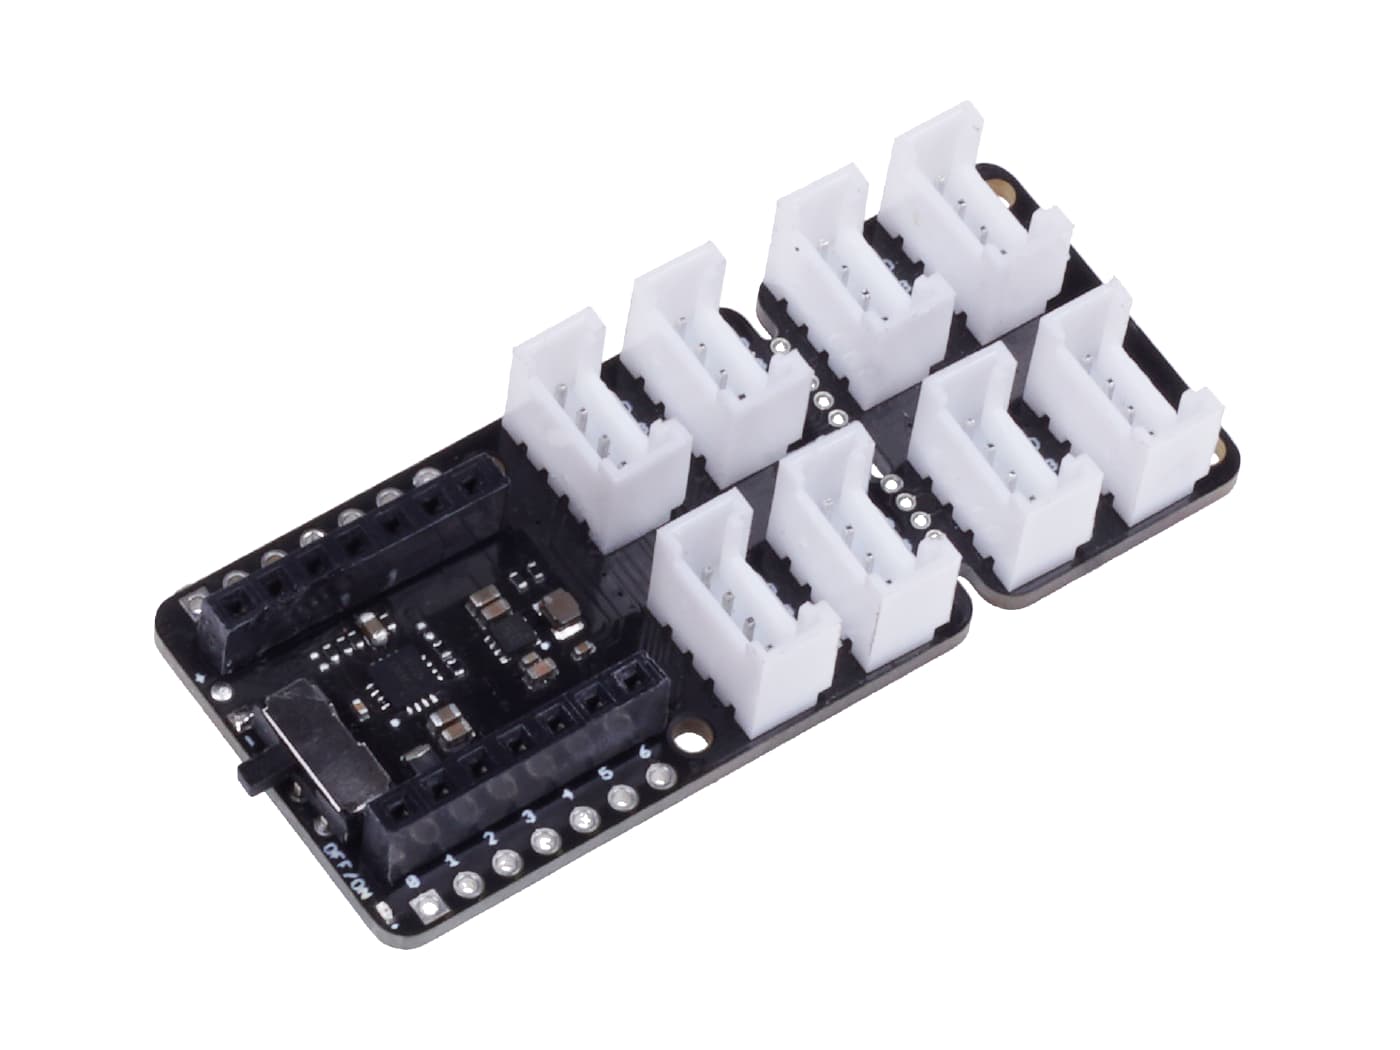
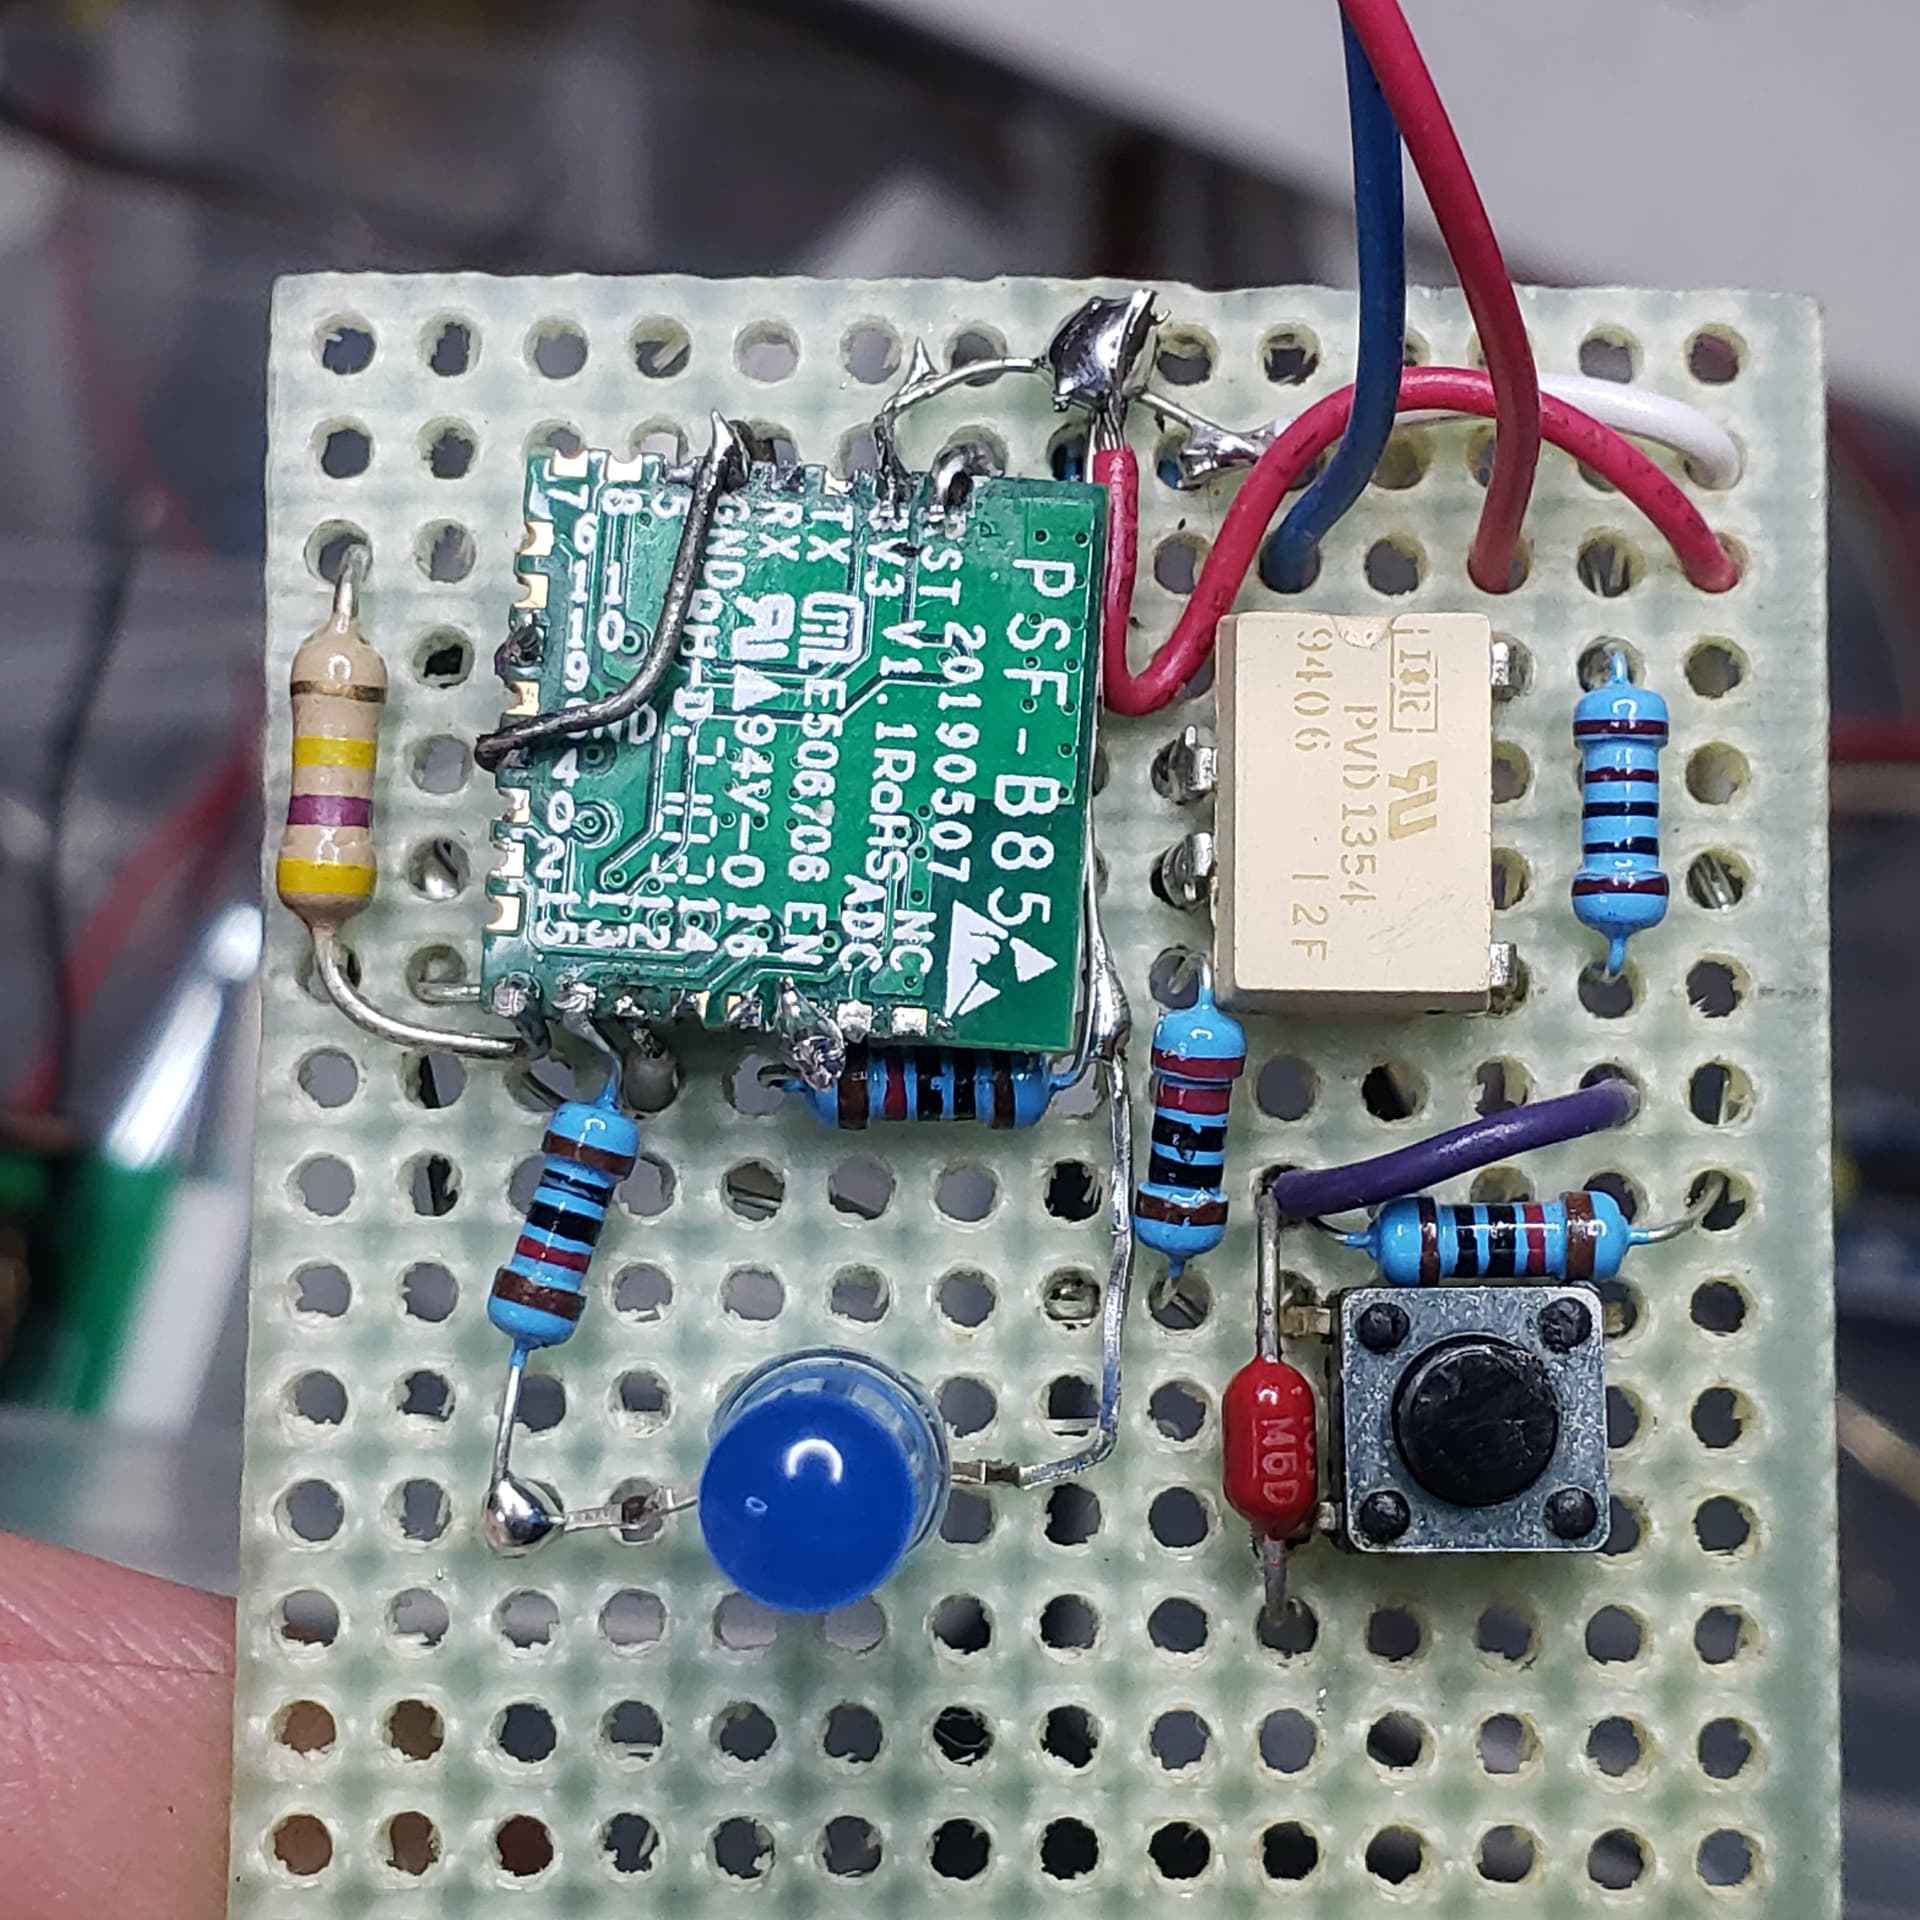
Put it all on one board like this
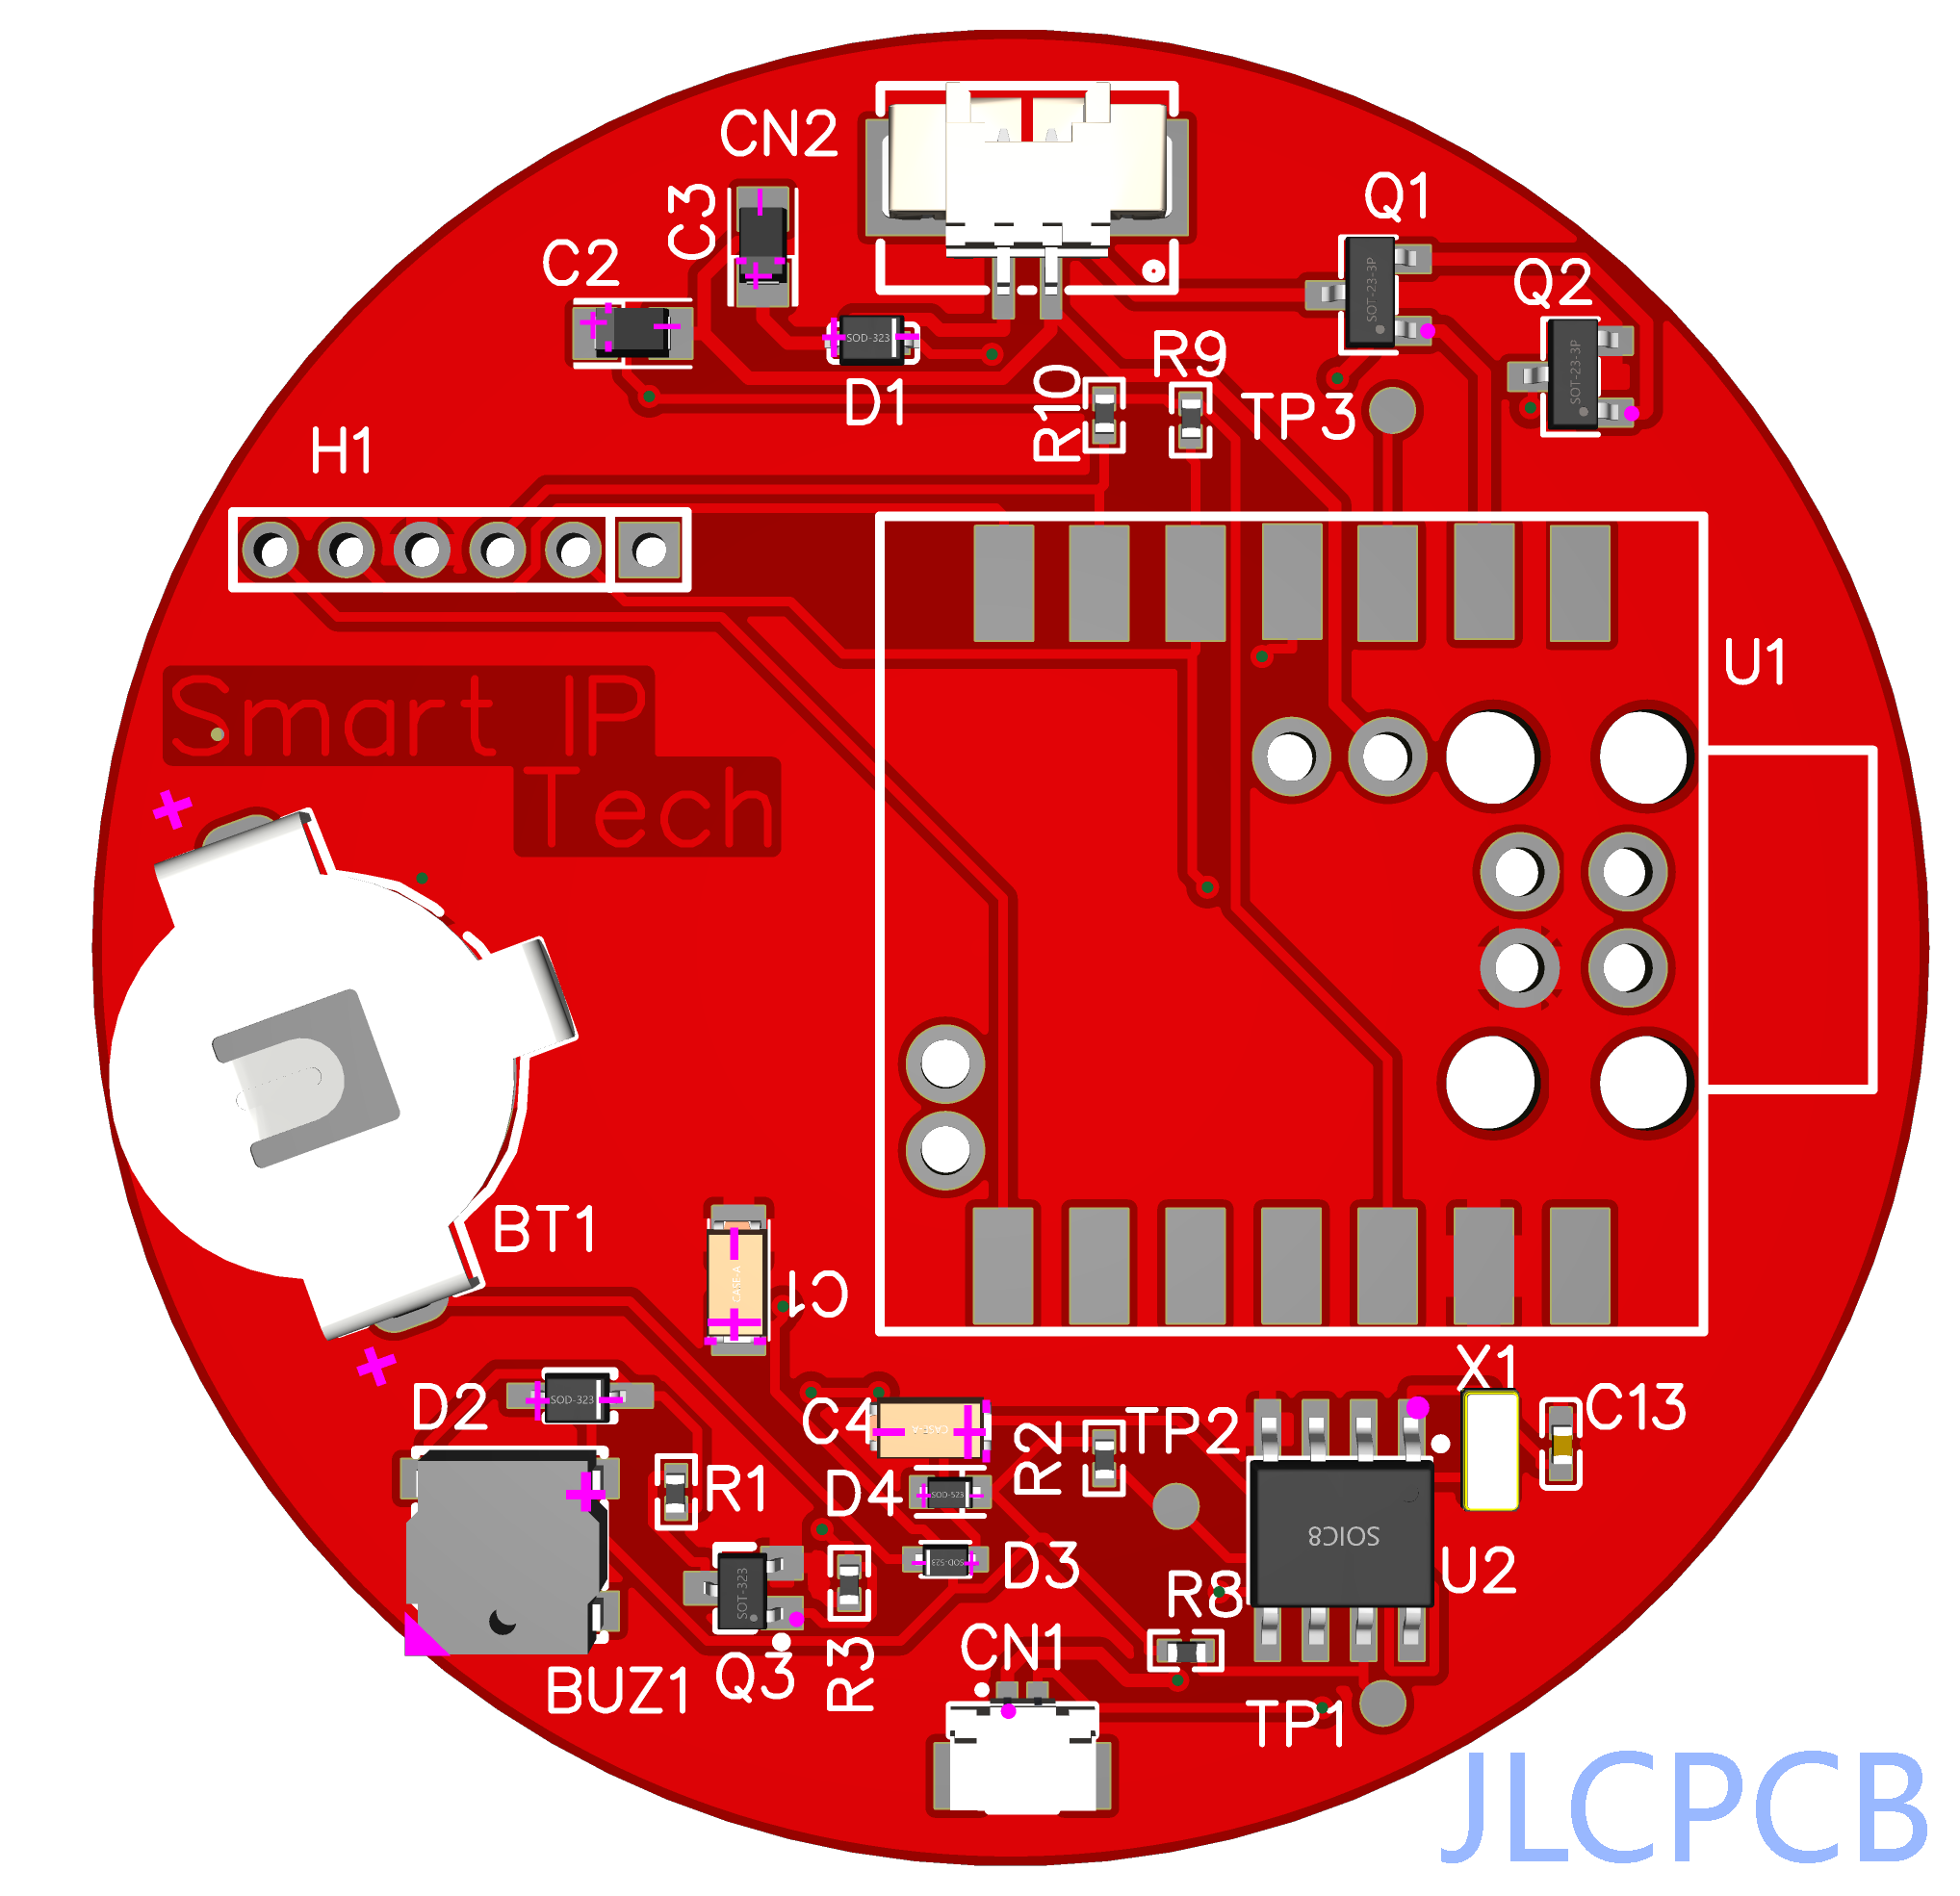
or Roll your own PCB as I have for several projects.
I started Here with this microscope fest.
went over here after much trial and error,i.e. Bug’s, Undocumented enhancement’s
What ever you call it.

ended up with this includding RTC and a Buzzer ![]()
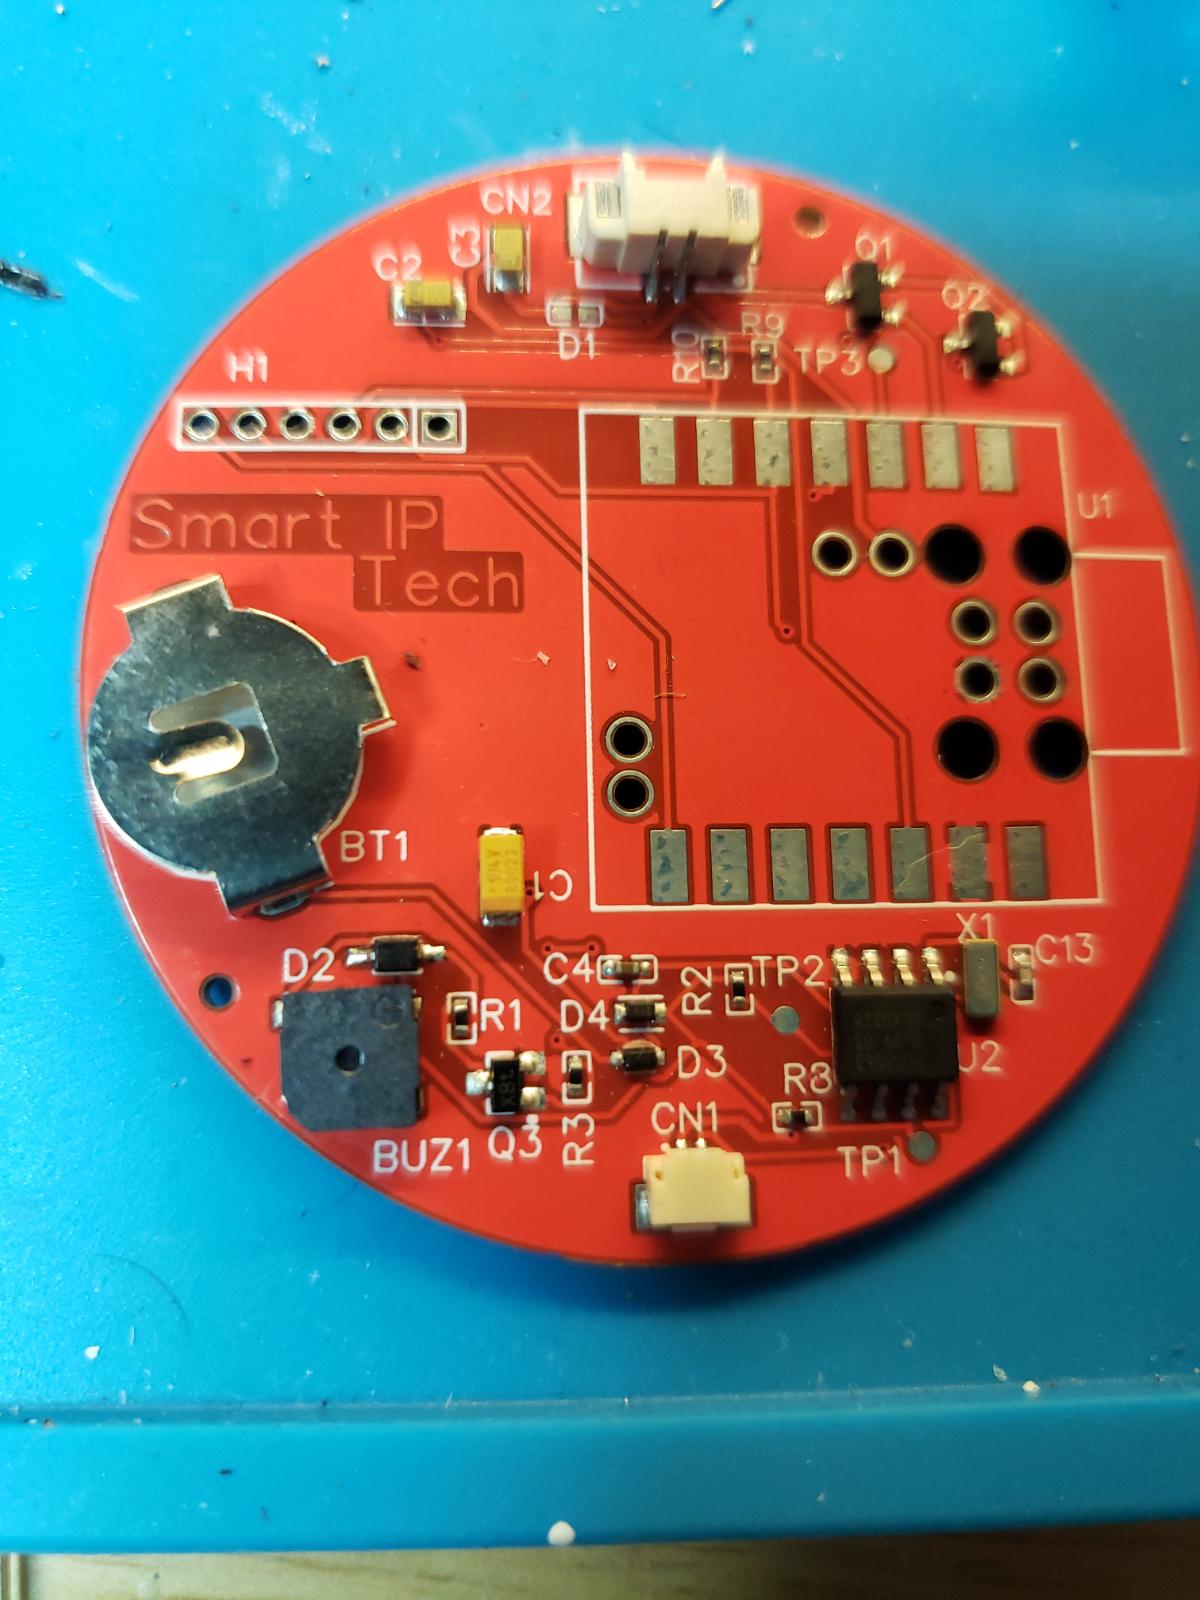
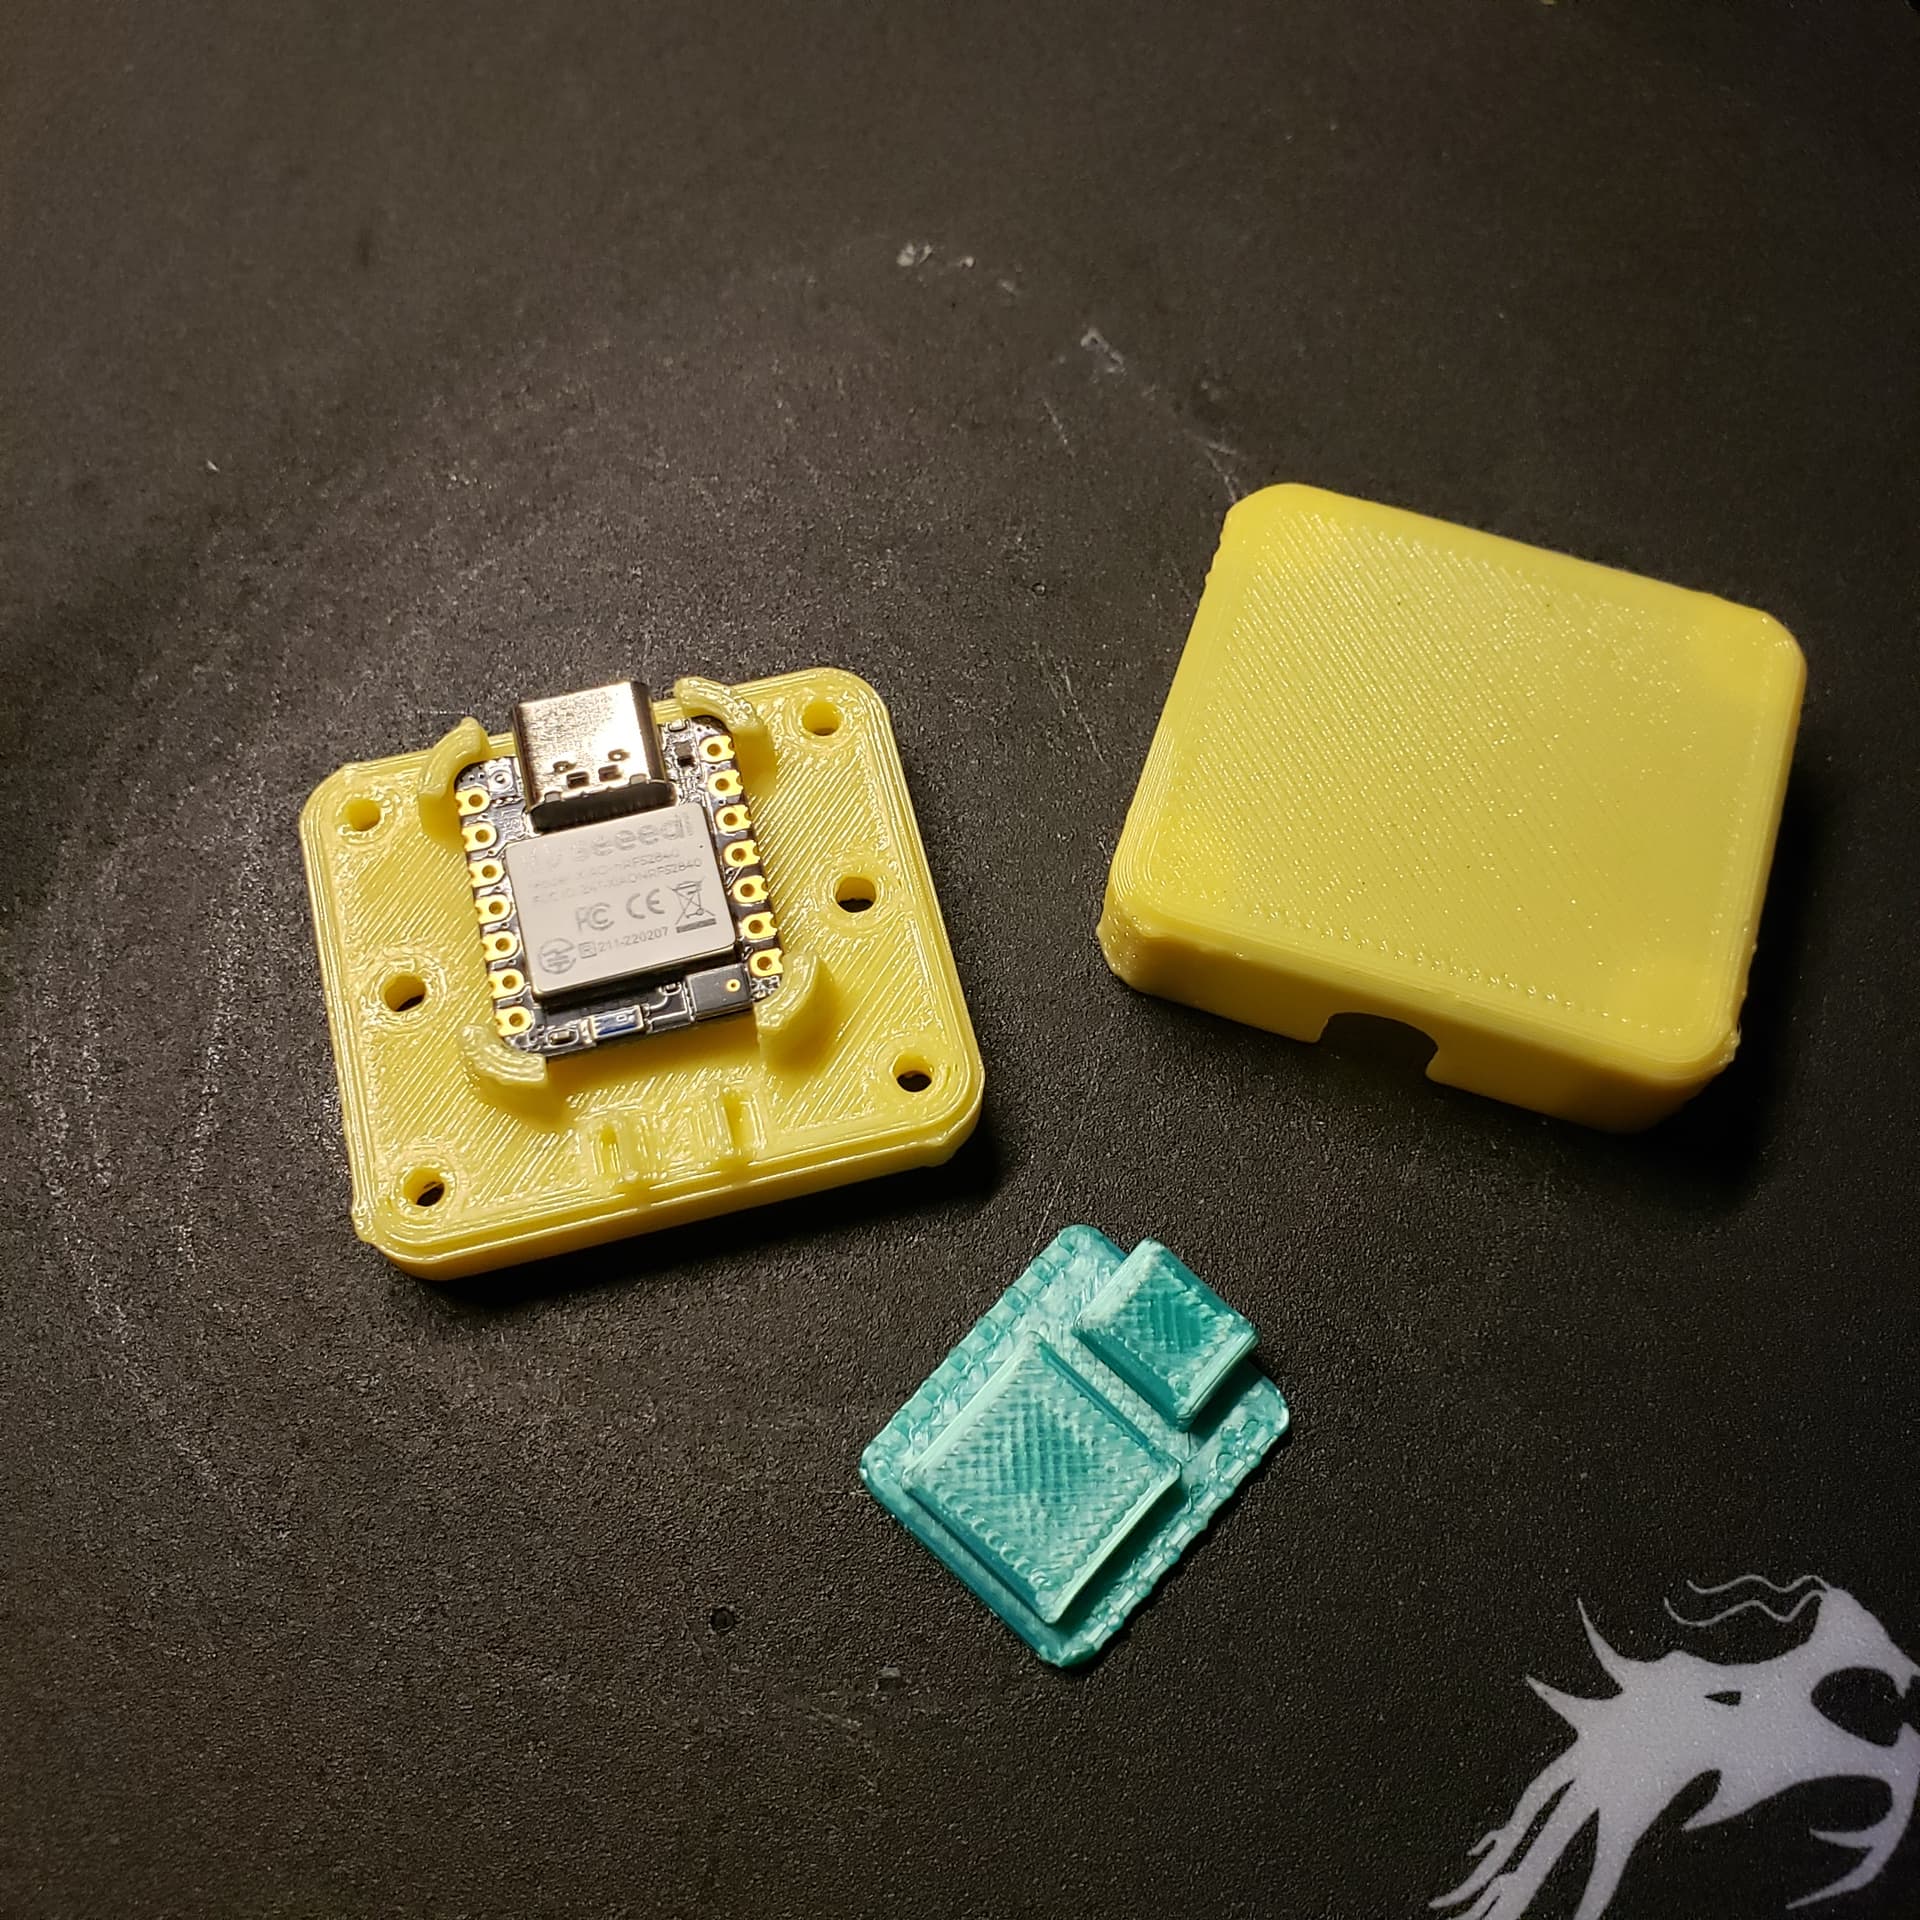
I just insert battery, solder on the Xiao and GO!
a few 3d prints later… Still here.

HTH
GL
Wow! Lots of info there. Just so I understand. I get the impression that I DO NOT need an Arduino board of any type to do this? All I need is the XIAO modules? All I have read is not that clear. Only thing I have picked up is that you can dump Arduino code into the XIAO. HOpe I am correct.
Alan
Well - totally lost. Followed setting up the ARDUINO IDE for ESP and loaded a blinking demo into the XIAO. Yep the darn the led blinks. Now I have no idea how to get it back to square one. Darn am I ever lost! ![]()
Hi there,
Yes, for all intensive purpose it’s an arduino.with BLE
HTH
GL ![]() PJ
PJ
You reading the WIKI ?
that’s best place to start scrolling around , topics on the Left info in the middle and Specifics on the right
Check it out.
https://wiki.seeedstudio.com/Getting_Started/
go to the Xiao on the left lower.
HTH
GL ![]() PJ
PJ
Hello PJ,
Been awhile! I put it all up for a bit as the more I got into it the more I got confused. As a reminder all I want to do is make a little handheld transmitter that will allow me to send commands to a receiver which will control the speed and direction of a small DC motor and turn on and off a few leds. In addition I want to be able to select different receivers from the same transmitter. I have a bunch of the Seed XAIO nRF52840 boards along with the Expansion board and the little dongle. Any chance you can steer me into a few examples showing what I am trying to acheive? Thanks you - regards Alan in MN USA
you may be able to get the rc transmitter to connect thru usb… just like some of the flight sims do…
i will see if i can get something to work… as this is something i am interested in… if you dont mind what state do you live in? what type of plane, are you going to use servo for alerons?
check out this… even these are starting to switch over to using cell phone as controler as they are everywhere now
These may be easier
Thanks for your inputs. I am wanting to build a handheld stand alone TX that does not require to be connected with a USB. The planes ar not RC. They are small plastic models on dioramas. The goal is to turn on and off the lights and also control the speed of the propellers.
interesting do you have a photo example… is it steampunk
can you sketch something?
Kinda like a celing fan? how will it get power? what type of LED display?
Hi AlanL,
The following examples may be helpful.
Open ArduinoIDE, install ArduinoBLE library.
File–Examples–ArduinoBLE–Peripheral–and–Central
Welcome to the ESP32 world! Your project sounds exciting. The XIAO ESP32S3 sounds like a good fit for your needs. Controlling DC motors and LEDs via Bluetooth should be achievable. As for selecting different receivers with the Invisible Text same transmitter, it’s possible with the right setup. Check out ESP32 tutorials online for guidance.
Hi there,
Sure , look at the recomended examples posted to start.
The first thing would be to use one Xiao in the expansion base (BLE Central) and one as the transmitter (BLE peripheral) to control the LEDS & Grove connector connected to a motor control board or directly depending on the load it presents on the expansion base.
Basically you’ll have two sketches , One for each device.
I would recommend the tiny grove expansion board for the Transmitter (this easily accepts push button & potentiometer )
Use one of the DEMO’s I posted as a outline for the BLE basic advertising the led service or battery service load that on the expansion board Xiao. get it advertising so you can see it on the NRF_connect for Desktop and The BLE Dongle. (first step)
LMK if that’s clear or if you need more info.
BTW what you want to do is very basic once the steps are in place.
HTH
GL ![]() PJ
PJ
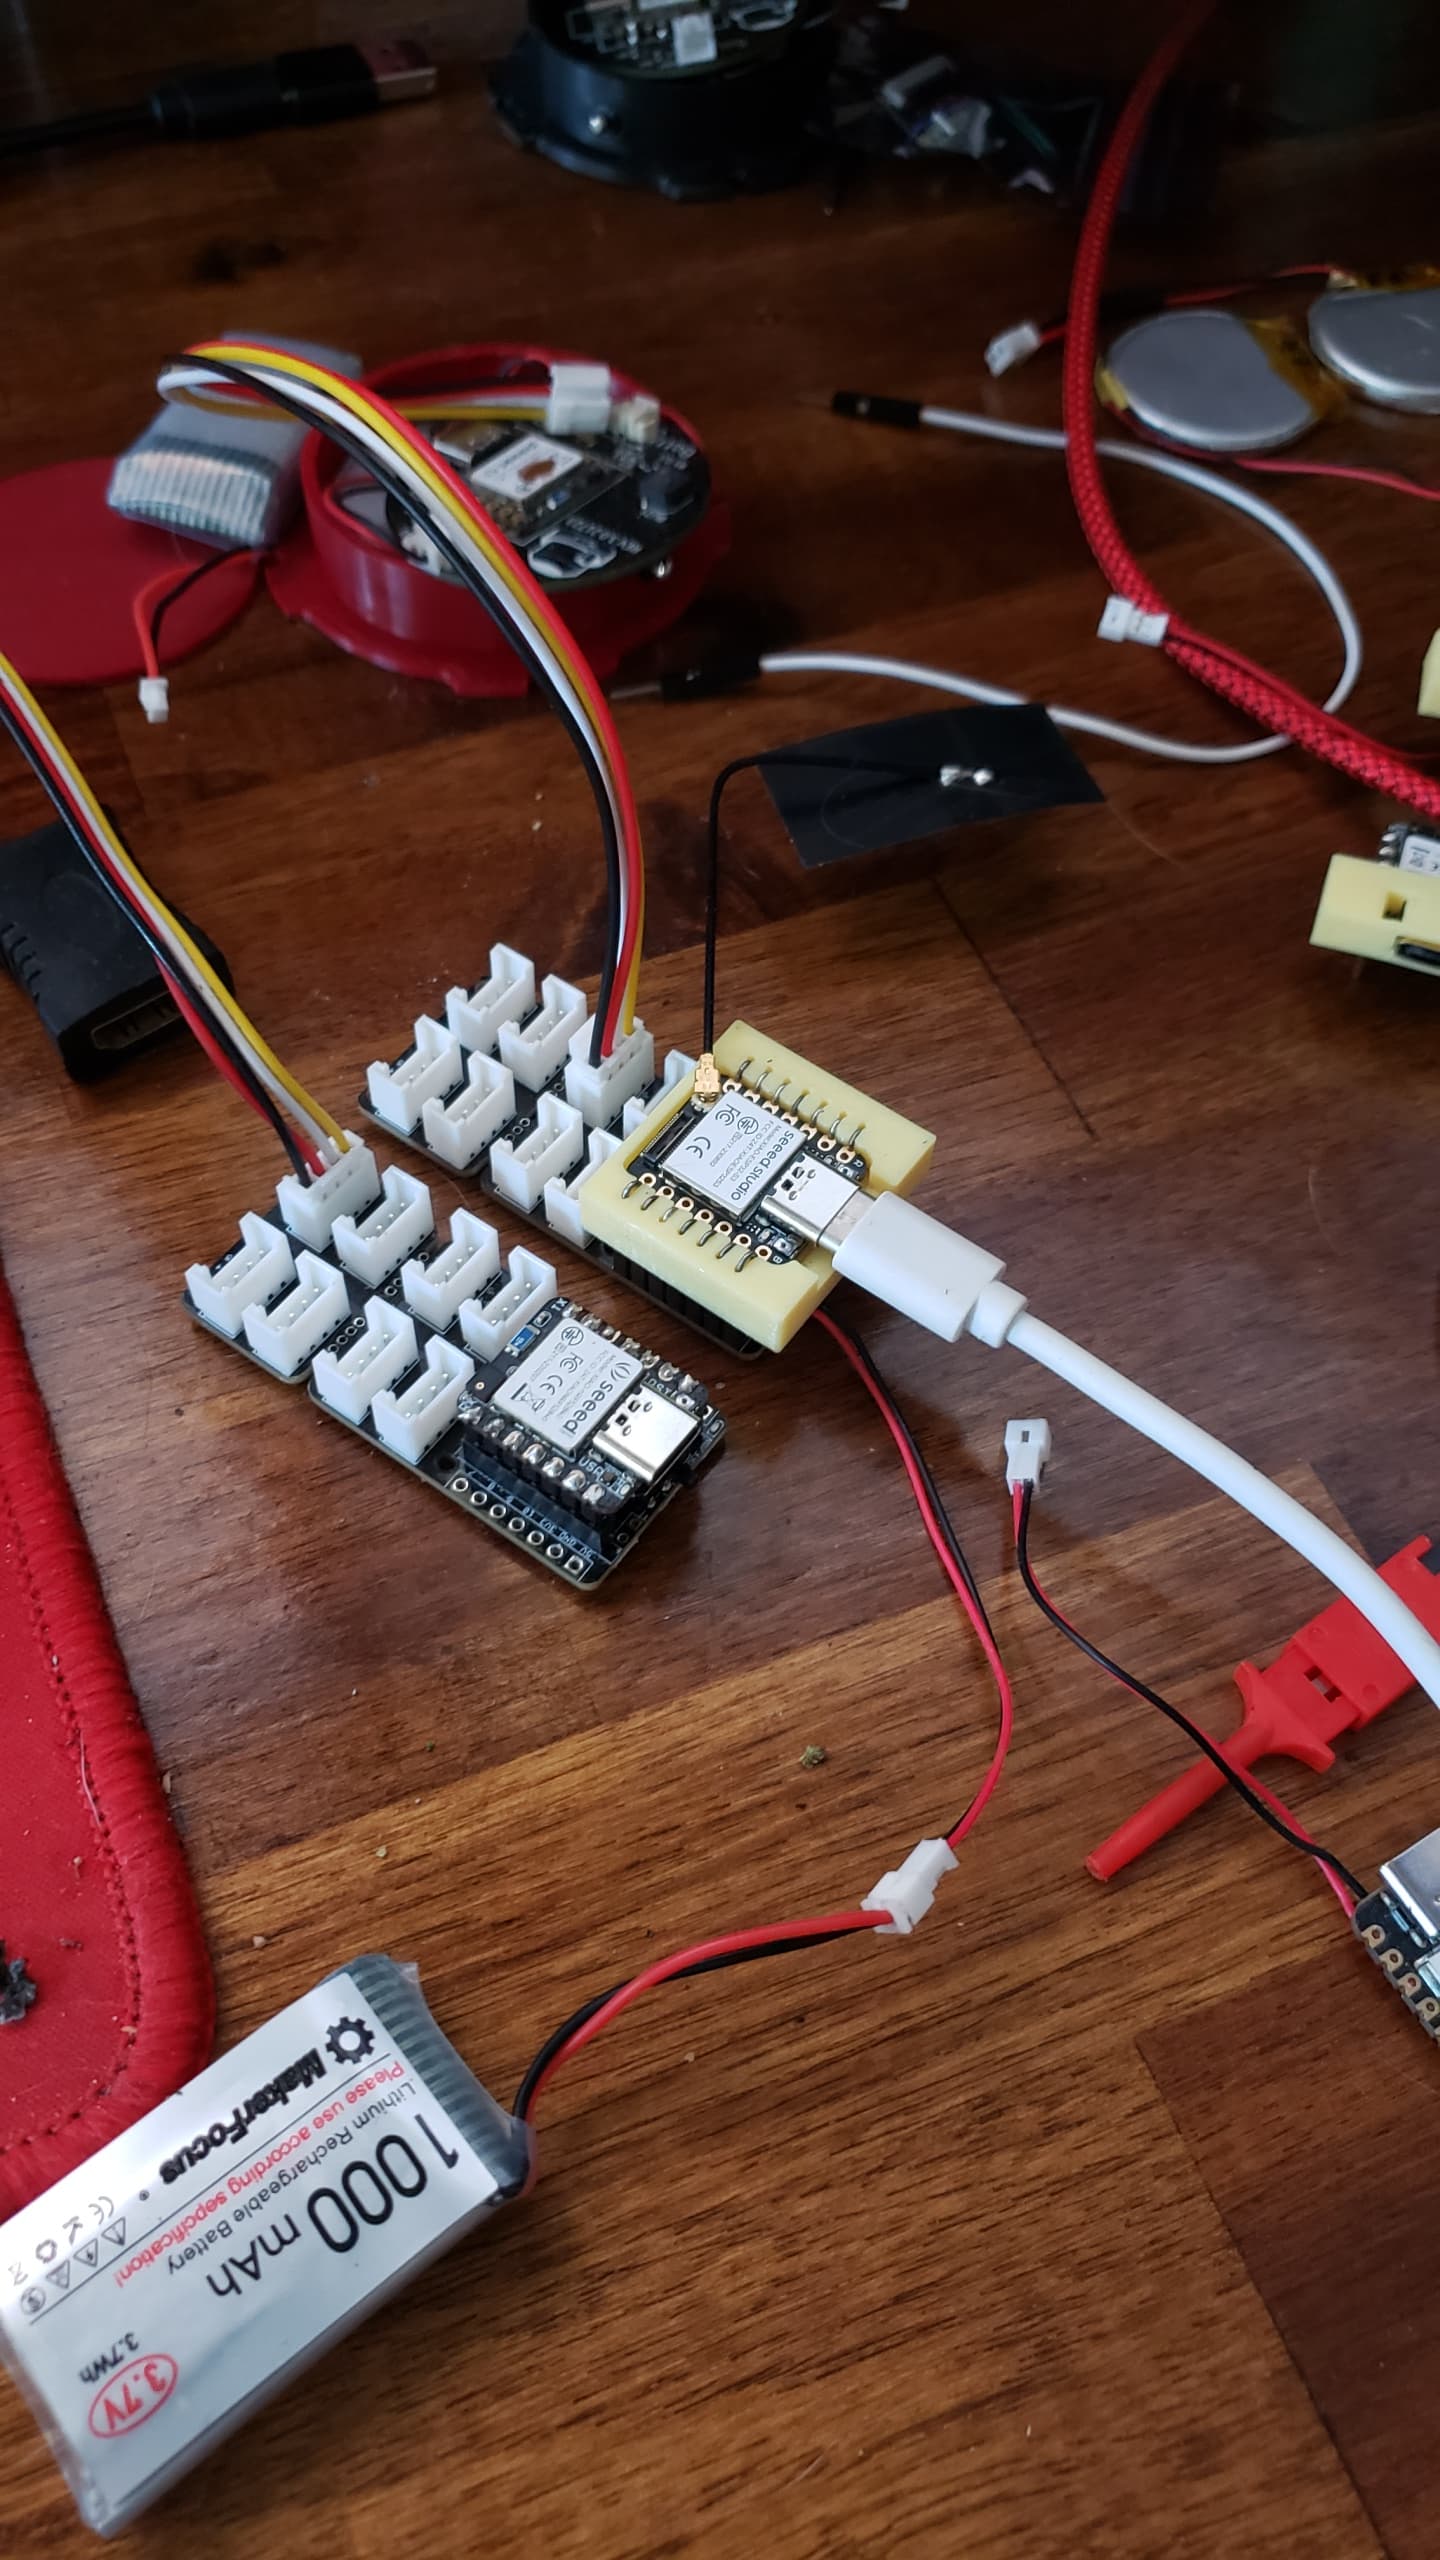
Look this over ![]()
see how the botton and buzzer , etc. connect up?
Found this:
One of the first BLE sketches, works with the Expansion board.
Compile and try it.
#include <ArduinoBLE.h>
#include <U8x8lib.h>
BLEService ledService("19B10000-E8F2-537E-4F6C-D104768A1214"); // Bluetooth® Low Energy LED Service

// Bluetooth® Low Energy LED Switch Characteristic - custom 128-bit UUID, read and writable by central
BLEByteCharacteristic switchCharacteristic("19B10001-E8F2-537E-4F6C-D104768A1214", BLERead | BLEWrite);

const int ledPin = LED_BUILTIN; // pin to use for the LED
 U8X8_SSD1306_128X64_NONAME_HW_I2C u8x8(/* clock=*/ PIN_WIRE_SCL, /* data=*/ PIN_WIRE_SDA, /* reset=*/ U8X8_PIN_NONE);
// OLEDs without Reset of the Display
const int buttonPin = D1;     // the number of the pushbutton pin
int buttonState = 0;
int BuzzerPin = A3;           //A3 , P0.29 PIN 4
int buzzer = BuzzerPin;


void setup() {
  Serial.begin(9600);
  while (!Serial);
// set LED pin to output mode
 pinMode(ledPin, OUTPUT);
 Serial.println("Processor came out of reset.\n");
 u8x8.begin();
 u8x8.setFlipMode(1);   // set number from 1 to 3, the screen word will rotary 180
 //Serial.println("BLE LED Peripheral");
  u8x8.setFont(u8x8_font_8x13B_1x2_r);
    u8x8.clearDisplay();
    u8x8.setCursor(0,3);
    u8x8.print("BLE Peripheral");

 pinMode(buttonPin, INPUT_PULLUP);// initialize the pushbutton pin as an input:
 pinMode(BuzzerPin, OUTPUT);
 pinMode(LEDR, OUTPUT);
 pinMode(LEDG, OUTPUT);
 pinMode(LEDB, OUTPUT);
  // begin initialization
  if (!BLE.begin()) {
    Serial.println("starting Bluetooth® Low Energy module failed!");

    while (1);
  }

  // set advertised local name and service UUID:
  BLE.setLocalName("BASIC-LED");
  BLE.setAdvertisedService(ledService);

  // add the characteristic to the service
  ledService.addCharacteristic(switchCharacteristic);

  // add service
  BLE.addService(ledService);

  // set the initial value for the characeristic:
  switchCharacteristic.writeValue(0);

  // start advertising
  BLE.advertise();

  Serial.println("BLE LED Peripheral");
}

void loop() {
  // listen for Bluetooth® Low Energy peripherals to connect:
  BLEDevice central = BLE.central();

  // if a central is connected to peripheral:
  if (central) {
    Serial.print("Connected to central: ");
    // print the central's MAC address:
    Serial.println(central.address());

    // while the central is still connected to peripheral:
  while (central.connected()) {
        if (switchCharacteristic.written()) {
          if (switchCharacteristic.value()) {
            Serial.println("LED on");
            digitalWrite(ledPin, LOW); // changed from HIGH to LOW
          } else {
            Serial.println(F("LED off"));
            digitalWrite(ledPin, HIGH); // changed from LOW to HIGH
          }
        }
      }

    // when the central disconnects, print it out:
    Serial.print(F("Disconnected from central: "));
    Serial.println(central.address());
  }
}
LMK