

Hi
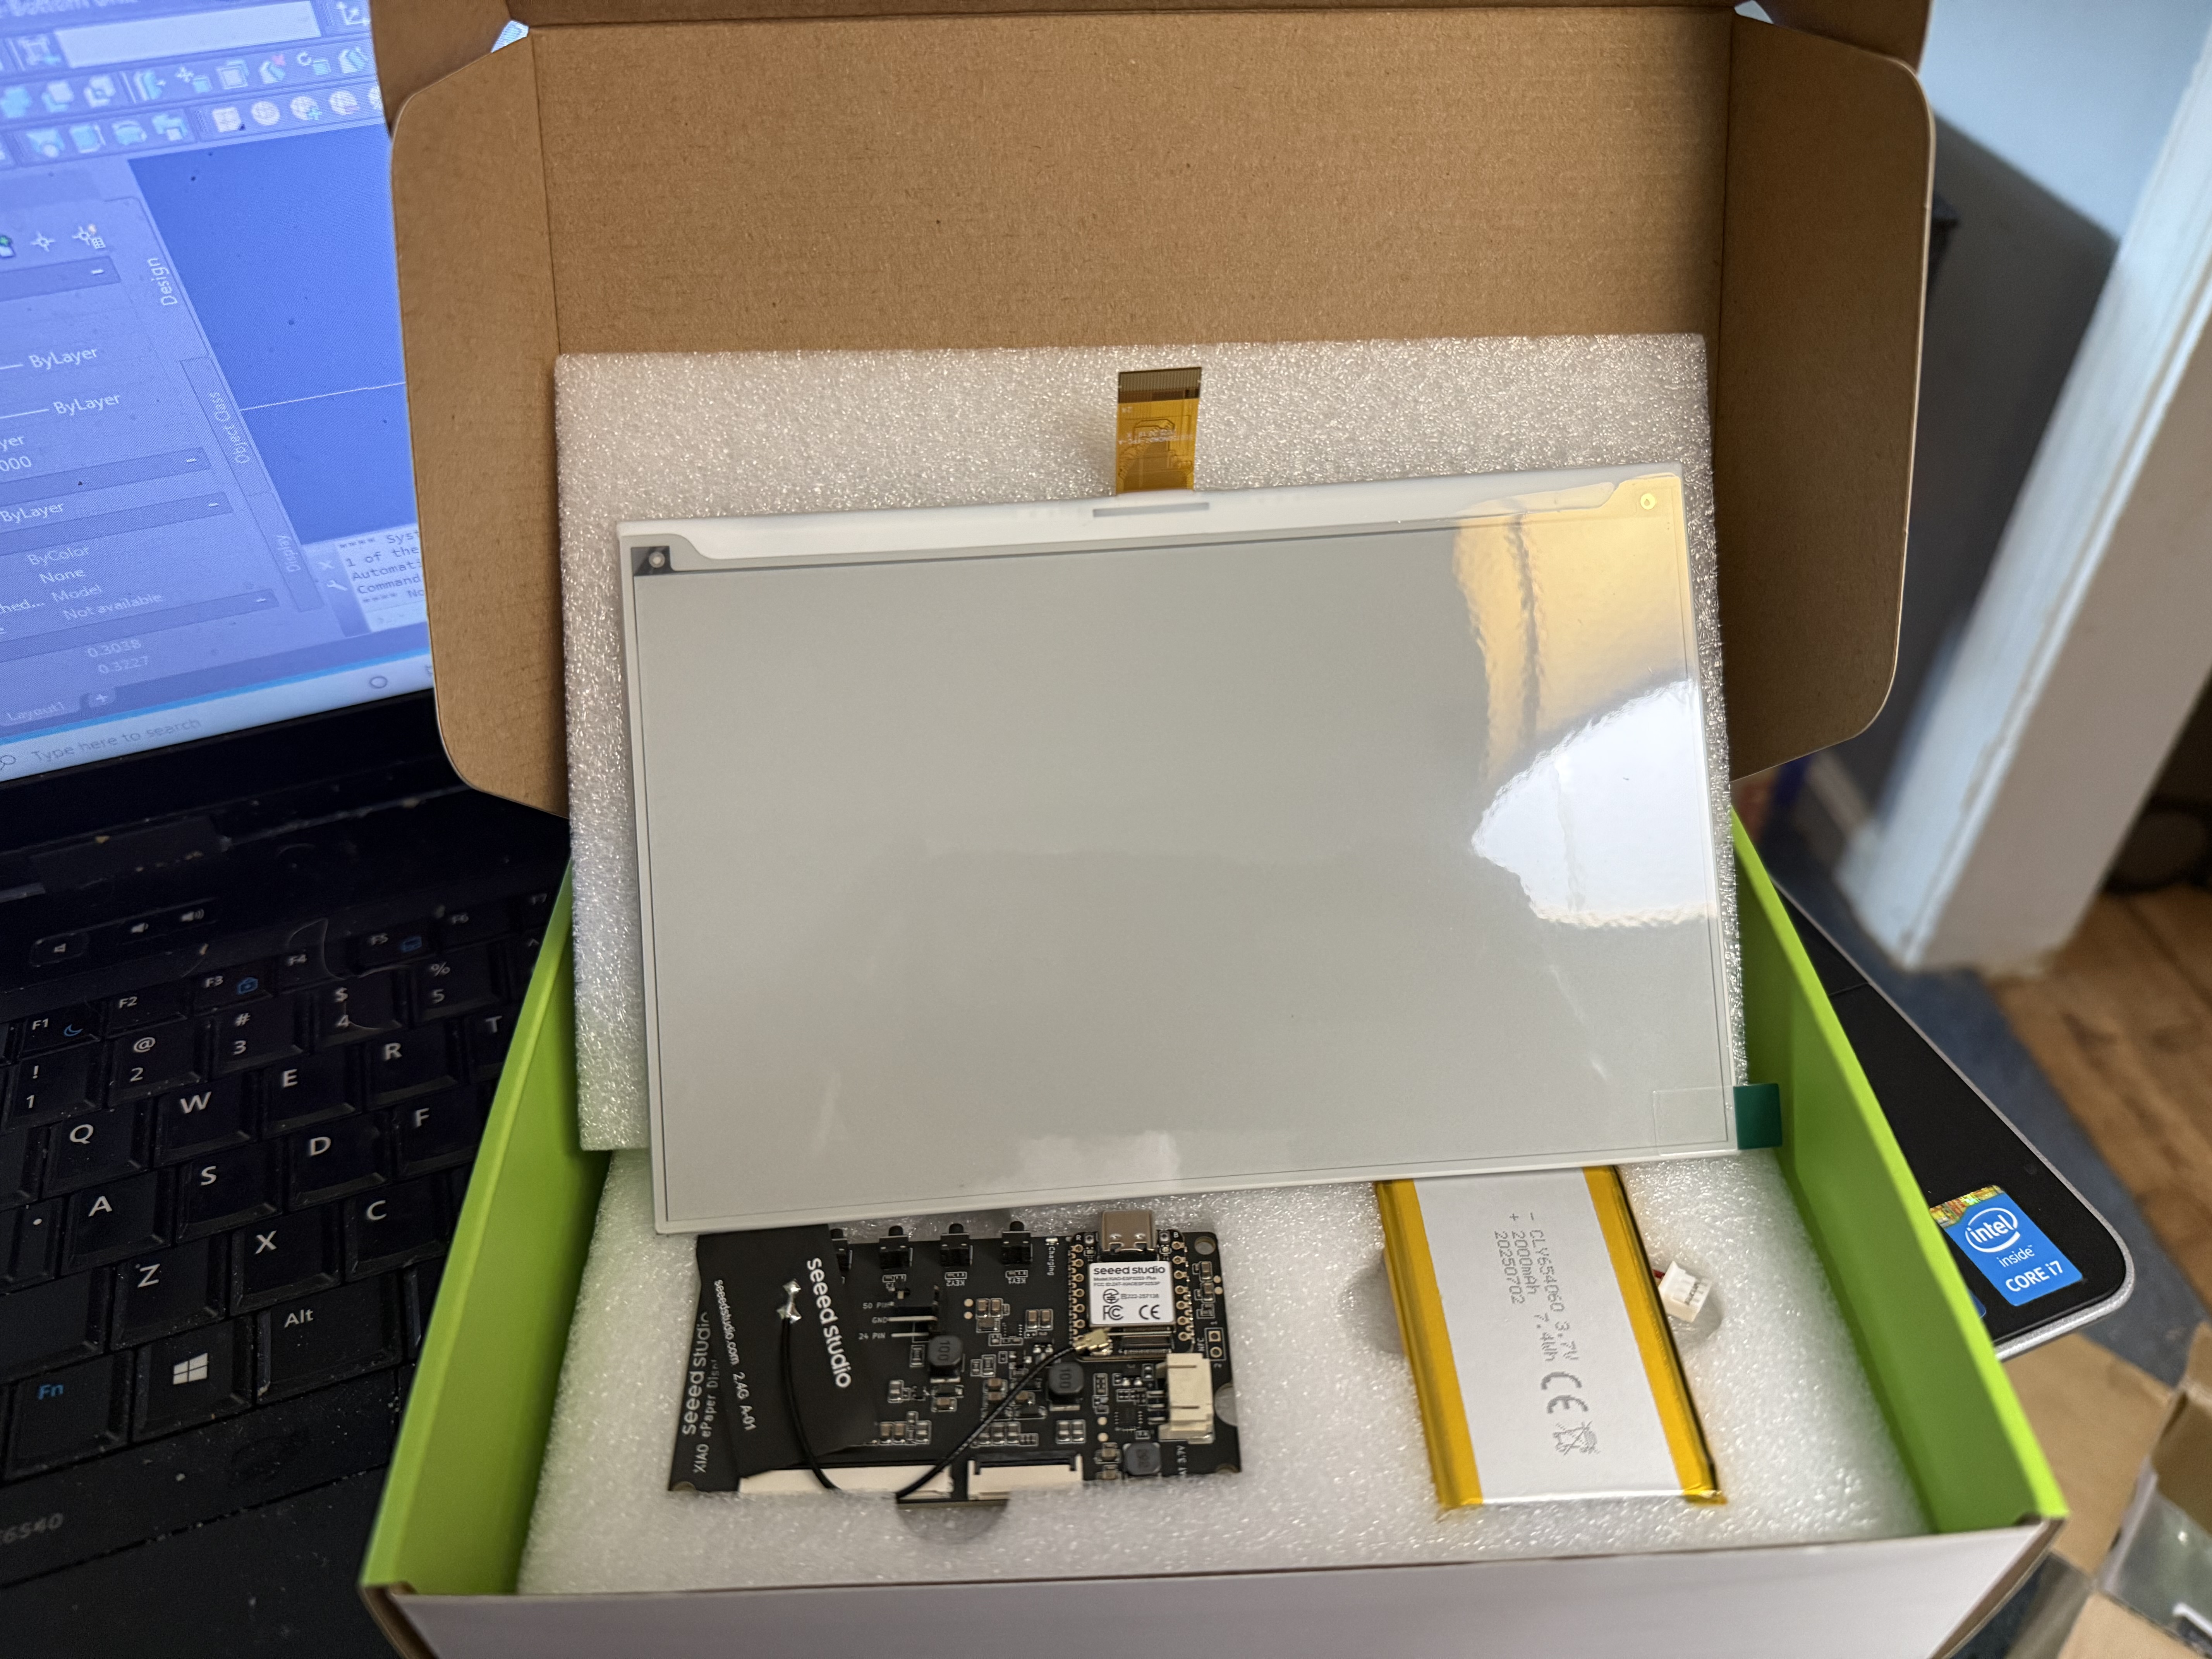
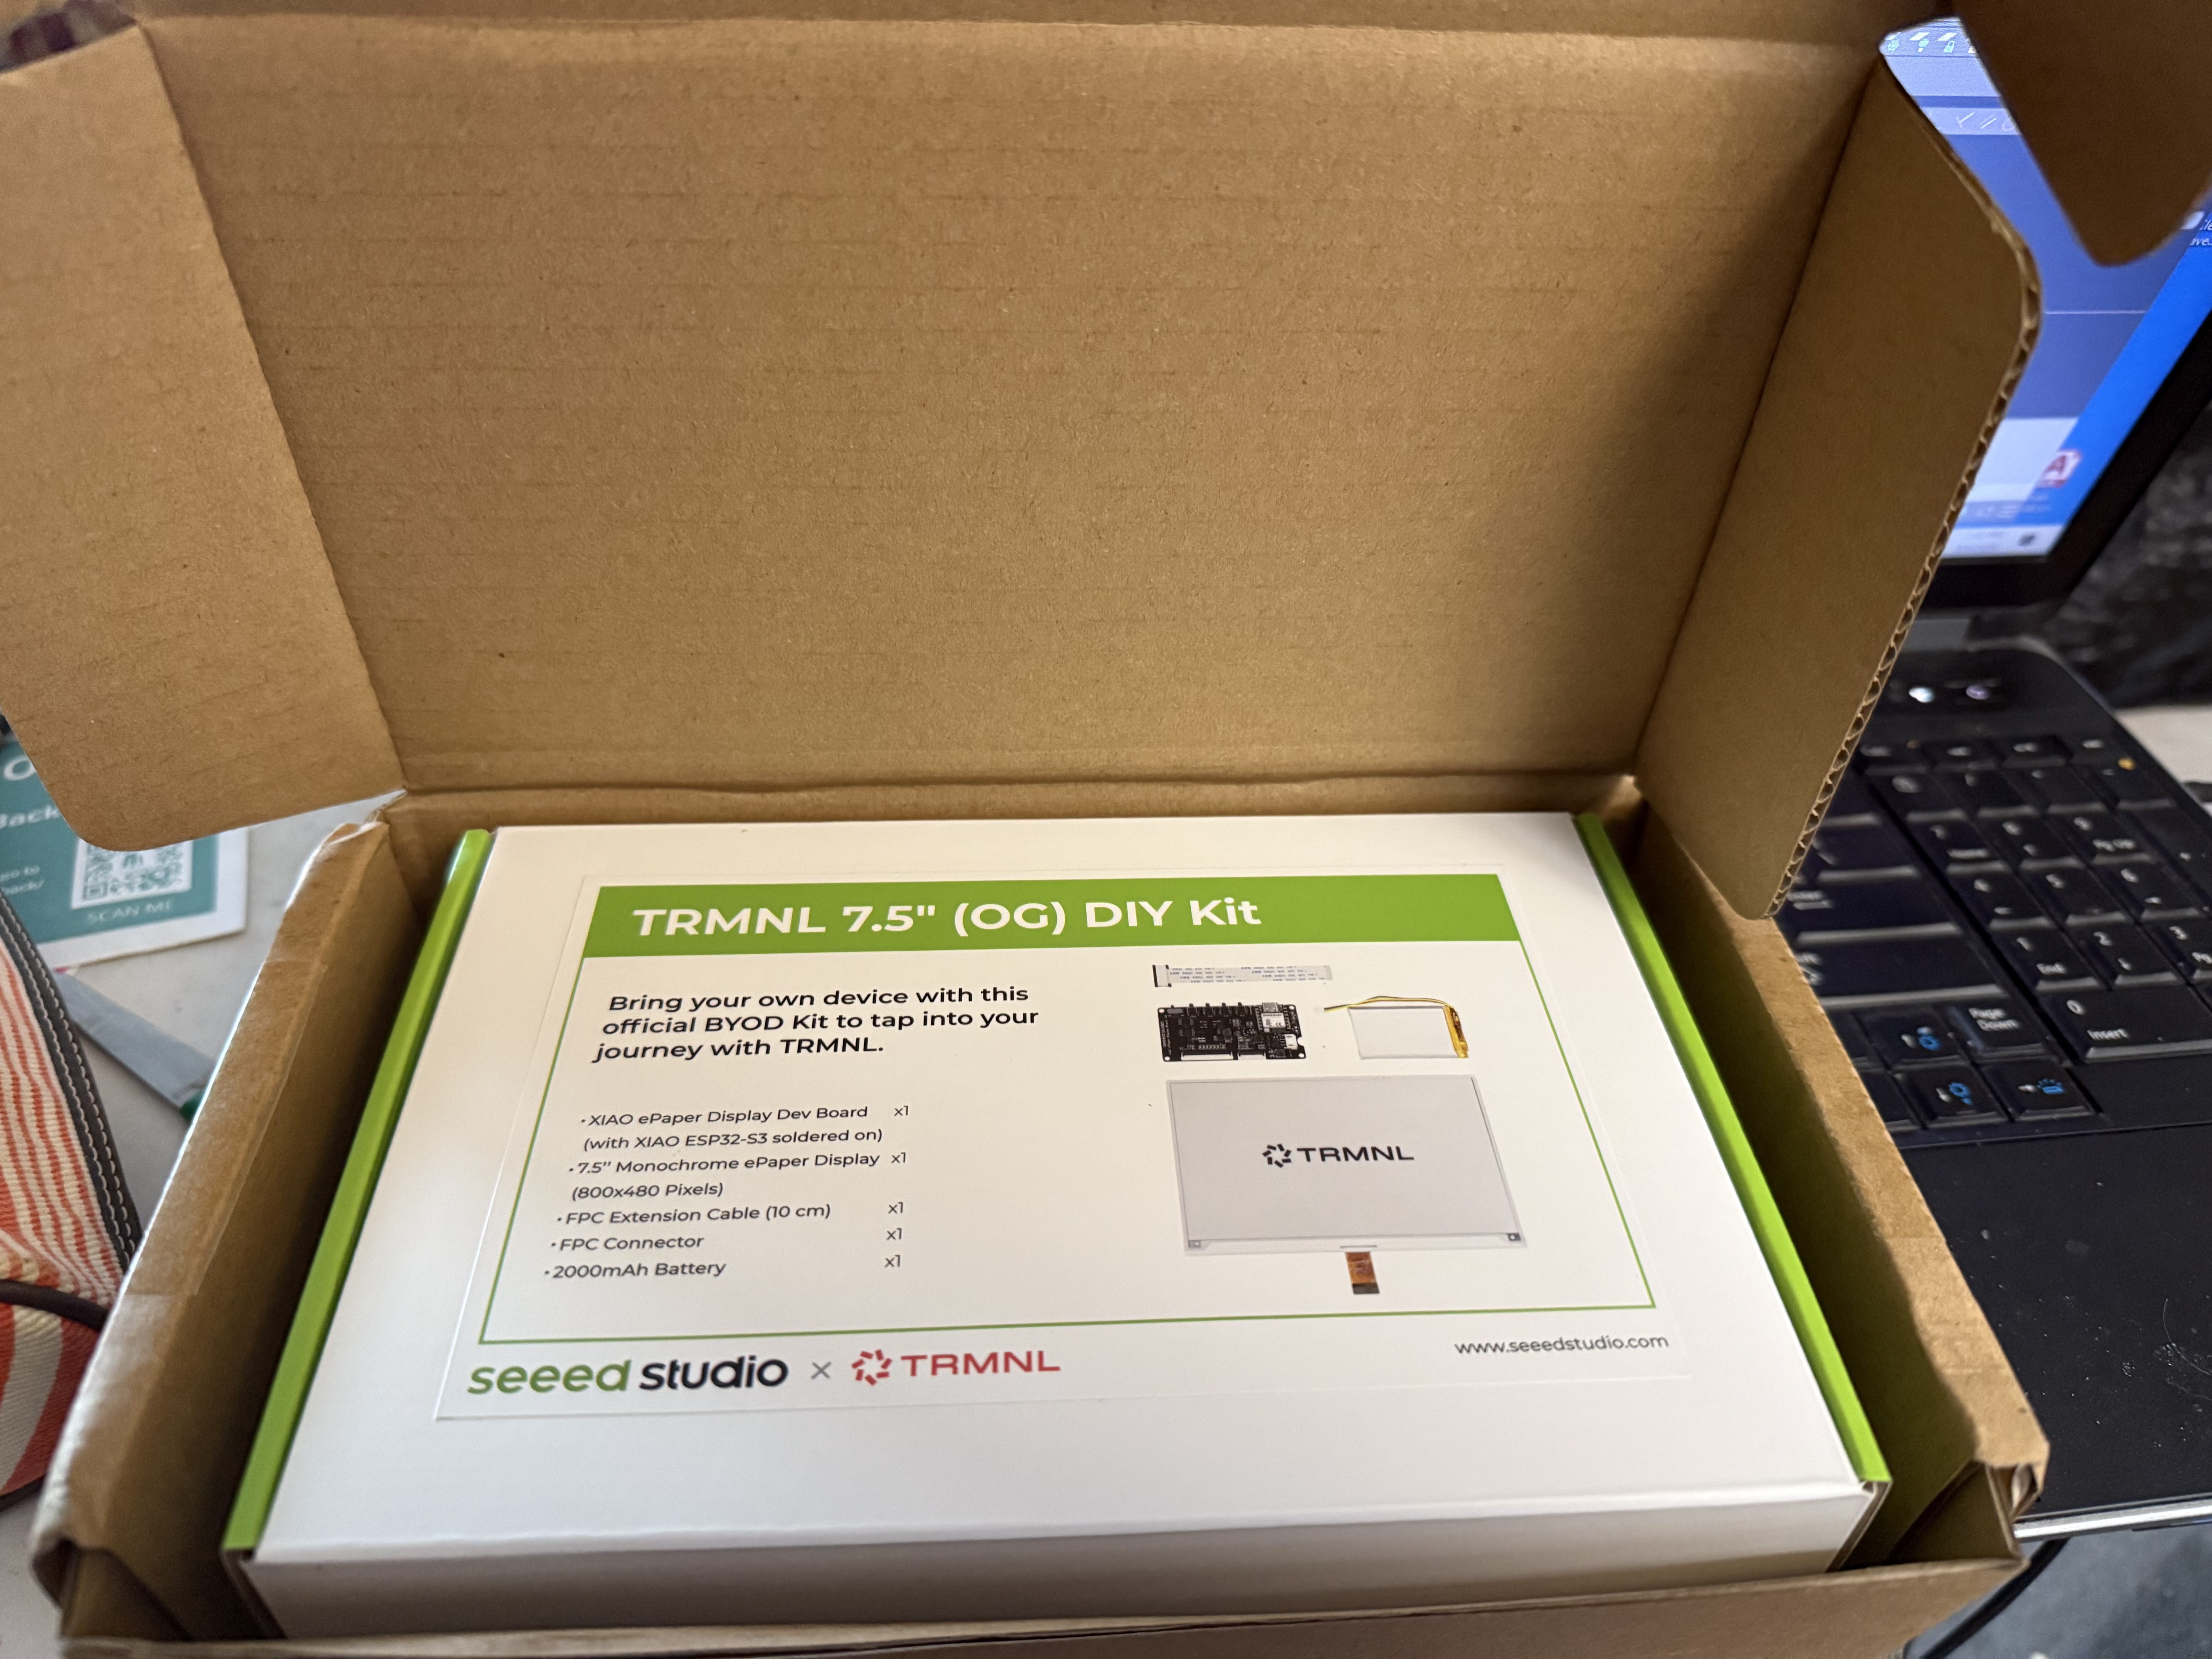
I have the TRMNL 7.5" (OG) DIY Kit which is using a XIAO ePaper Display Dev Board with XIAO ESP32-S3 Plus onboard. I have loaded the TRMNL firmware on it, and got the hardware all working fine. I want to now flash it again, however I am having trouble putting this board back in flashing mode.
I tried pressing on each of the key1/key/2/key3/reset buttons and plugging in the USB-C power cable, however it seems it never goes into flashing mode. Can someone please clarify what is the sequence to enable flashing mode?
Press and hold the boot button when connecting power (USB) and/or hold boot button while pressing reset button… very difficult with these smapp buttons… use the tip of a chopstick or something…

Secret Knowledge: Getting the TRMNL 7,5" (OG) DIY KIT Working on PlatformIO & Arduino IDE
Hello!
I managed to get this kit working with both Arduino IDE and PlatformIO. It now runs Hello World and the example sketches. Since there wasn’t much info available, I’m posting some secret knowledge here.
Pinout I Used
#define TFT_SCLK 7
#define TFT_MISO -1
#define TFT_MOSI 9
#define TFT_CS   44
#define TFT_DC   10
#define TFT_BUSY 4
#define TFT_RST  38
The driver for this board is
UC8179_DRIVER
This kit is basically an ePaper board (similar to the ePaper Driver Board you can find online) but:
- with a different pinout,
- a built-in battery,
- and a matching screen.
Step 1 – Get the Library
Download Seeed_GFX (it’s a modified version of the regular TFT_eSPI).
- Copy it into your
/libfolder in PlatformIO. - Rename it to TFT_eSPI so it replaces the original.
Step 2 – Modify User_Setup.h
Here’s my working User_Setup.h:
#define USER_SETUP_INFO "User_Setup"

#include <Wire.h>

#define USER_SETUP_ID 502
#define UC8179_DRIVER
#define EPAPER_ENABLE

#define TFT_WIDTH  800
#define TFT_HEIGHT 480

#define EPD_WIDTH  TFT_WIDTH
#define EPD_HEIGHT TFT_HEIGHT

#define TFT_SCLK 7
#define TFT_MISO -1
#define TFT_MOSI 9
#define TFT_CS   44
#define TFT_DC   10
#define TFT_BUSY 4
#define TFT_RST  38

// ===== Fonts =====
#define LOAD_GLCD
#define LOAD_FONT2
#define LOAD_FONT4
#define LOAD_FONT6
#define LOAD_FONT7
#define LOAD_FONT8
#define LOAD_GFXFF
#define SMOOTH_FONT

// ===== SPI Settings =====
#if defined(SEEED_XIAO_M0)
  #define SPI_FREQUENCY     10000000
  #define SPI_READ_FREQUENCY 4000000
#elif defined(ARDUINO_XIAO_ESP32S3) || defined(ARDUINO_XIAO_ESP32S3_PLUS)
  #define SPI_FREQUENCY     10000000
  #define SPI_READ_FREQUENCY 4000000
// (…repeat for other boards…)
#else
  #pragma message "Unknown board – using default SPI settings"
  #define SPI_FREQUENCY     10000000
  #define SPI_READ_FREQUENCY 4000000
#endif
Step 3 – Modify User_Setup_Select.h
At the very top of the file, add:
#include "User_Setup.h"
It’s not the cleanest way, but it works.
Step 4 – Run Examples
Now you can use the examples included with the Seeed_GFX library.
![]() That’s it! With this setup, the UC8179 ePaper works fine on PlatformIO and Arduino IDE.
That’s it! With this setup, the UC8179 ePaper works fine on PlatformIO and Arduino IDE.
Hi there,
And Welcome here…
So awesome the contribution, but do us a solid and edit your post to use the code tags above “</>” paste it in there , will make using it way easier and you will get better quality help too.
HTH
GL ![]() PJ
PJ ![]()
How about now?
![]()
I can only add that chatgpt was involved ![]()