I’m currently working on a noninvasive wearable, sweat-based microfluidic glucose sensor. My system uses a screen-printed carbon working electrode (WE/RE/CE), An LMP91000 potentiostat for current-to-voltage conversion, A Seeed Studio XIAO nRF52840 microcontroller for ADC and Bluetooth transmission, and a 3.7 V Li-ion battery as the power source. Does anyone know if the Seeed Studio XIAO nRF52840 is compatible with the LMP91000 as a potentiostat?
Hi there,
SO you made it… ![]()
I’m pasting what I sent you.
"
I can provide a clear, detailed pin-to-pin connection list based on the datasheets and general microcontroller pinouts, which serves the same purpose as a diagram.
The connections are straightforward, primarily using the I2C interface for configuration and an ADC pin for reading the sensor output

Notes for Implementation
-
Power Supply (VDD): Powering the LMP91000
from the XIAO’s 3.3V pin is the simplest method, ensuring compatible logic levels for I2C communication. -
I2C Pull-ups: The I2C SDA and SCL lines require pull-up resistors (typically 4.7kΩ) to VDD (3.3V) for proper operation. Most development boards have these built-in, but check if the LMP91000 breakout board you are using includes them.
-
MENB Pin:
- For a single LMP91000 device, the MENB pin should be permanently tied to GND.
- If using multiple LMP91000s (might be cool )

 on the same I2C bus, this pin acts as a chip select and must be connected to a separate digital output GPIO on the XIAO to select which chip to communicate with.
-
Sensor Connection: The working (WE), reference (RE), and counter (CE) electrodes of your electrochemical sensor connect to the corresponding pins on the LMP91000 (WE, RE, CE).
-
Software: You will need software on the XIAO nRF52840 to:
- Initialize the I2C peripheral.
- Configure the LMP91000’s internal registers (TIA gain, cell bias, etc.) via I2C.
- Read the analog voltage from the VOUT pin using the XIAO’s ADC.
You may find existing Arduino libraries helpful for implementing the I2C communication protocols required by the LMP91000.
That would be the 10,000 foot view. ![]()
![]()
A lot of projects on here start out in the same way . YOLO My GUY!
For hardware Seeed has a number of choices, inexpensive too, The Grove expansion board for a Xiao and some sensor connections , battery charger etc.
But the Xiao Dev board is king with display and every interface , plus SD card slot, RTC, battery buttons, buzzer … All of it. ![]() You can add all the other stuff discreetly to the first board. Look at some of my videos and demos with pictures.
You can add all the other stuff discreetly to the first board. Look at some of my videos and demos with pictures.
HTH
GL ![]() PJ
PJ ![]()
LMK , Glad to help.
As you can see I’m a fan of the ROUND display. ![]()
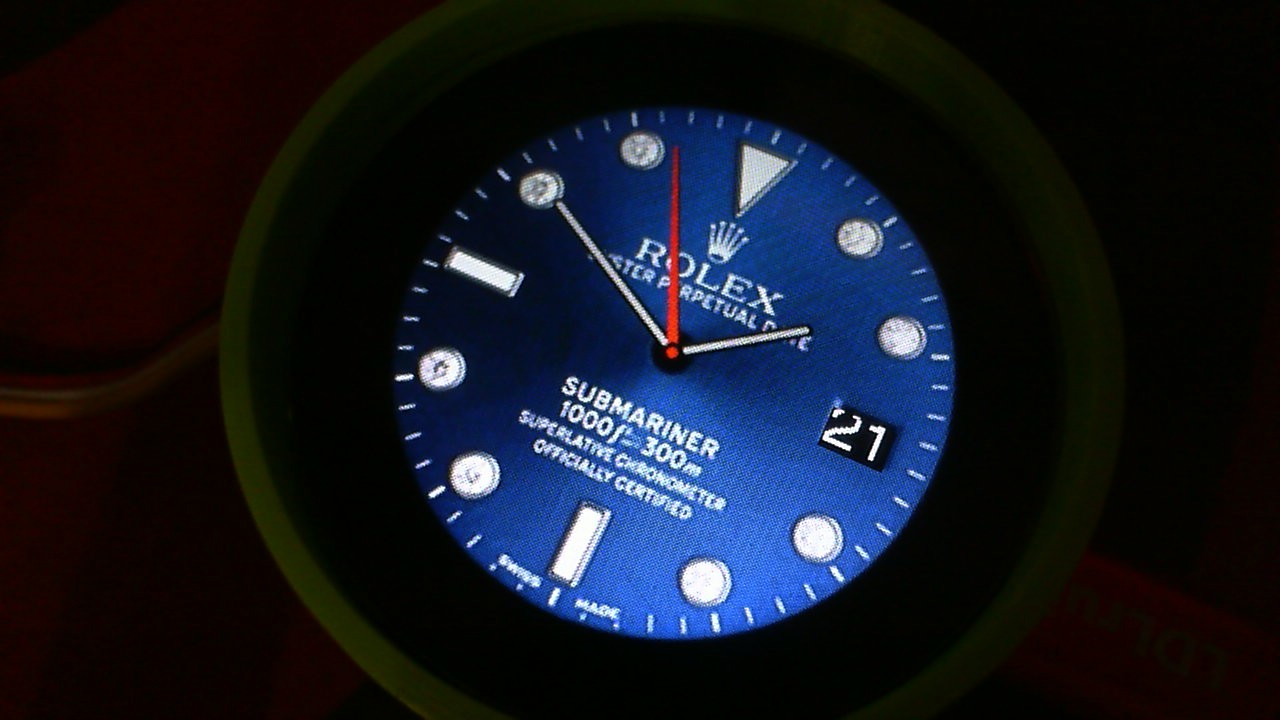
You can even USE AI, to read the THING …

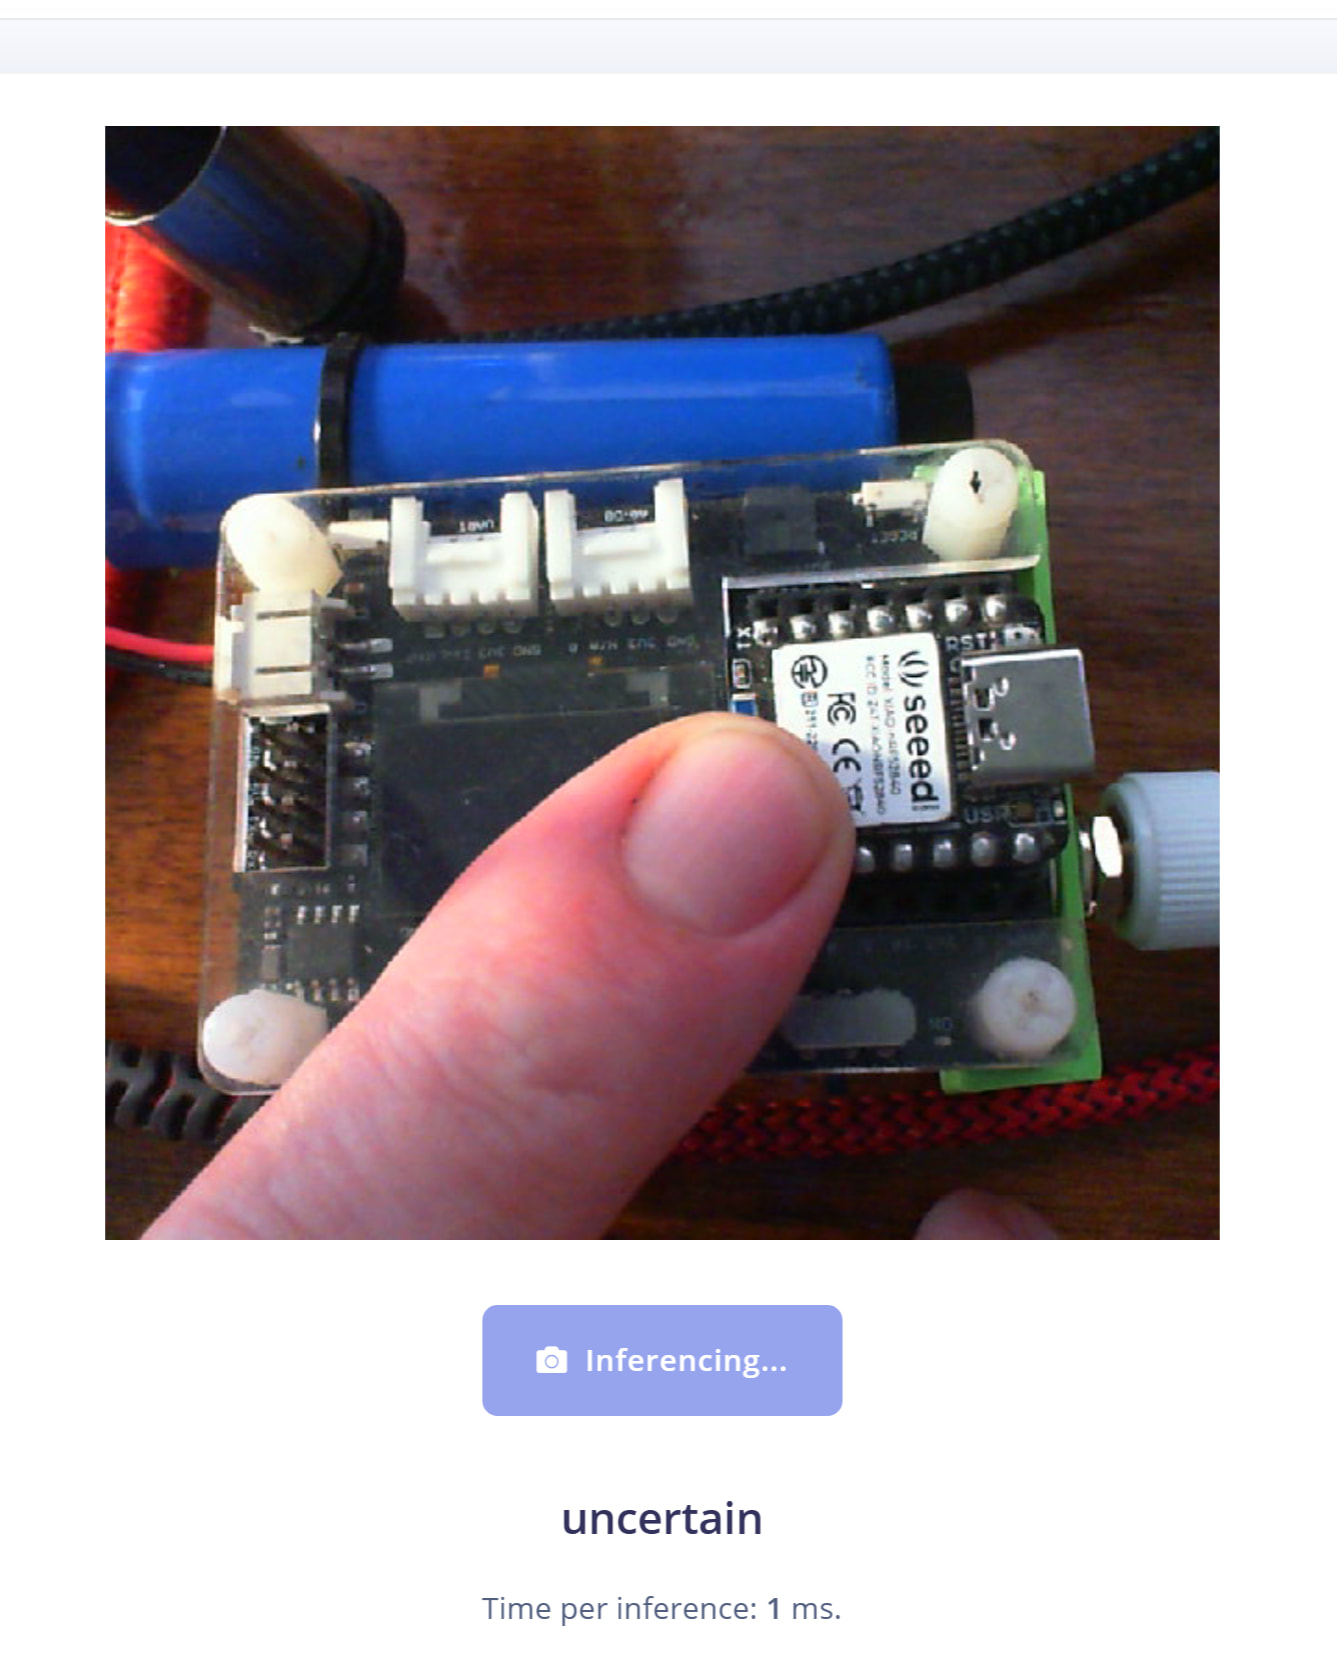
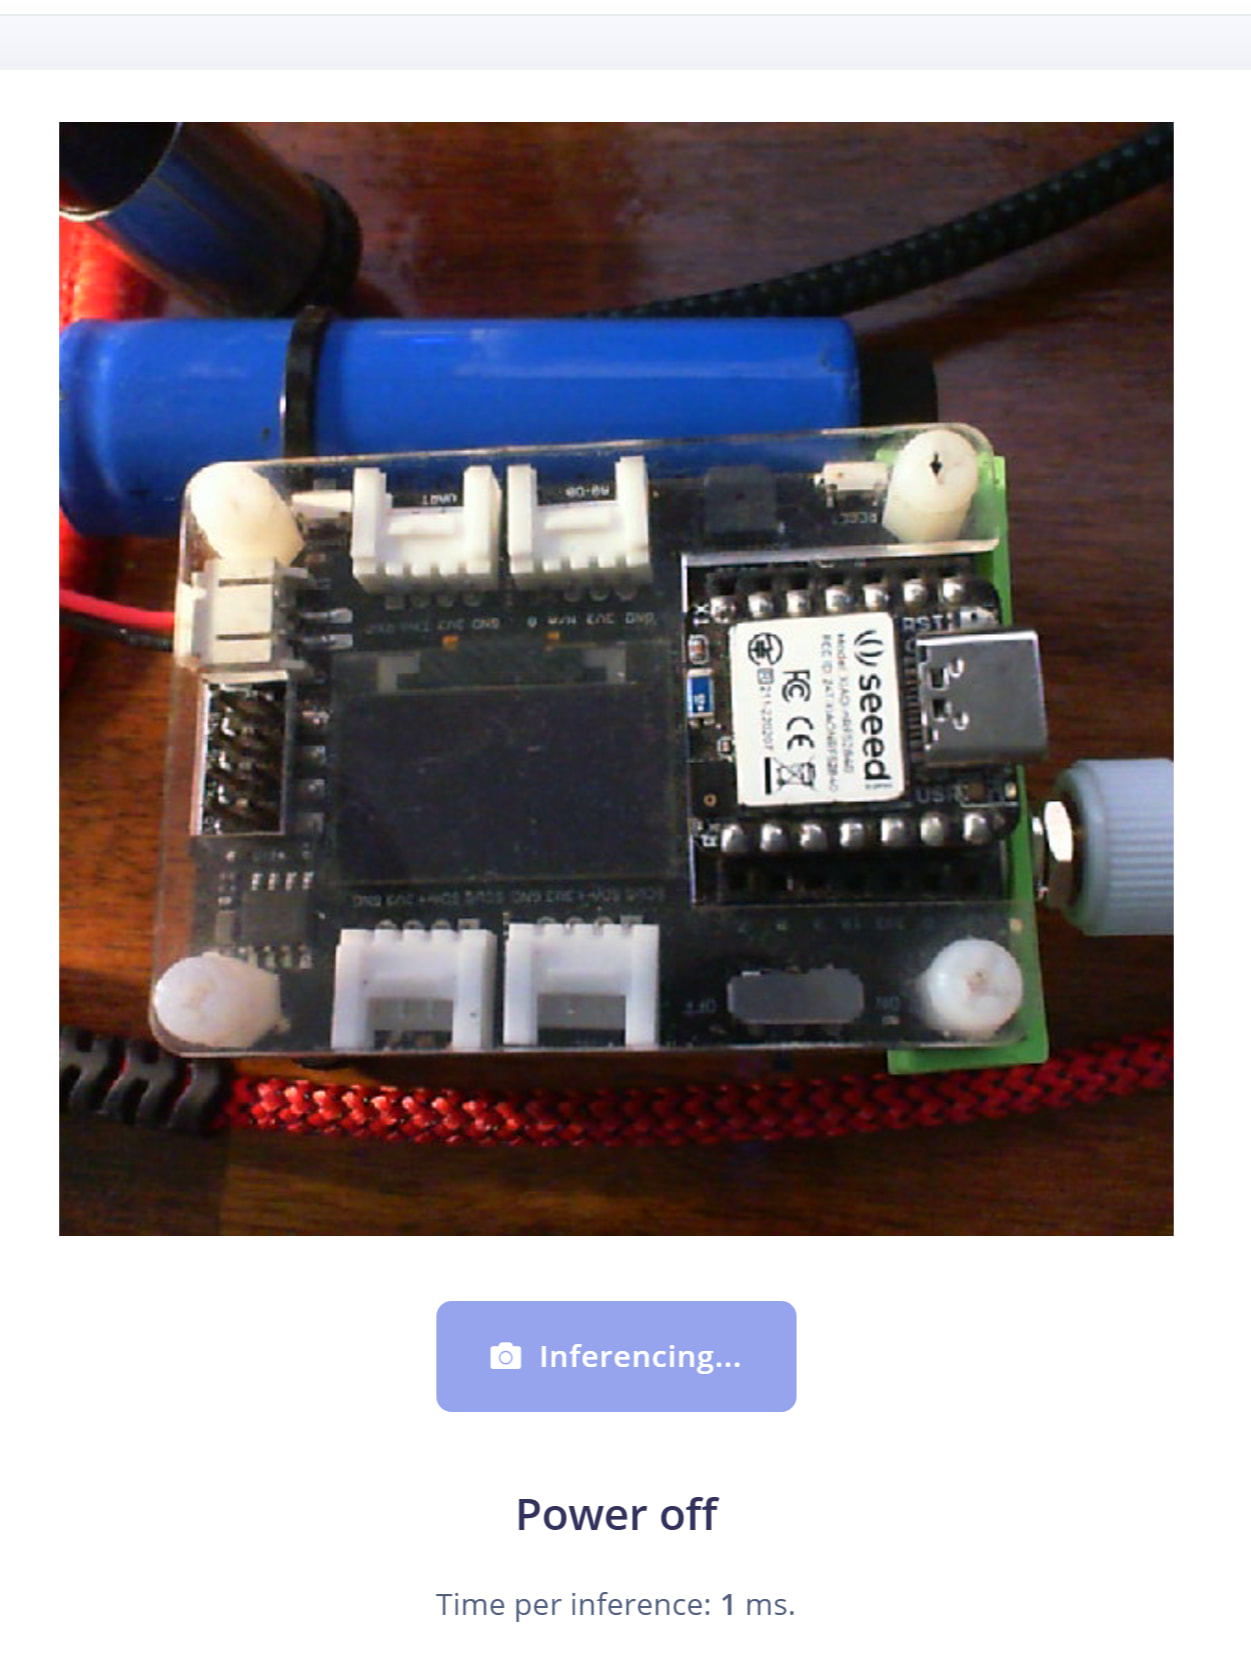
Used a web cam to look ![]() and inference on weather it’s Powered ON or NOT.
and inference on weather it’s Powered ON or NOT.
HTH
GL ![]() PJ
PJ ![]()