Hi there
And Welcome Here..
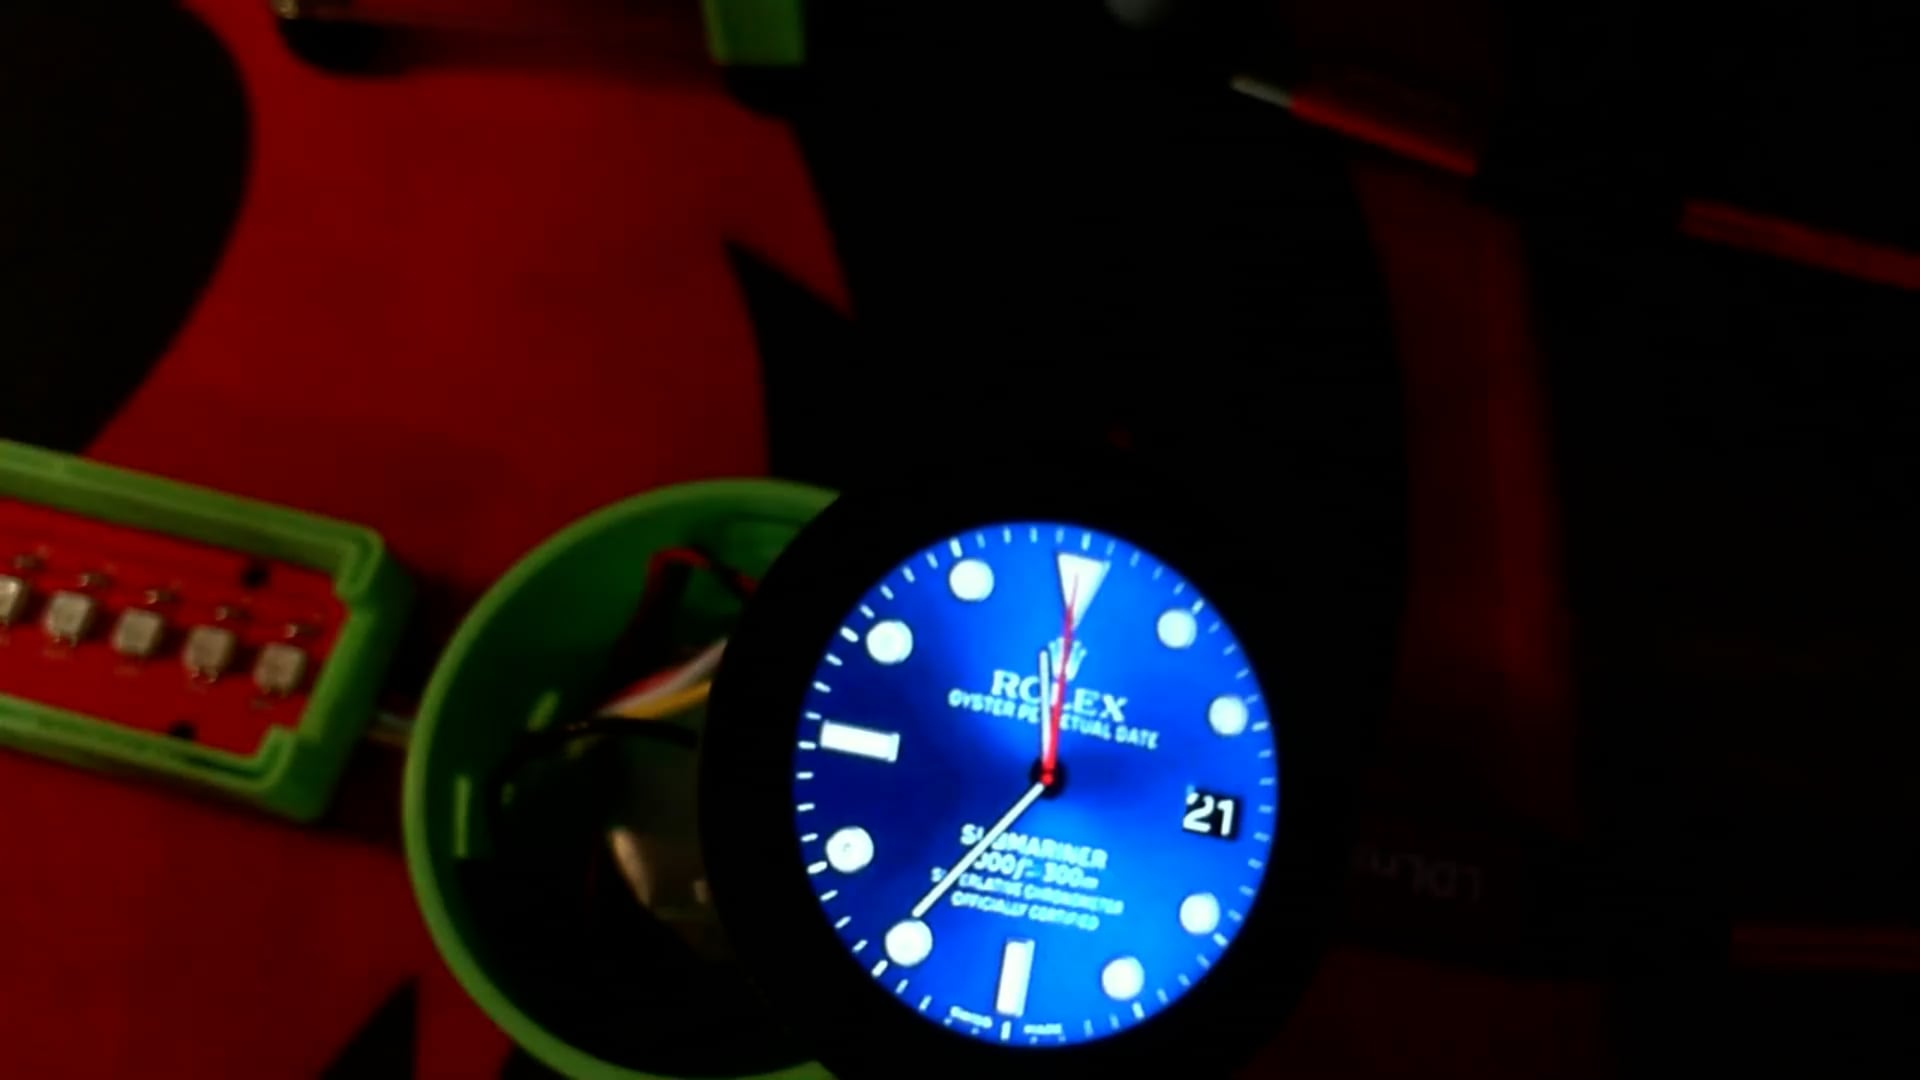
So, the Round with an S3 Plus gives You all you need. You can connect anything to it, check out my 6 Sensor Node demo, video, or the Breakdown video of how its connected to the B2B connector with more_I/O board attached,
best viewed Full screen 
HTH
GL  PJ
PJ 
The Grow R558S is a round, ring-mount capacitive fingerprint module with an integrated RGB ring indicator light. Internally, it uses the Synochip/Grow protocol compatible with standard R502 / R503 / AS608 command sets over TTL UART.
Hardware Pinout & Wiring
The R558S uses a 6-pin 1.0mm pitch harness (colors are typical for Grow modules; check your cable labeling):
-
Pin 1 (Red):
VCC(3.3V power) -
Pin 2 (Yellow):
TXD$\rightarrow$ Connects to MCU RX (3.3V TTL) -
Pin 3 (White):
RXD$\rightarrow$ Connects to MCU TX (3.3V TTL) -
Pin 4 (Black):
GND(Ground) -
Pin 5 (Blue):
WAKEUP/TOUCH_OUT(Active HIGH pulse when finger touches sensor; tie to an ESP32 wake pin to keep the MCU in deep sleep until touched) -
Pin 6 (Green):
3.3V_TOUCH(Powers the capacitive touch detection circuit; typically tied together with Pin 1VCC)
You need to enroll the print first , FYI…
Here is a test code, you can try.
#include <Adafruit_Fingerprint.h>

// Set to your hardware serial pins
#define SENSOR_RX_PIN 44  // Connects to R558S Yellow (TX)
#define SENSOR_TX_PIN 43  // Connects to R558S White (RX)

HardwareSerial mySerial(1);
Adafruit_Fingerprint finger = Adafruit_Fingerprint(&mySerial);

void setup() {
  Serial.begin(115200);
  while (!Serial) delay(10);
  Serial.println("\n--- Grow R558S Test ---");

  // R558S default UART: 57600 baud, 8N1
  mySerial.begin(57600, SERIAL_8N1, SENSOR_RX_PIN, SENSOR_TX_PIN);
  finger.begin(57600);
  delay(150);

  if (finger.verifyPassword()) {
    Serial.println("Found R558S sensor!");
  } else {
    Serial.println("Sensor not found. Check power, swapped RX/TX, or baud rate.");
    while (1) { delay(10); }
  }

  finger.getParameters();
  Serial.print("Sensor capacity: "); Serial.println(finger.capacity);
  Serial.print("Device address: 0x"); Serial.println(finger.device_addr, HEX);
}

void loop() {
  uint8_t p = finger.getImage();
  if (p == FINGERPRINT_NOFINGER) {
    delay(50);
    return;
  }

  if (p == FINGERPRINT_OK) {
    Serial.println("Finger detected!");
    p = finger.image2Tz();
    if (p == FINGERPRINT_OK) {
      p = finger.fingerSearch();
      if (p == FINGERPRINT_OK) {
        Serial.print("Match found! ID #"); Serial.print(finger.fingerID);
        Serial.print(" (Confidence: "); Serial.print(finger.confidence); Serial.println(")");
      } else {
        Serial.println("No match in database.");
      }
    }
  }
  delay(500);
}
Controlling the RGB Ring LED
// Modes: 1 = Breathing, 2 = Flashing, 3 = Always ON, 4 = Always OFF
// Colors: 1 = Red, 2 = Blue, 3 = Purple (Combine red+blue)
// Speed: 0x00 to 0xFF; Count: 0 = infinite, 1-255 = cycle count

// Example: Flash Blue 2 times quickly (successful match)
finger.LEDcontrol(FINGERPRINT_LED_FLASHING, 25, FINGERPRINT_LED_BLUE, 2);

// Example: Solid Red for 1 second (access denied)
finger.LEDcontrol(FINGERPRINT_LED_ON, 0, FINGERPRINT_LED_RED, 0);
The R558S ring light can be driven using the LEDcontrol command provided in the Adafruit library:
 GL
GL