FYI… this is not my project… just a link to one
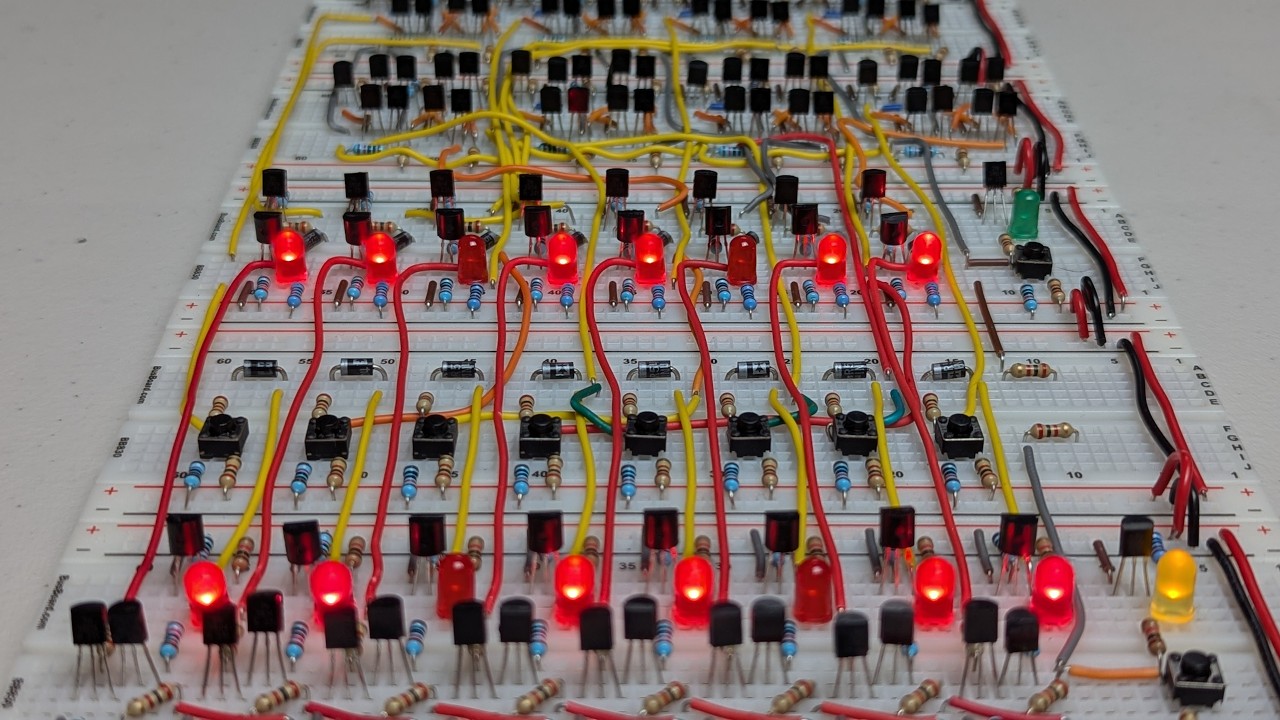
This video marks the beginning of a new chapter for my homebrew computer project by building my first transistorized register prototype.
And if that wasn’t challenging enough, I’m designing it to work as a drop-in replacement for registers in my relay computer.
Thanks for watching, and as always I welcome any feedback or ideas for future projects!
CHAPTERS
0:00 Intro
1:09 Relays vs. Transistors
2:32 Some logic gates
4:21 The Data Latch
5:51 Let the prototyping begin!
6:30 Gating and the need for PNPs
9:16 Automated testing time!
9:46 First test with the Relay Computer
10:09 (Pull) Ups & Downs
11:33 Second test with the Relay Computer
12:22 Next steps and outro
14:09 Post-credit clickity goodness
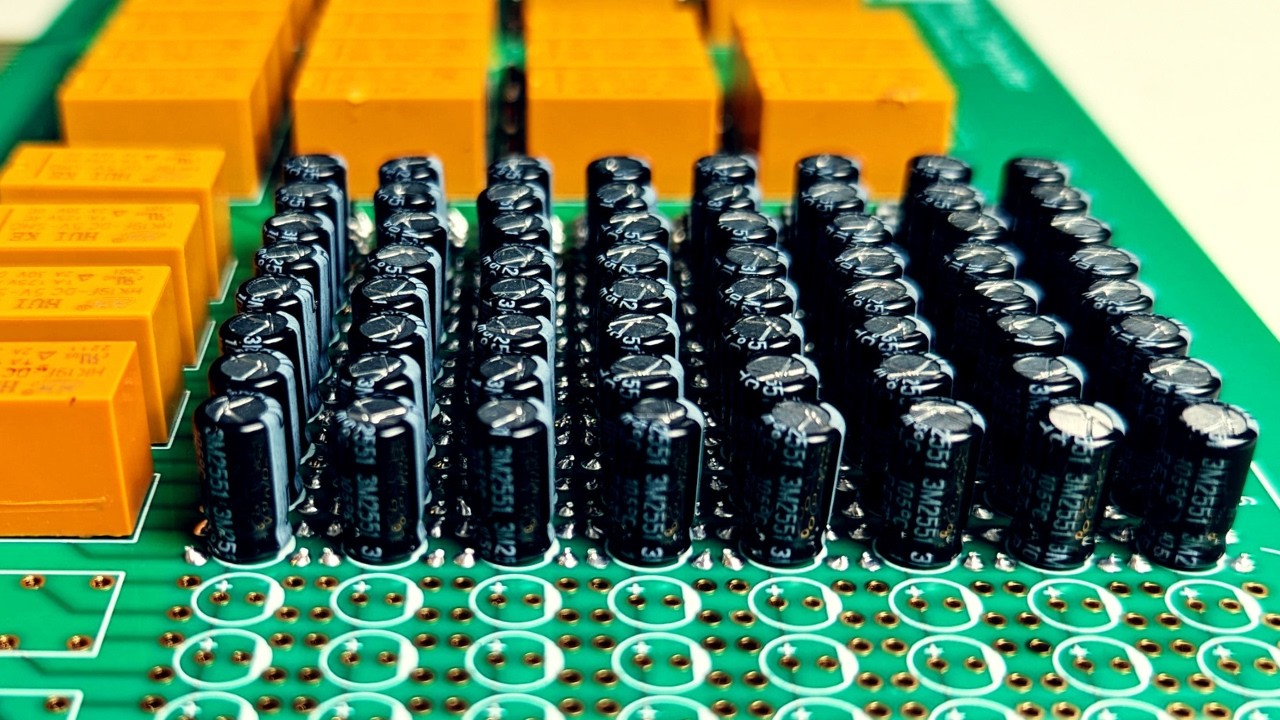
In this video, I take my prototype capacitor memory and turn it into a proper PCB for my relay computer.
What started as a straightforward prototype to PCB project quickly turned into a debugging adventure. After assembling and testing the new board, I discovered several issues ranging from simple fixes to one major design flaw that will require a complete revision of the memory card.
The good news? The board isn’t a total loss. Even with the design problems, it’s still functional as a smaller-capacity RAM card, giving me the opportunity to continue testing the capacitor memory concept while I work on the next revision.
Thanks for watching, and as always I welcome any feedback or ideas for future projects!
CHAPTERS
0:00 Intro
1:01 Reducing the number of relays
1:48 Creating the Clearing Delay
2:32 Experimenting with Smaller Capacitors
2:49 Arduino Testing the new 4-bit version
3:48 Front Panel Testing the 8-bit prototype
5:08 PCB Design options
8:02 Assembly
9:00 First Gremlin - Blowing Diodes
11:08 Card Select Testing
11:35 Let the weirdness begin
12:45 Too many bodge wires
13:19 Waving the white flag and Outro
15:00 End Scene - Building out 8 bytes and testing the card


 PJ
PJ 