So , I missed the actual LIVE stream , But watched an Hour late, Any way I never saw them Solder the Battery Pad Holes on the bottom? Did you?
They like the recommendation in Part one , and even Opened Part Two with a few Comments and thank you’s. Pretty Awesome.
GL  PJ
PJ 
it was hard to see what they were doing…Ding Ding was soldering 6 pins at a time… and they didnt have a microscopic camera… it was amazing… dude had no question all his solder joints were good…
especially all the surface mount caps and resistors… even without tweezers
i learned the functionality of a blade tip on a soldering iron
its amazing what flux and proper heat application can do on the tech of soldering
Hi there,
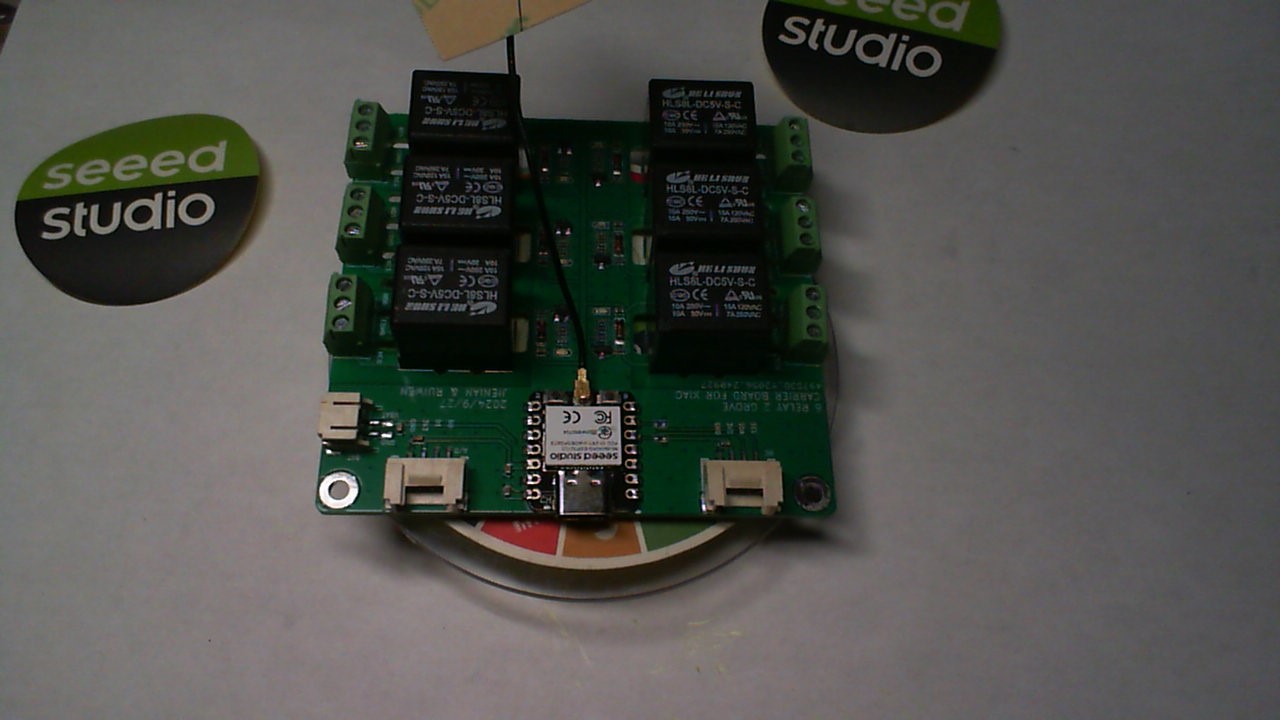
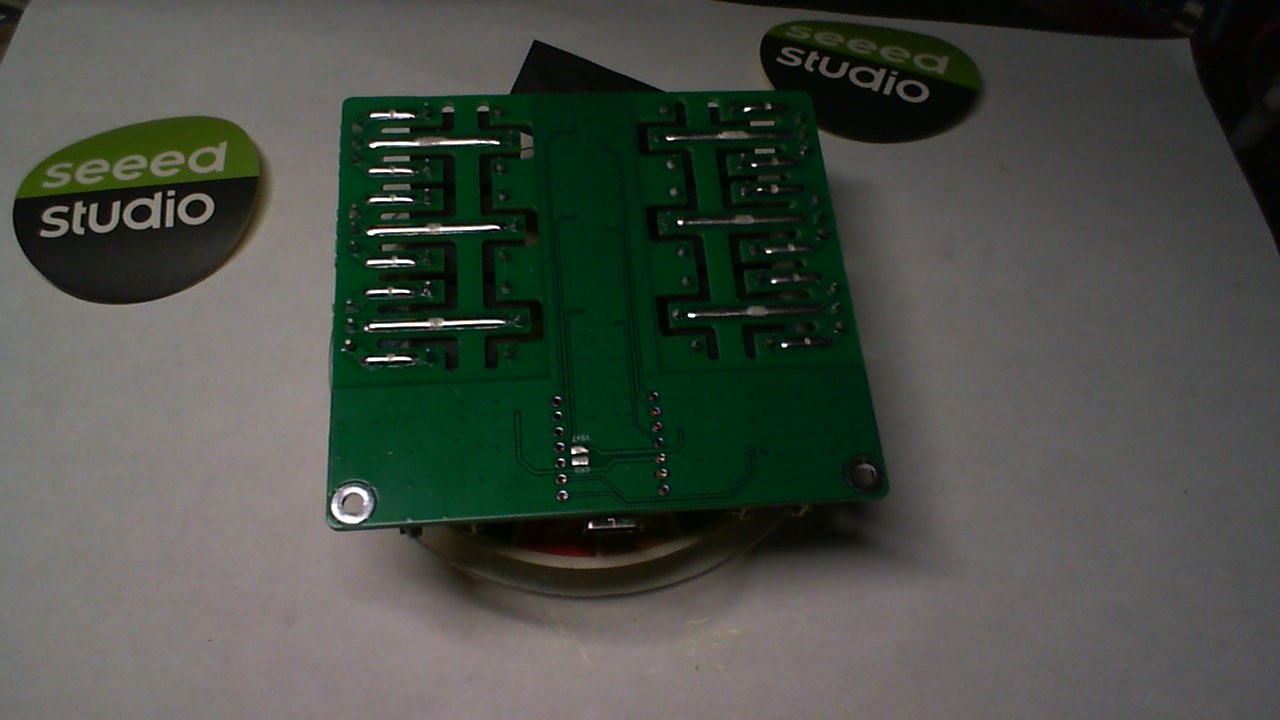
Just to put a BOW on this: The OVAL solder PADS are the WAY to Go! when soldering the Xiao to the PCB. (NOTE) I always do the BATT pads FIRST! If you flip the PCB and the Xiao doesn’t fall off , Your halfway there 
Then I Power it on. I use the RGB Flash Uf2 (drag & Drop file) from the testing thread on here Always, I never have a failure with this technique  40 something Xiao’s on custom PCB’s (3) revisions)
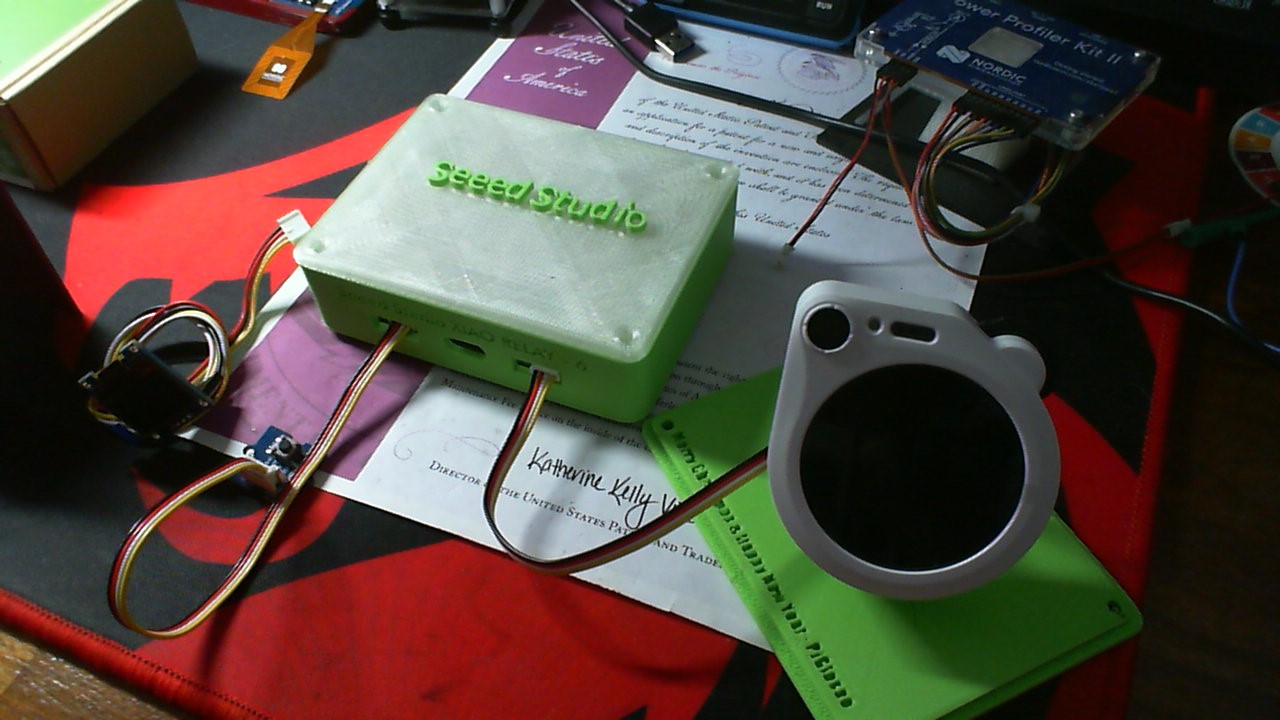
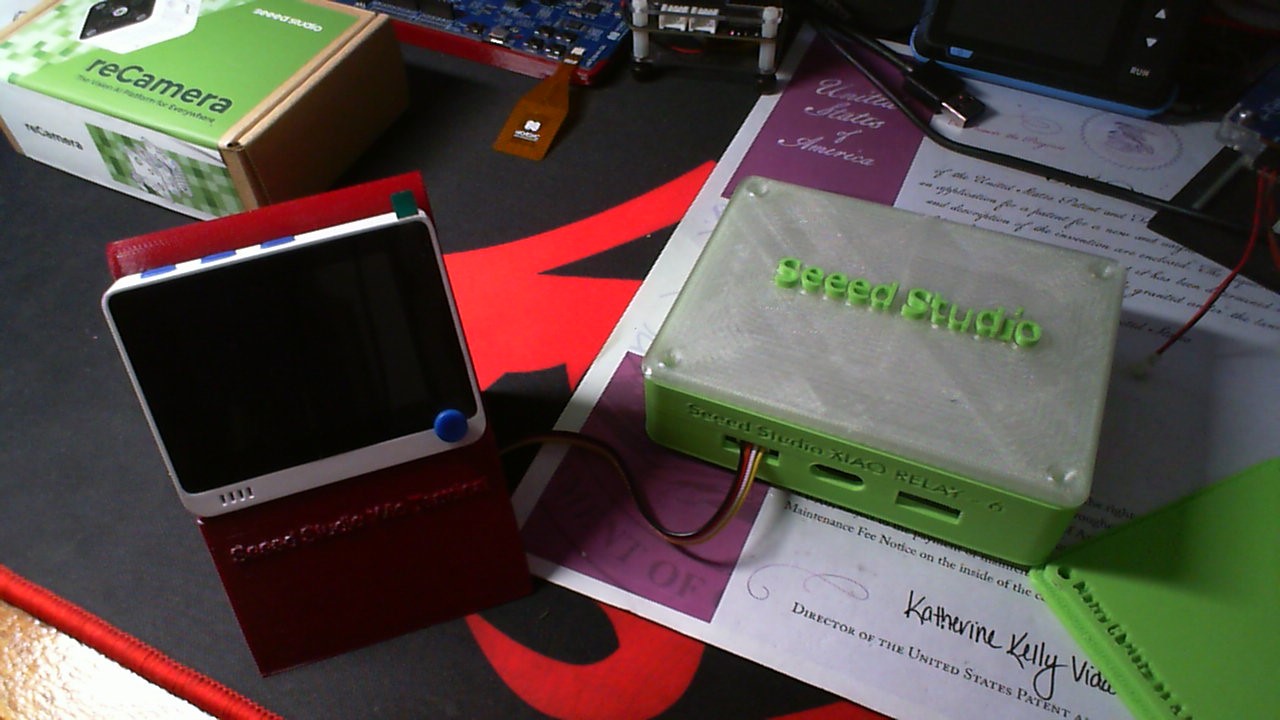
Here is the final result of what they Built… Yea they sent it to me for the contribution to the topic. 
thanx Fellows, and ladie tech’s.
Works really Well!
HTH
GL PJ
")