[size=200]Raspberry Pi 3: WIO Link Server installation into the filesystem[/size]
see also github.com/Seeed-Studio/Wio_Lin … filesystem
Within the graphical UI configure Wifi, IP, Hostname. In “Add/Remove Software” search for “Apache” and install “Apache HTTP Server”.
You can set the Raspi to boot into command line only now, we don’t need the GUI anymore
All the following instructions you can perform on the command line or better within an SSH client of you choice (ie. PuTTY).
Just because I’m used to work with VIM:
sudo apt-get install vim[size=150]1. Configure SSL[/size]
See also digitalocean.com/community/ … untu-14-04
sudo a2enmod ssl
sudo service apache2 restart
sudo mkdir /etc/apache2/ssl
Make sure, that you enter your (local) domain name at “Common name (FQDN), for example “*.se38.local”
sudo openssl req -x509 -nodes -days 365 -newkey rsa:2048 -keyout /etc/apache2/ssl/apache.key -out /etc/apache2/ssl/apache.crtEnter your domain name and the created key files:
sudo vim /etc/apache2/sites-available/default-ssl.conf<IfModule mod_ssl.c>
<VirtualHost _default_:443>
ServerAdmin [email protected]
ServerName se38-wio-1.se38.local
DocumentRoot /var/www/html
ErrorLog ${APACHE_LOG_DIR}/error.log
CustomLog ${APACHE_LOG_DIR}/access.log combined
SSLEngine on
SSLCertificateFile /etc/apache2/ssl/apache.crt
SSLCertificateKeyFile /etc/apache2/ssl/apache.key
sudo a2ensite default-ssl.conf
sudo service apache2 restart
[size=150]2. Enable reverse-proxy for https and wss[/size]
sudo a2enmod proxy
sudo a2enmod proxy_http
sudo a2enmod proxy_wstunnel
sudo vim /etc/apache2/sites-available/default-ssl.conf Insert at the end (but before )
[code] BrowserMatch “MSIE [17-9]” ssl-unclean-shutdown
        ProxyRequests Off
        ProxyPreserveHost On
        <Proxy *>
                 Order deny,allow
                Allow from all
        </Proxy>

        ProxyPass /v1/node/event ws://127.0.0.1:8080/v1/node/event
        ProxyPassReverse /v1/node/event ws://127.0.0.1:8080/v1/node/event

        ProxyPass /v1 http://127.0.0.1:8080/v1
        ProxyPassReverse /v1 http://127.0.0.1:8080/v1[/code]
Again:
sudo service apache2 restart[size=150]3. ESP8266 cross-compile toolchain[/size]
(the filename in this example only belongs to the Raspberry Pi with ARM processor. For other Linux installations you have to search for the right file in this JSON document arduino.esp8266.com/package_esp8 … index.json )
cd /opt
sudo wget http://arduino.esp8266.com/linuxarm-xtensa-lx106-elf-g46f160f.tar.gz
sudo tar -zxvf linuxarm-xtensa-lx106-elf-g46f160f.tar.gz
sudo vim /etc/profile
→ add the following to the path definitions
:/opt/xtensa-lx106-elf/binRestart the Raspi or enter
export PATH=$PATH:/opt/xtensa-lx106-elf/bin[size=150]4. Install the Python Server[/size]
sudo apt-get install python-dev
sudo pip install tornado
sudo pip install tornado-cors
sudo pip install PyJWT
sudo pip install pycrypto
sudo pip install PyYaml
[size=150]5. Install the Wio Server[/size]
cd /opt
sudo git clone https://github.com/Seeed-Studio/Wio_Link.git
sudo chown -R pi:users Wio_Link
cd Wio_Link
sudo git clone https://github.com/Seeed-Studio/Grove_Drivers_for_Wio.git
rm grove_drivers/ -R
mv Grove_Drivers_for_Wio grove_drivers
sudo chown -R pi:users grove_drivers
rm grove_drivers/.git -R -f
rm grove_drivers/.gitignore -R -f
[size=150]6. Start the Server [/size]
python ./server.pyCompile the Grove Drivers
python ./scan_drivers.pyTest
python ./build_firmware.py[size=150]7. Autostart the Server[/size]
sudo vim /etc/rc.localat the end but before “exit 0”
su pi -c 'cd /opt/Wio_Link && python ./server.py'Reboot
[size=150]Update[/size]
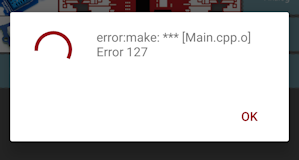
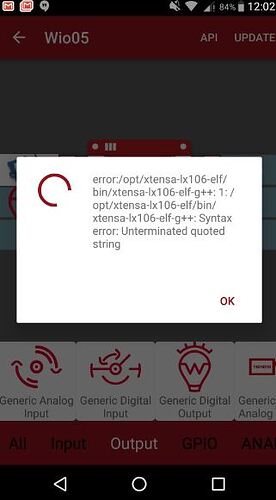
If you’re starting the server automatically as described in chapter 7 you may get a compile error while updating the firmware via mobile App.
In this case you have to uncomment the entry (set a ‘#’ in front of the line) in file /etc/rc.local again, reboot and start the server “by hand”:
cd /opt/Wio_Link
python server.py
Update the firmware via App and let the server autostart again as described in chapter 7.


