Hi there
So this may be useful to some of the makers and want-a-be programmers out there.
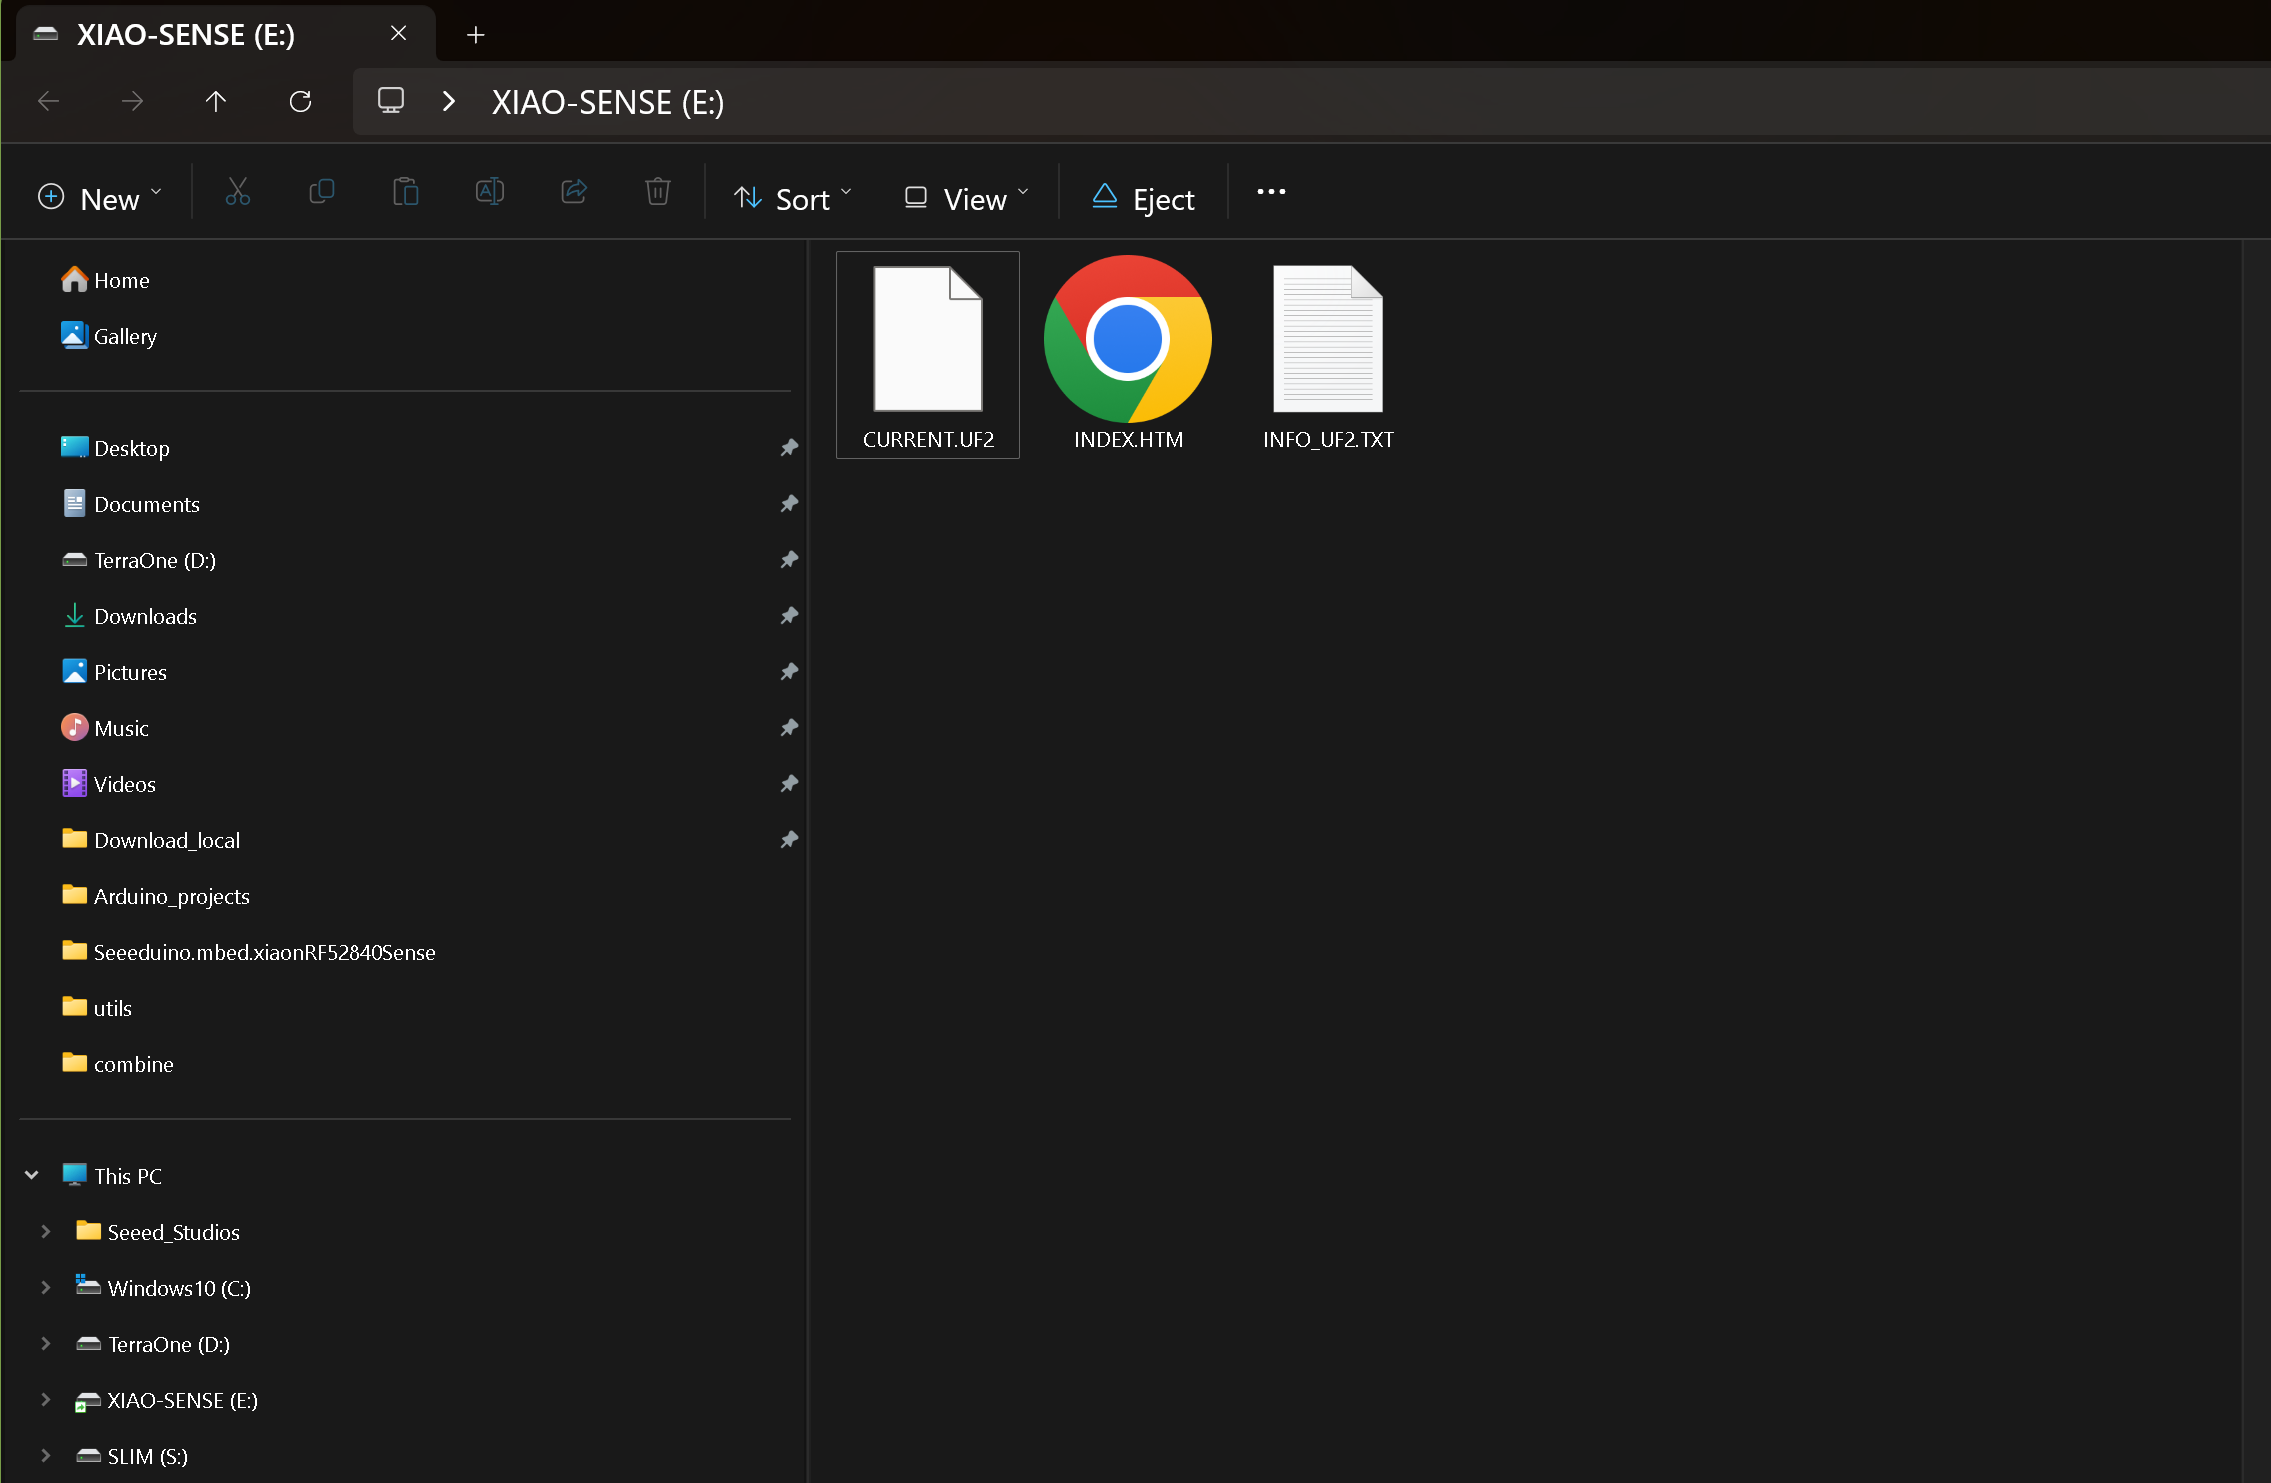
It’s way easier to Drag and Drop a Uf2 flash file on a Xiao Nrf52840 BLE or Sense in bootloader mode with the drive displayed in windows for example.
There are many, many discussions and tutorials about it, just google it but none that show the steps clear enough for me at least on a windows PC.
The First Step is easy,
If you use Arduino IDE it does most of the work for you, then you use a python script from a terminal window and it does the rest. Poof a “Flash.uf2”. Drag it on to an open Xiao in Bootloader mode and after the copy it resets and runs the code. Nothing to Compile or manually Flash. Great!
I started by making a TOOLS folder in the Arduino Sketch folder once, there I opened a terminal window with the Right Click like this
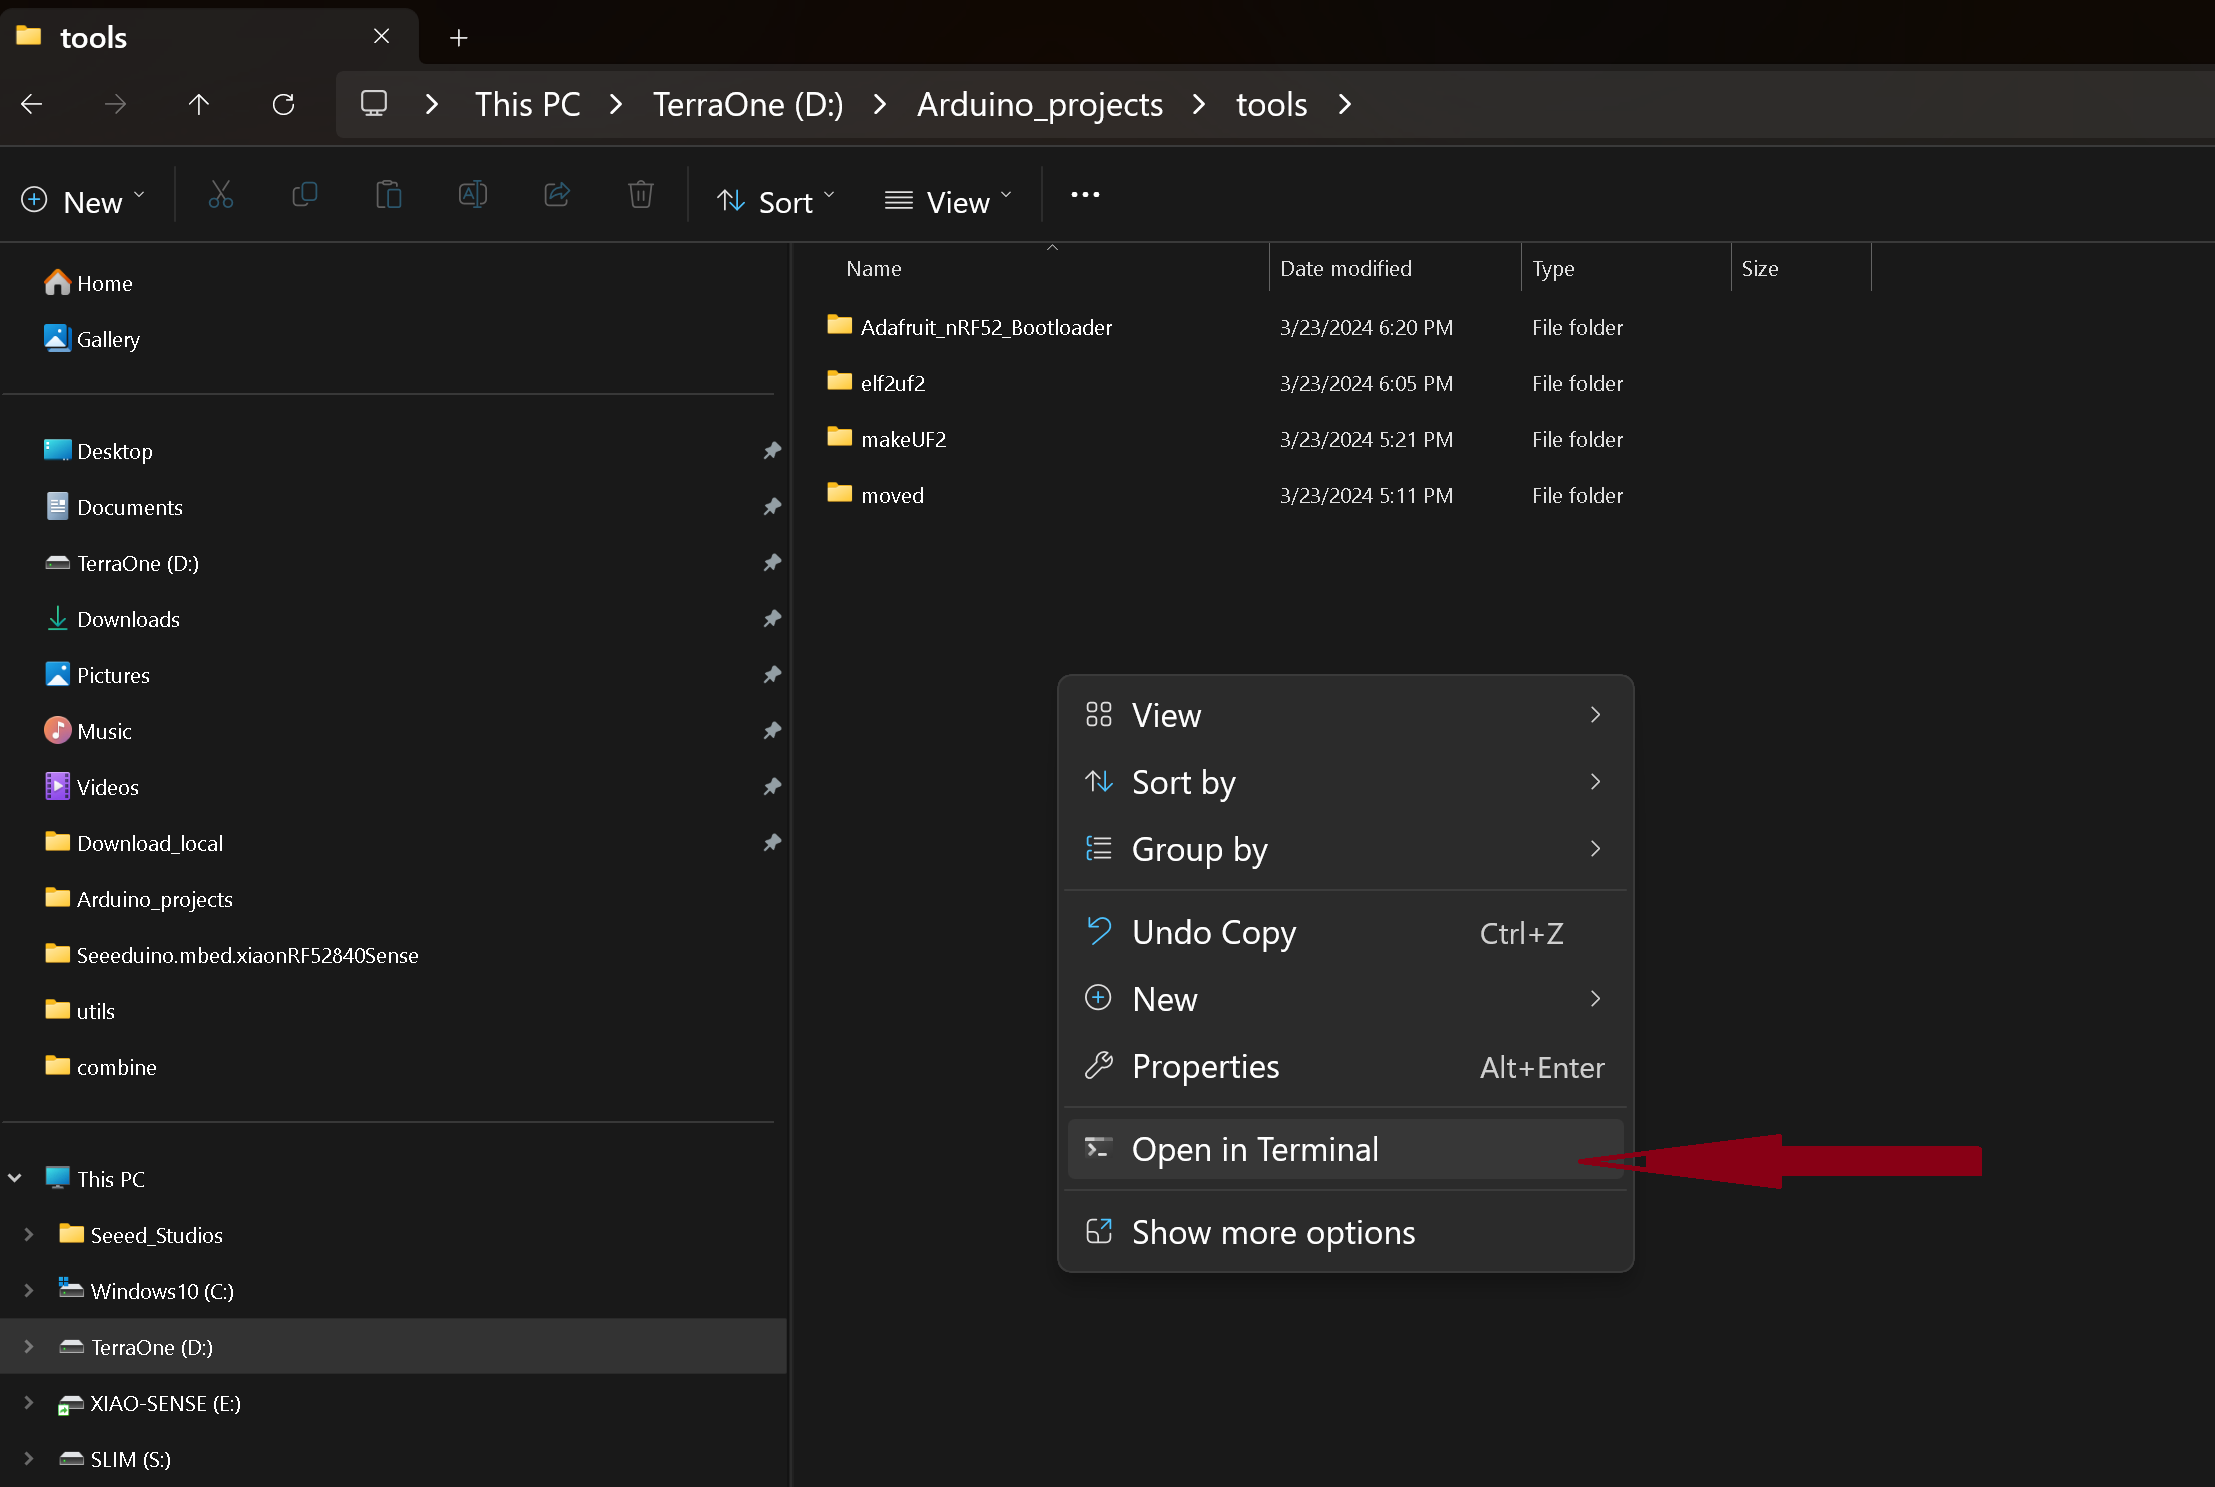
This is where some folks get tripped up , So pay Attention!!
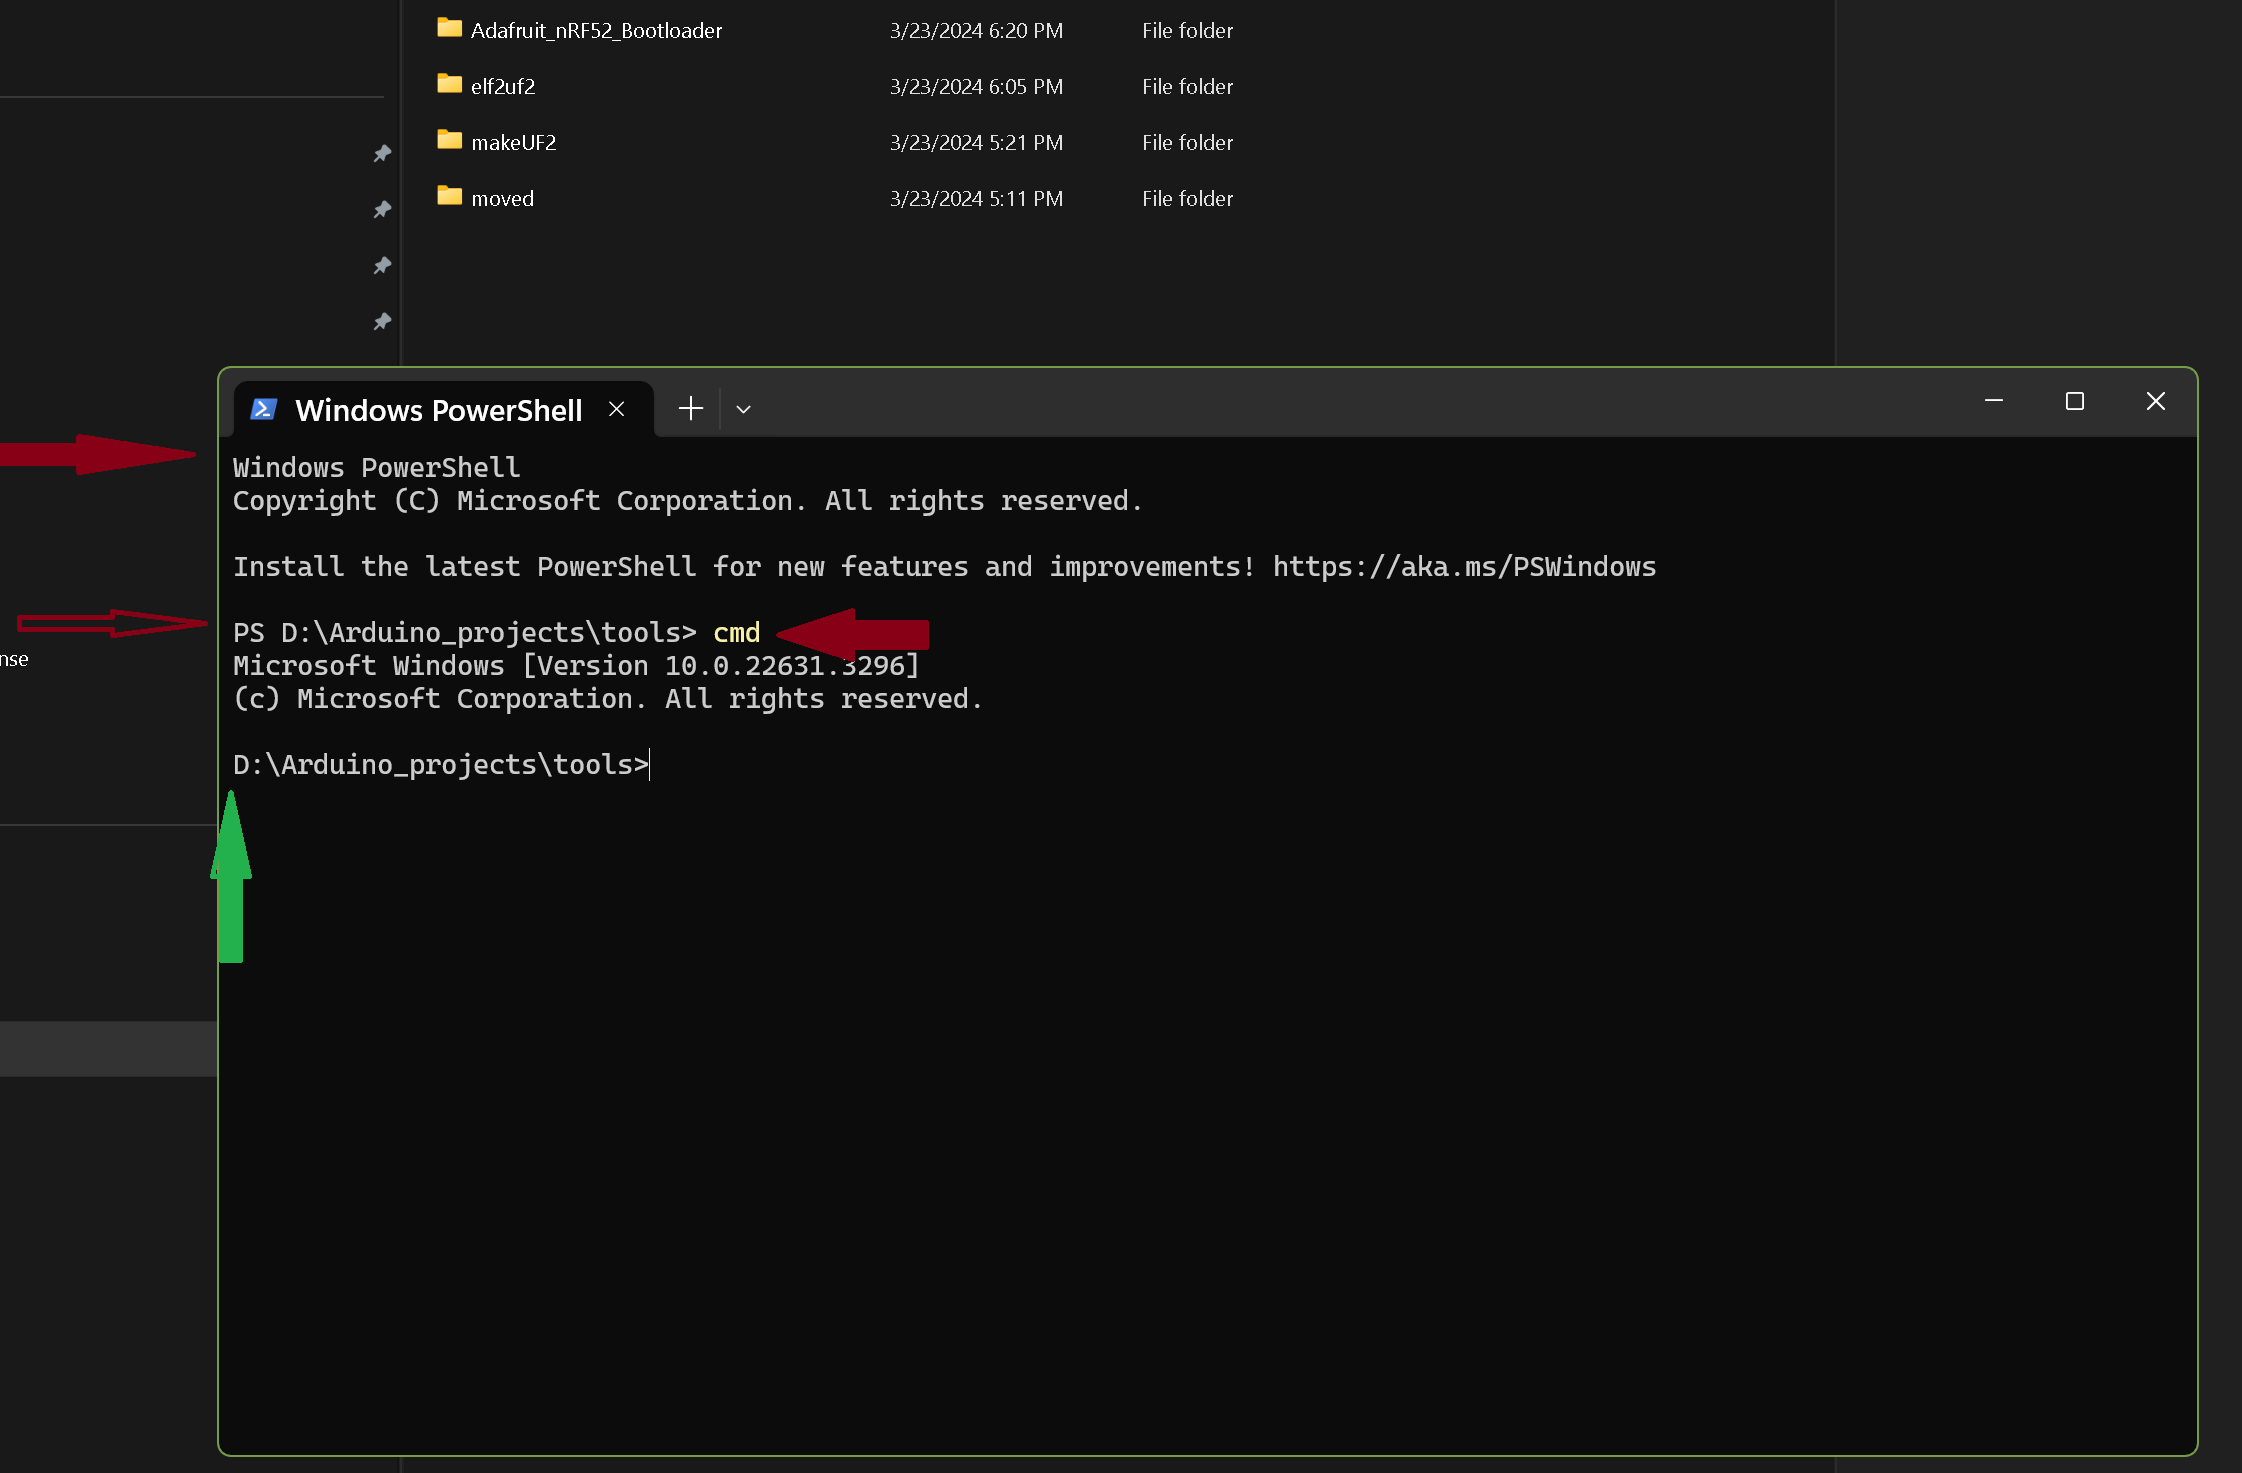
You may get a POWER-Shell Terminal window, Just type “CMD” in the prompt and it will
jump to command com.
Assuming you have built a project in the IDE and you selected “Export Compiled Binary” from the sketch menu and that you have python 3 installed on your computer. With that being said, you now install adafruit nrfutil package. by Entering the first install string in the terminal window.
pip3 install --user adafruit-nrfutil

Then when it’s finished clone the repo,
git clone https://github.com/adafruit/Adafruit_nRF52_Bootloader
cd Adafruit_nRF52_Bootloader
git submodule update --init
cd lib/uf2/utils
just copy and paste into the terminal window and you’ll know if it doesn’t’ install.

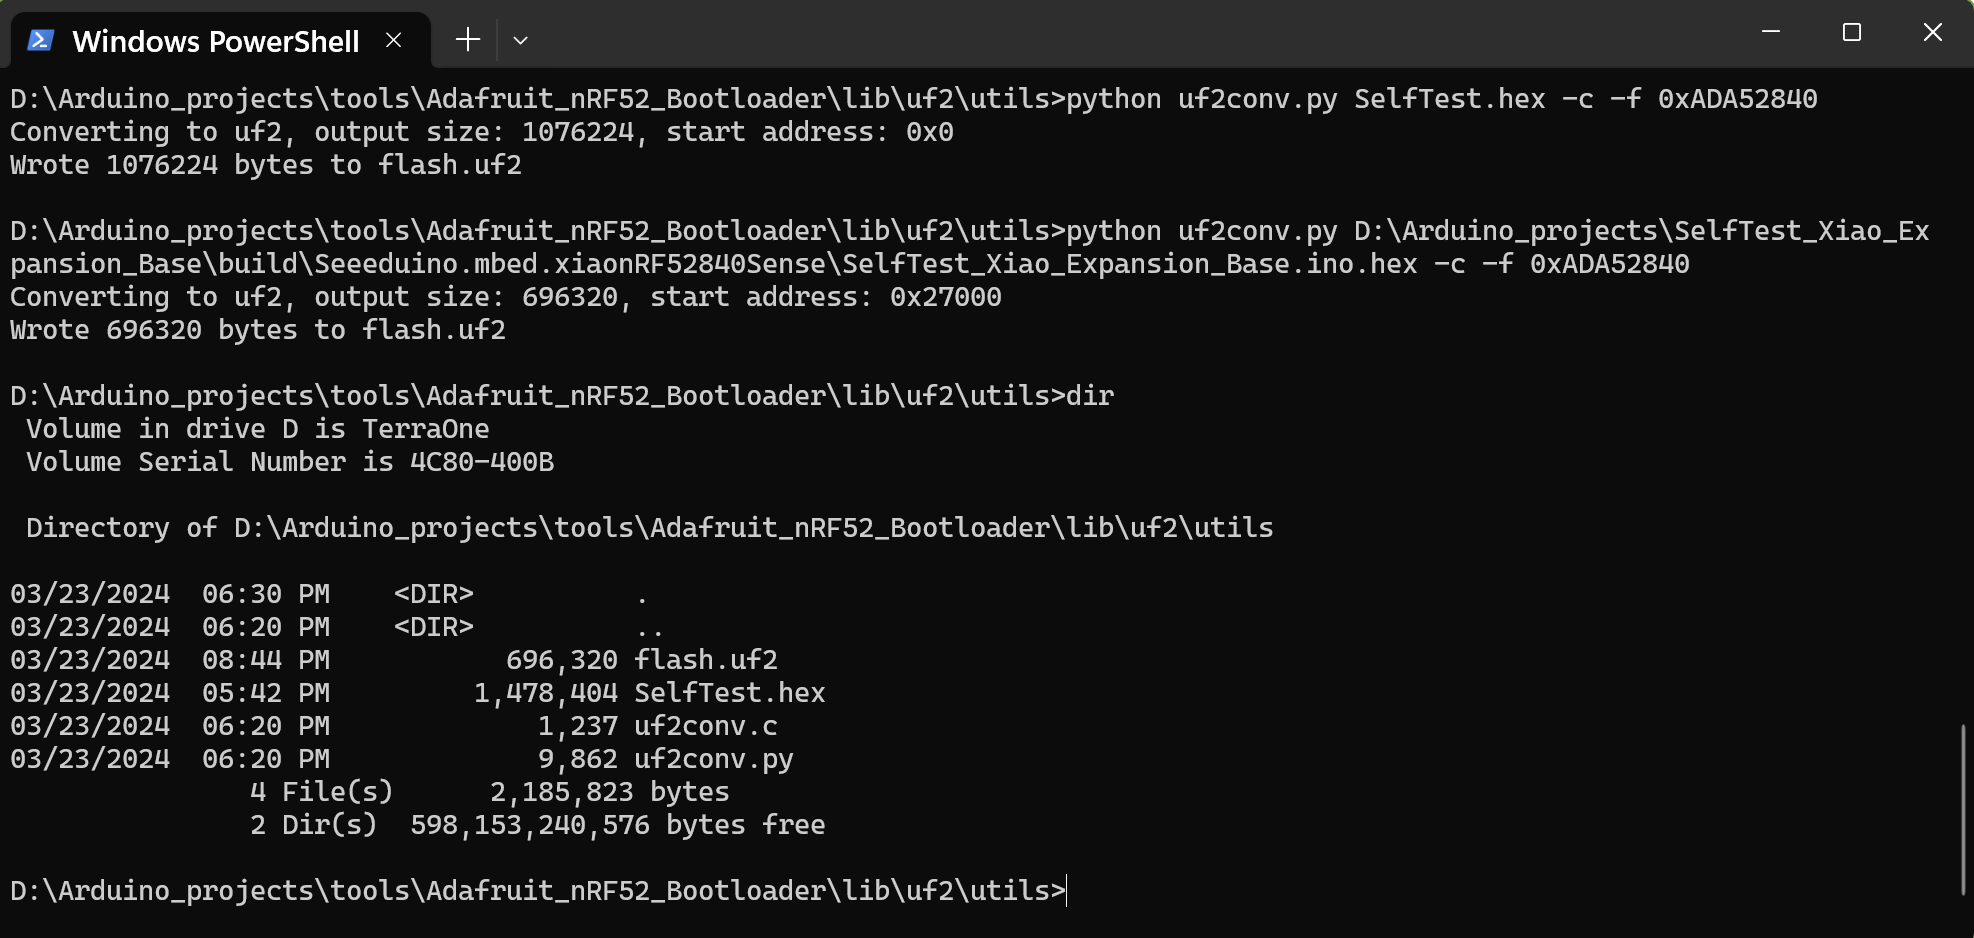
Now issue below command to make uf2 file. Make sure to change the filename and path of your .hex file. This will generate a .uf2 file with name flash.uf2
D:\Arduino_projects\tools\Adafruit_nRF52_Bootloader\lib\uf2\utils>python uf2conv.py SelfTest.hex -c -f 0xADA52840
Converting to uf2, output size: 1076224, start address: 0x0
Wrote 1076224 bytes to flash.uf2
D:\Arduino_projects\tools\Adafruit_nRF52_Bootloader\lib\uf2\utils>
Now you have a Flash file you can drop on a Xiao and it Runs…
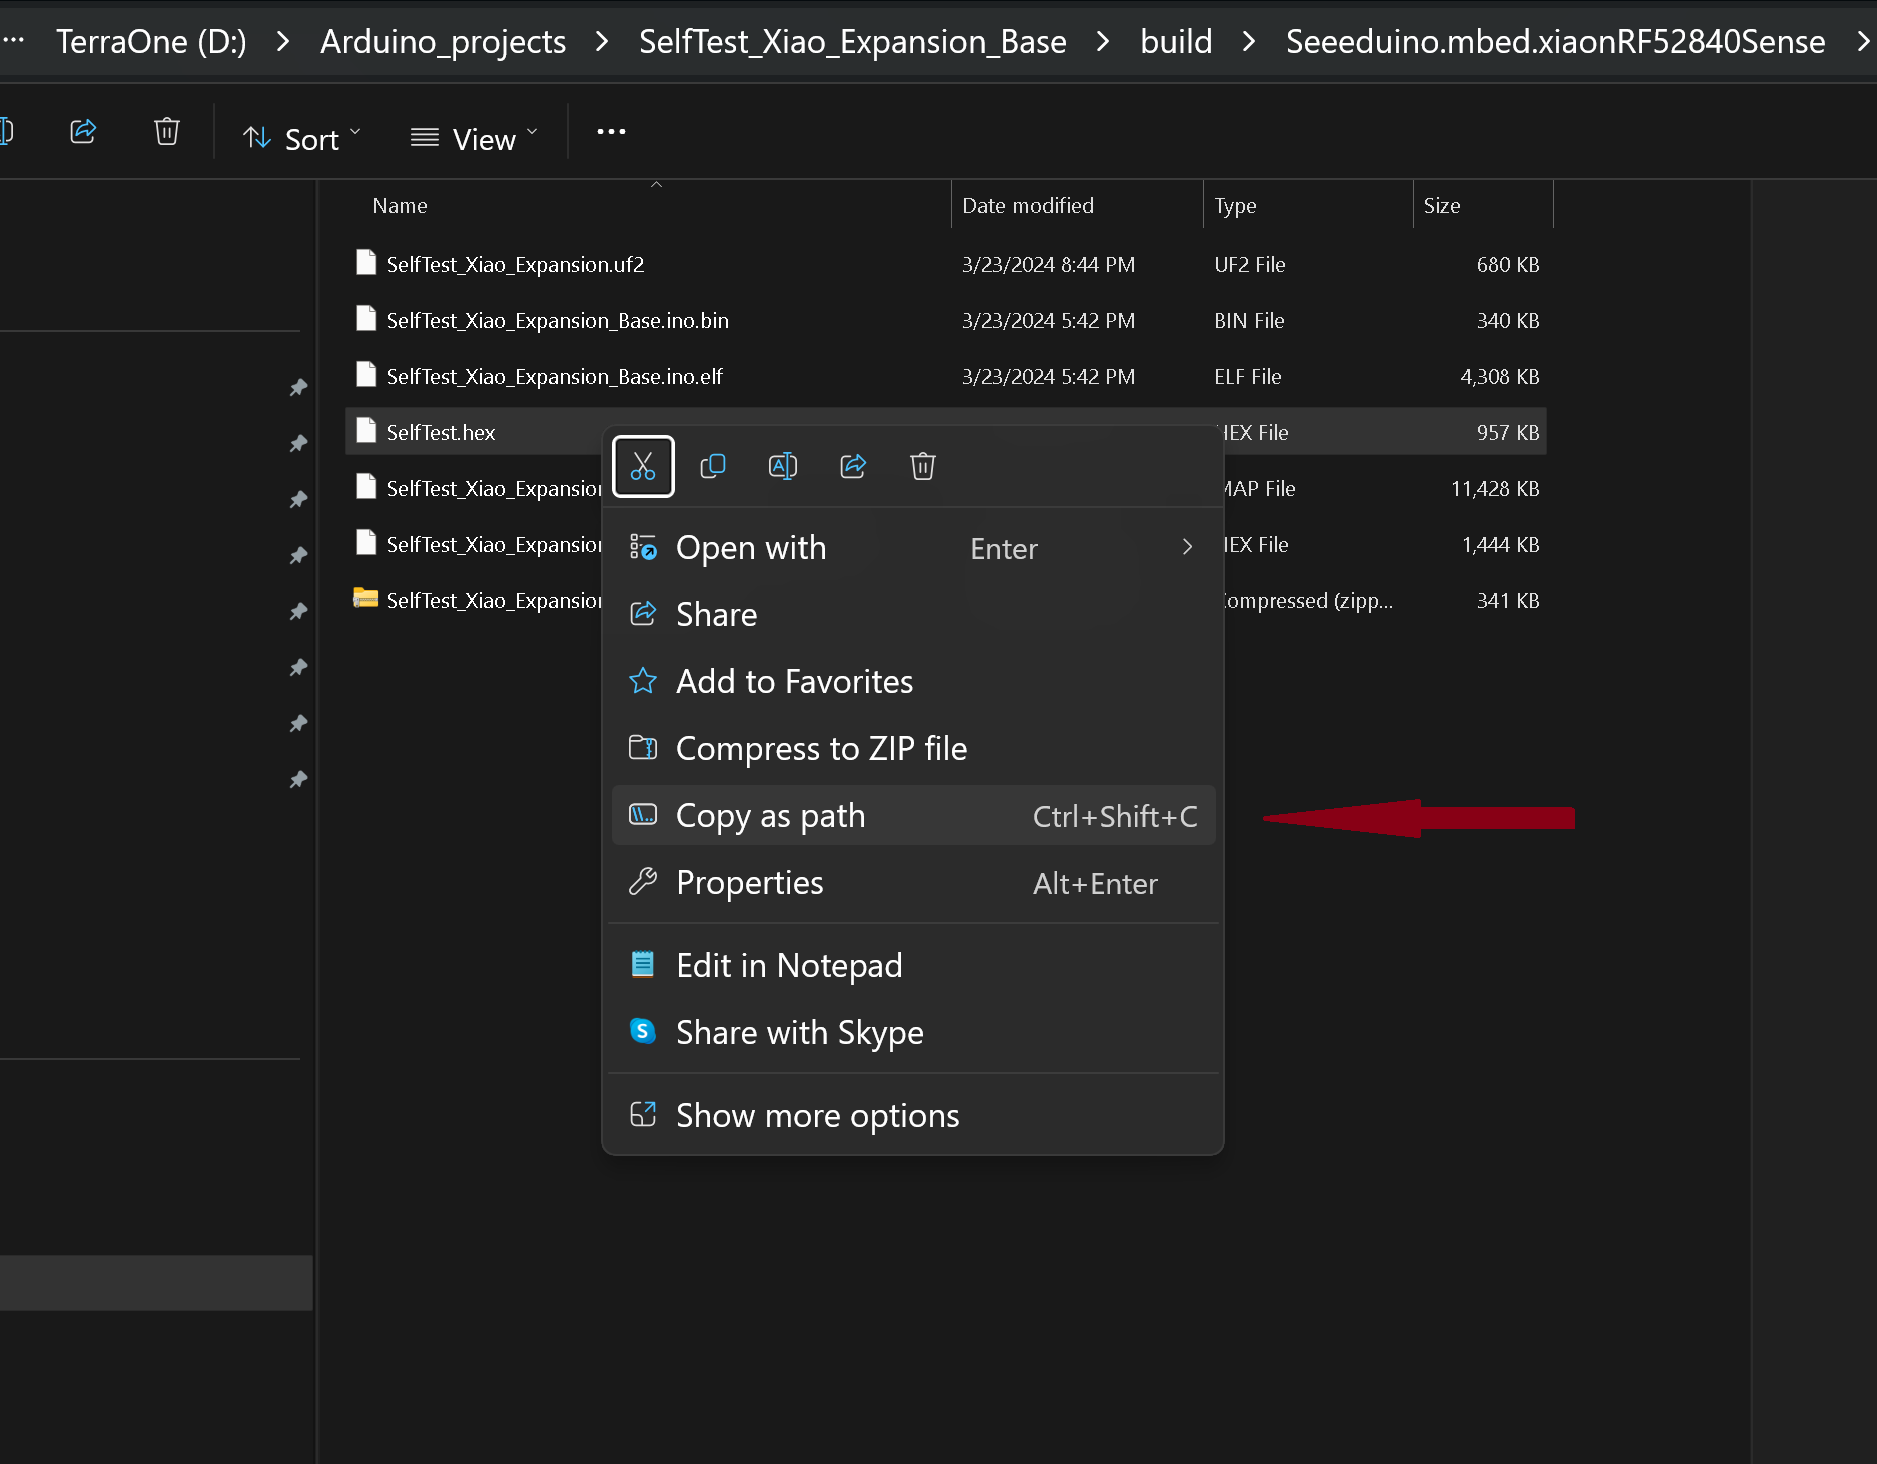
Here is the the format I used after copying the Hex file from, the build folder I previously exported. You can copy it to the uf2 tool folder or just right click and get the path and Paste it on the command line and remove the “” marks.
looks like this in the terminal window.
I will post some examples with the uf2 files alongside next…
HTH
GL ![]() PJ
PJ