@PJ_Glasso OK, so I am in the right place, and thank you for responding!
So, all I needed was a good night’s sleep.
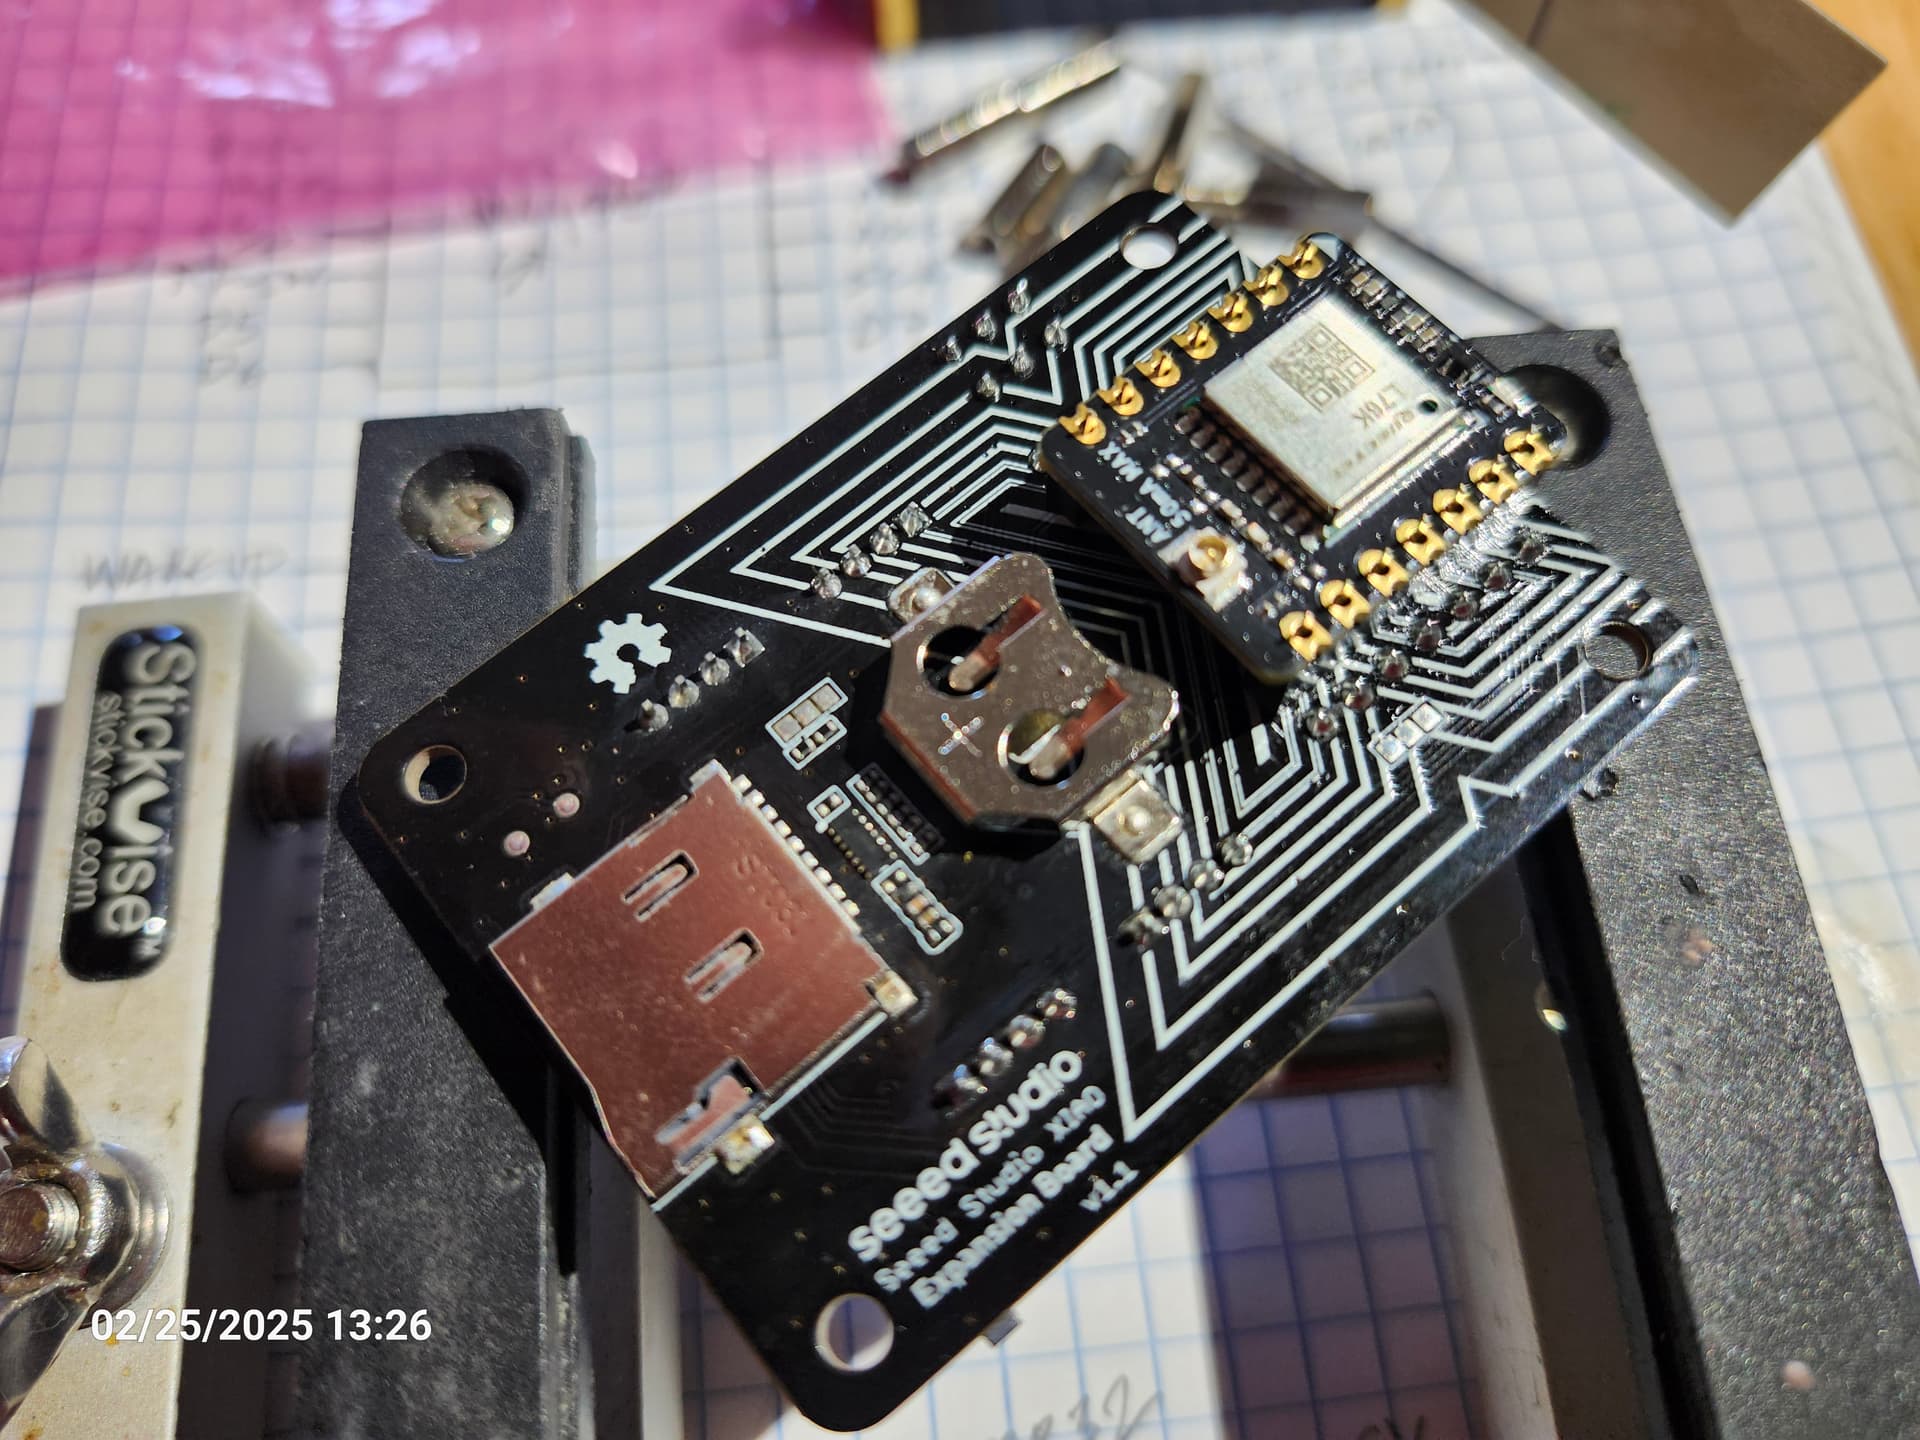
Following is the steps I took to complete the Seeed 4-Layer Sandwich project. Please bear with me.
Like I said, a good night’s sleep…

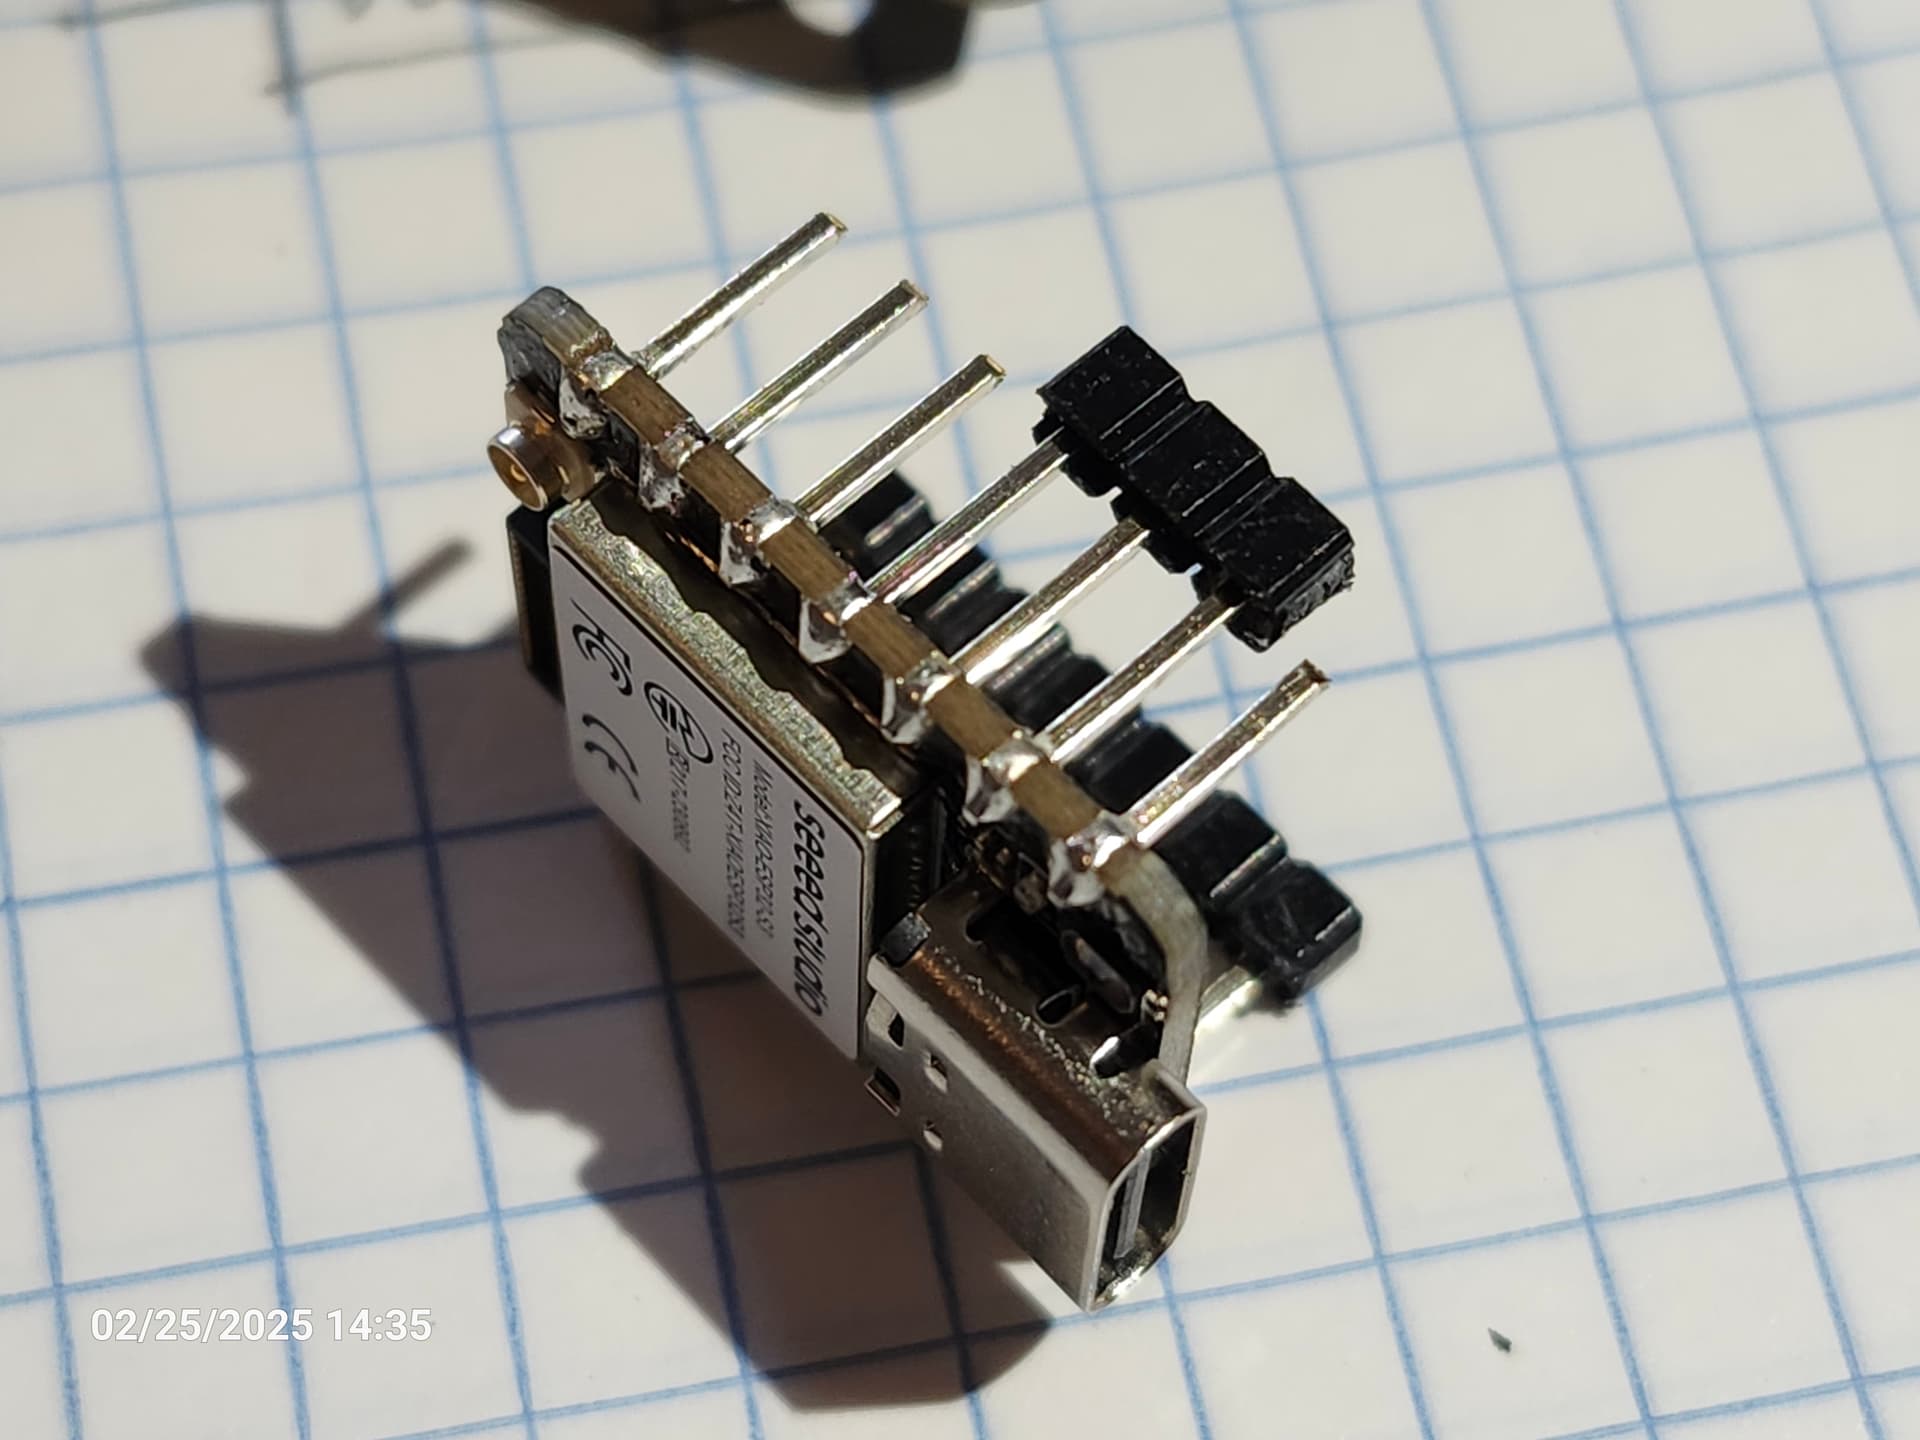
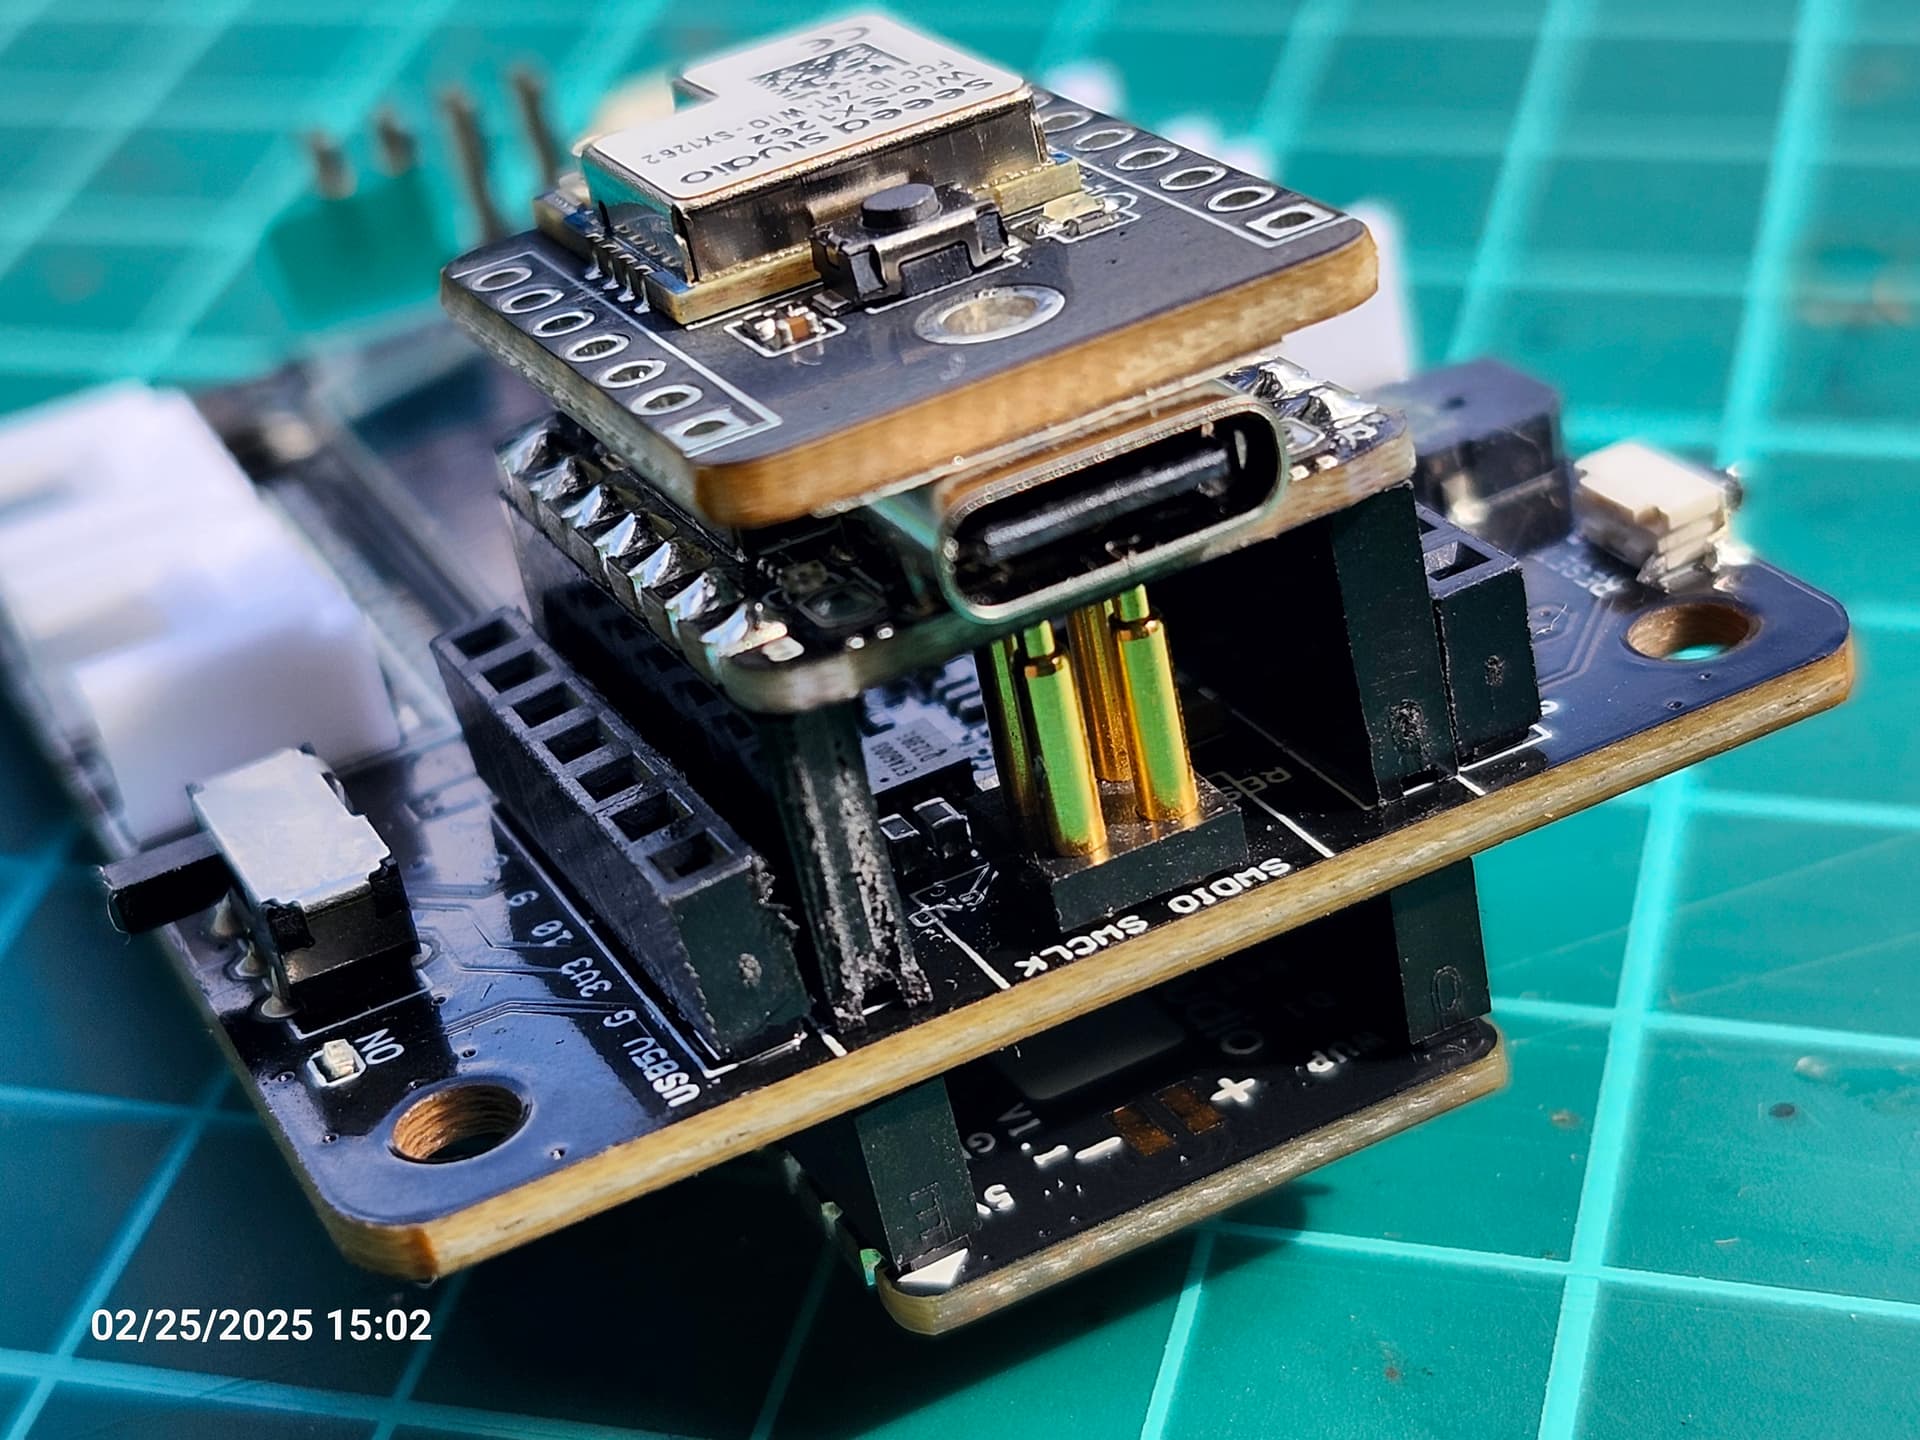
So, there is a bit to overcome here to improve the fit and finish of the project. Using standard stacking headers the the pins dropping to the GPS board are a bit long. And, further eyeballin’ shows the need to remove the spacer below the S3 board for the pogo pins to hit right. A note on the pogo pins…yeah, plenty tension, blows the board upward over time. Am a bit reluctant at present to start bending male pins to increase friction in the female header. But, read on…
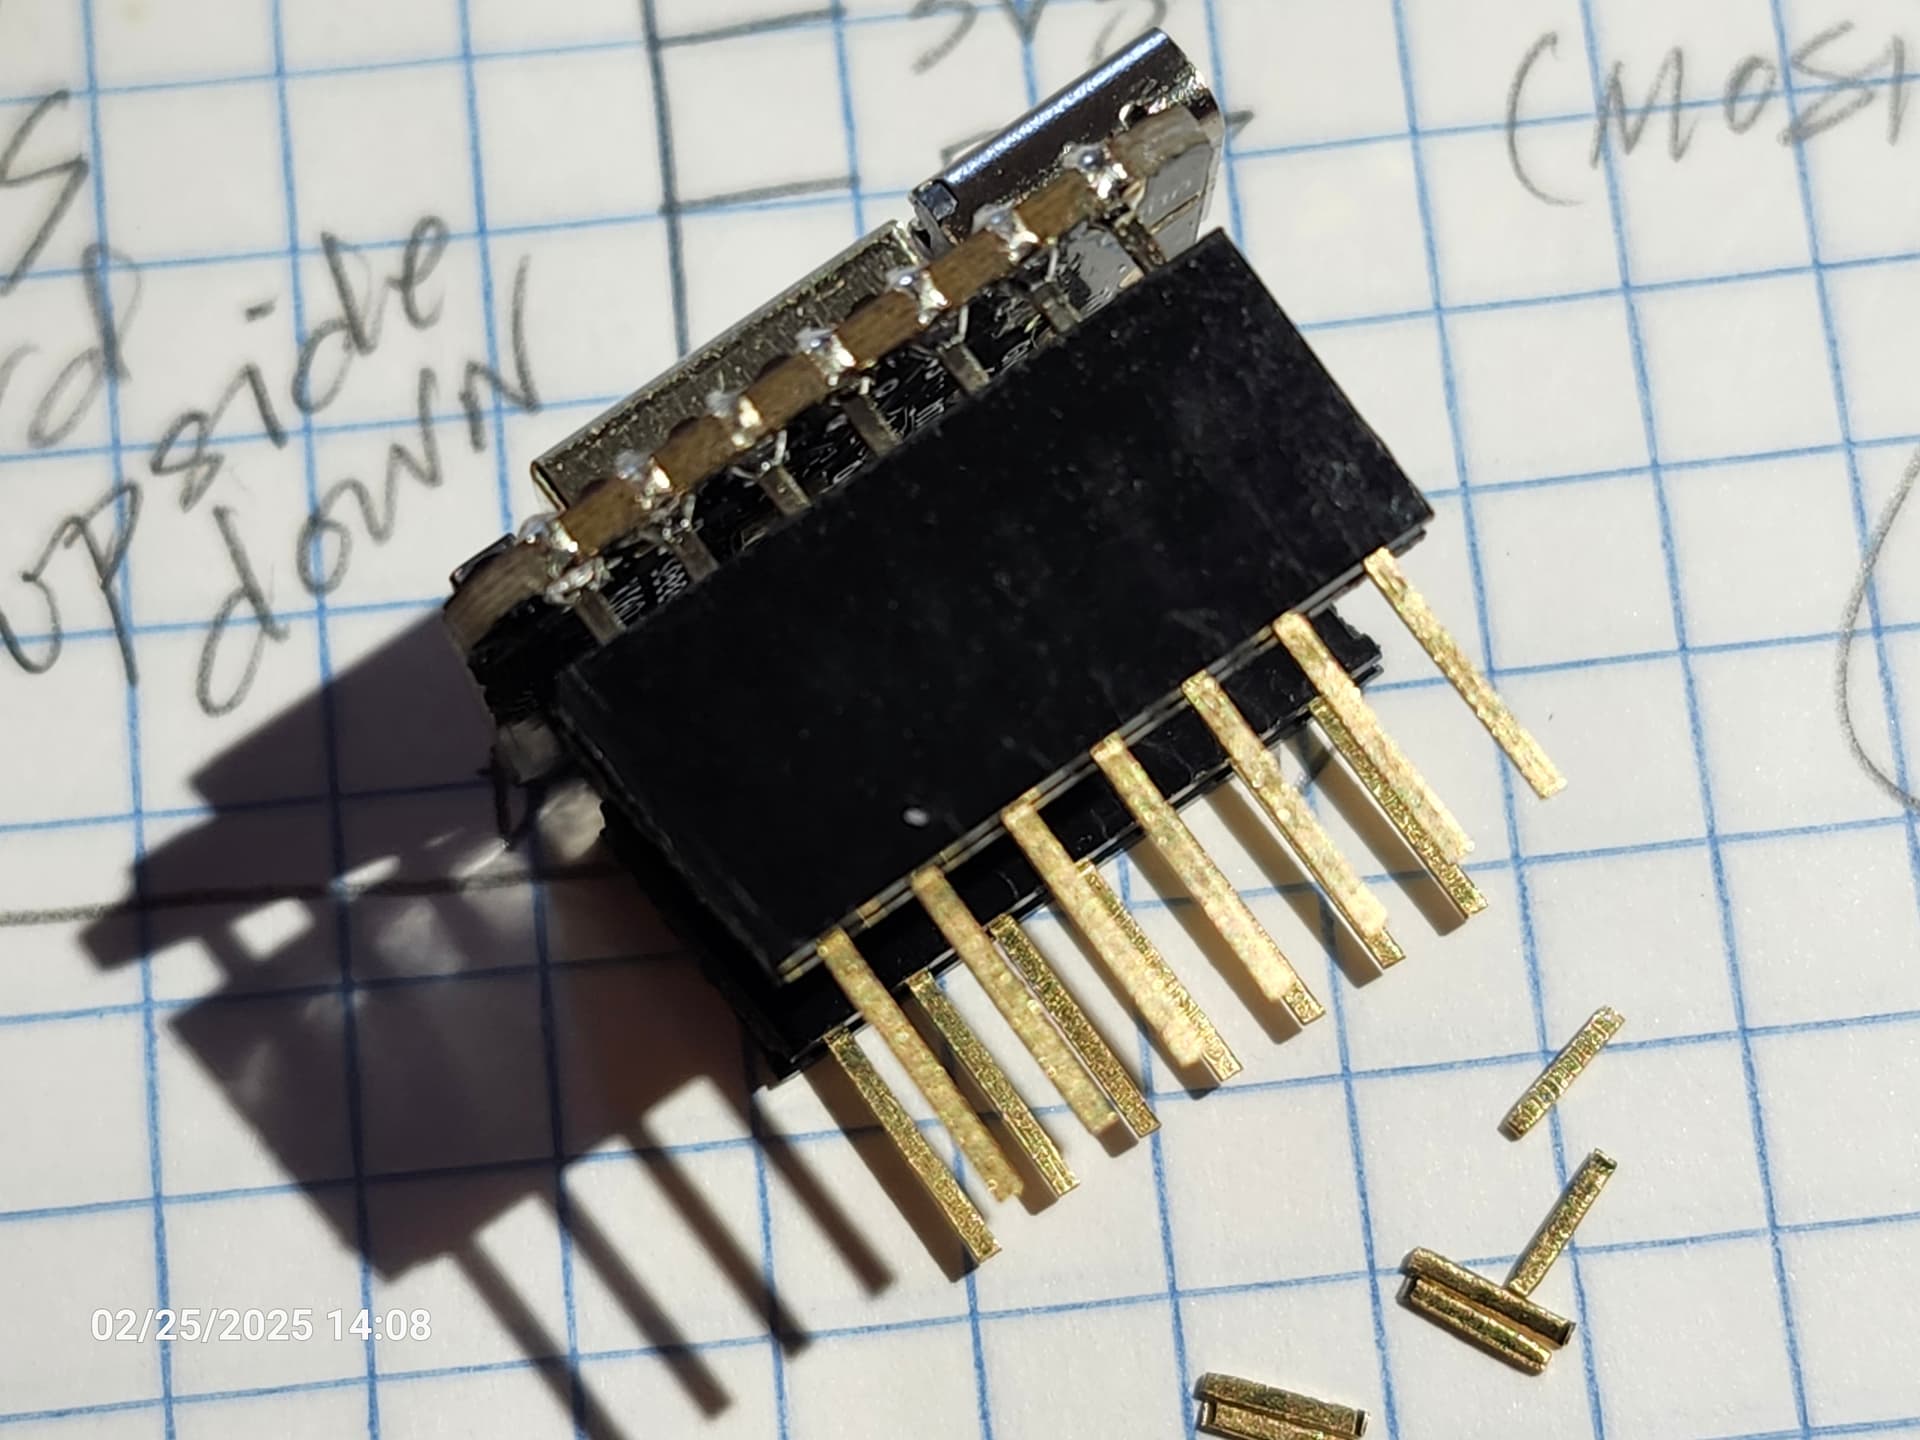
For this I used a piece of proto board as a spacer and the GPS’s included female headers as a gauge to trim the pins appropriately. Trimmed pins were deburred and rounded a bit, and cleaned.
Take a breath and admire the work so far.
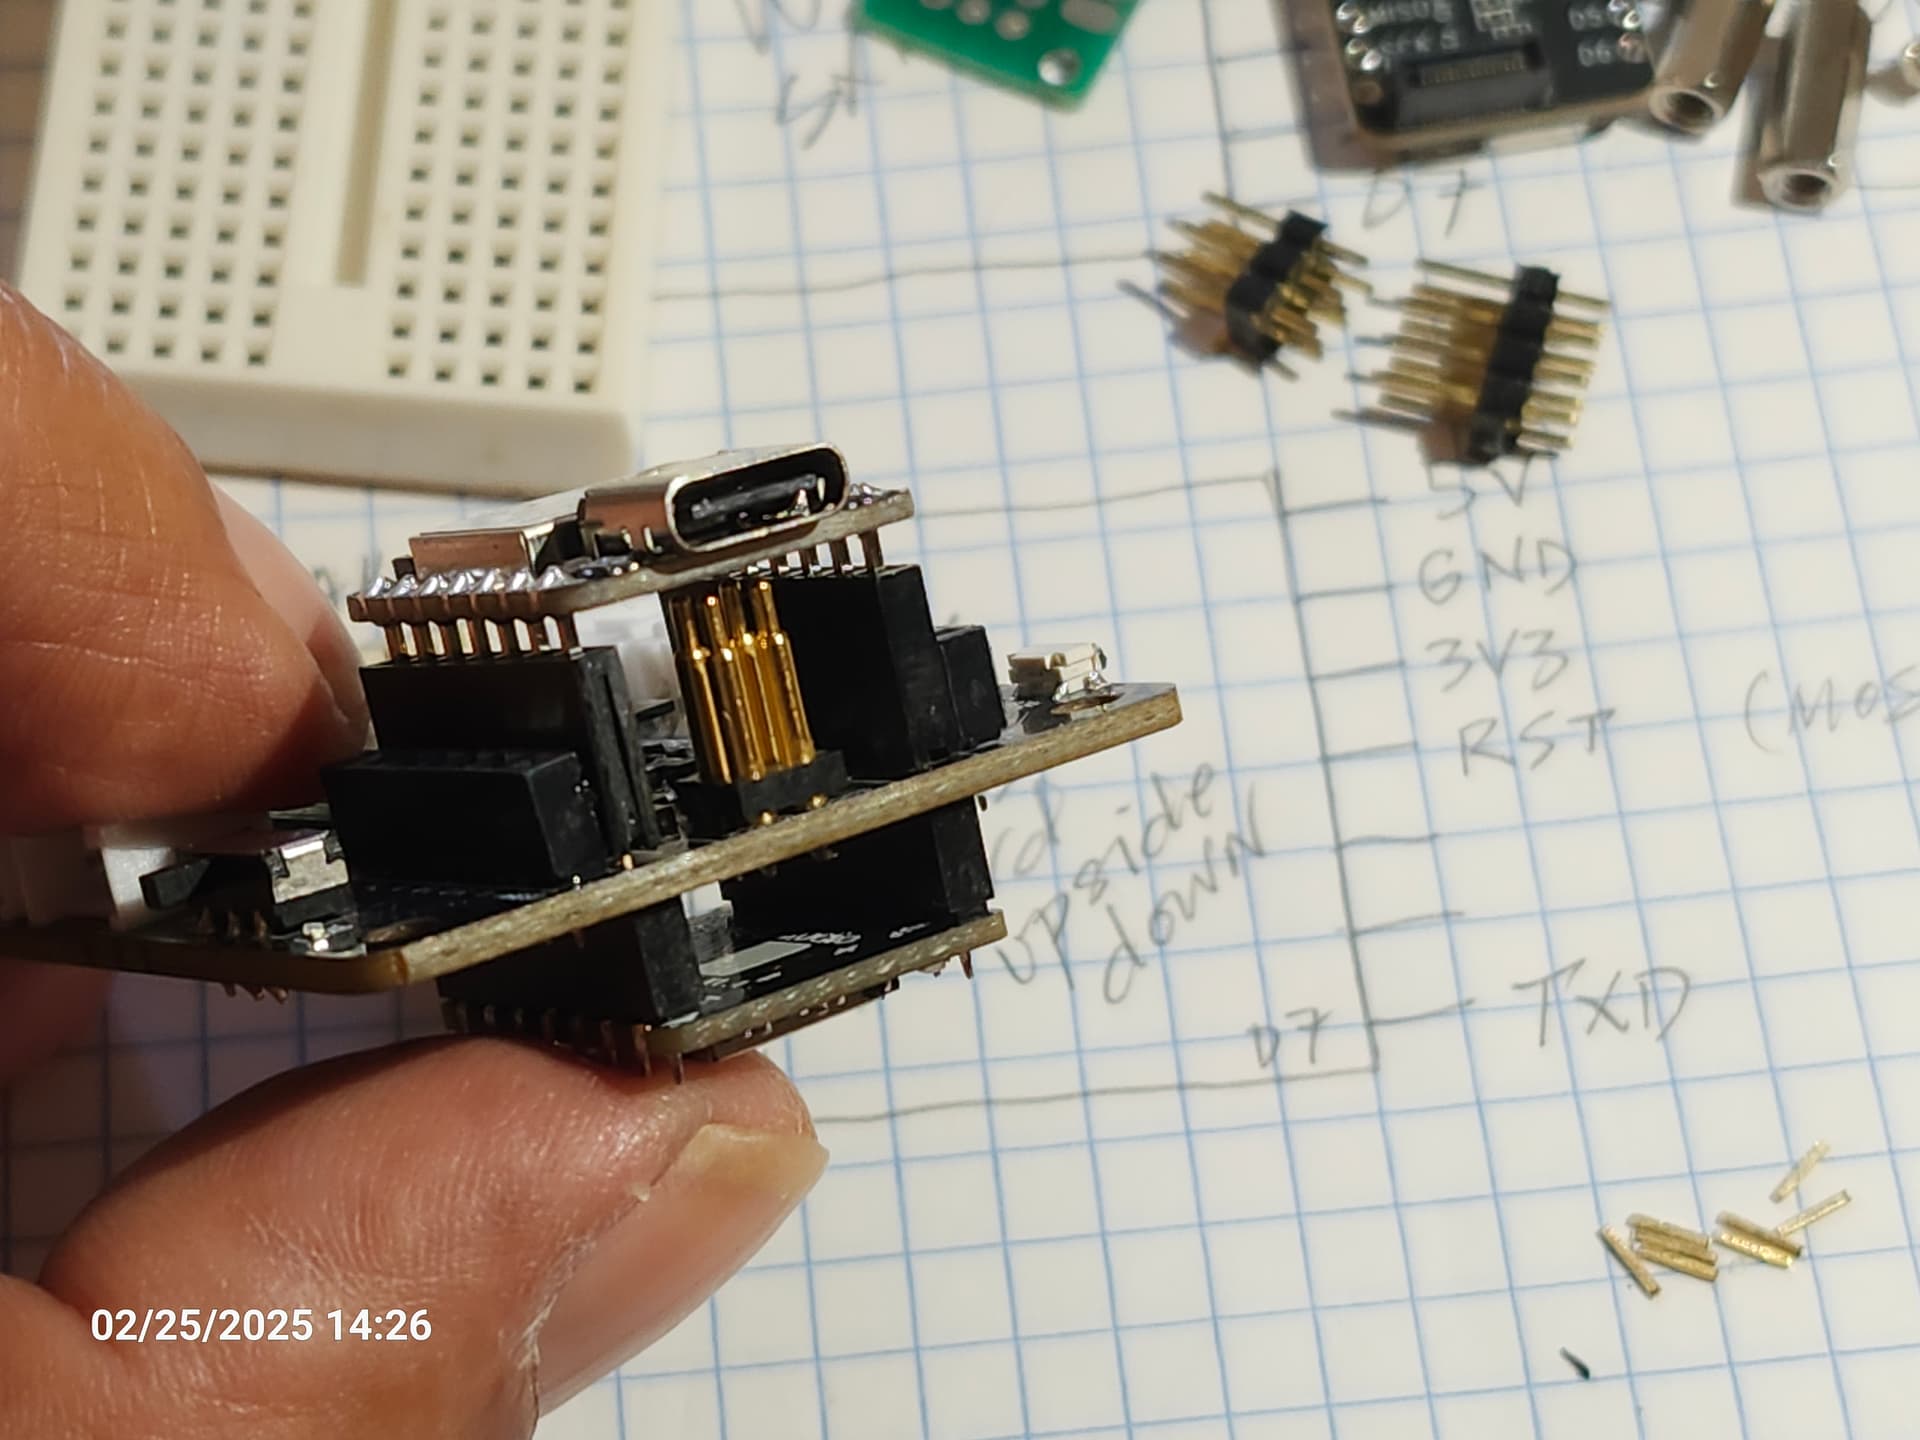
Here I used the spacer as a gauge for trimming, with a flush cut at the spacer. Pins were deburred and rounded a bit.
Here we have the completed project, everything soldered in place, boards fitted.

With the pre-flashed Meshtastic on the Xiao ESP32-S3 + Wio-SX1262 kit, this board fired right up, detecting the L76 GNSS module and everything. Minor config via BT over phone and this is what is to be expected. Board started collecting nodes from around the area.
Project completion time was a leisurely 4 hours. So, yeah was a noobish question I posed above in regard this project. Begging your pardon with my presentation here.
edit: So, with all this, some of the tension in the pogo pins is relieved. A good ride in the truck will tell me if the connxns are solid in there.
All the best,
Bambuino