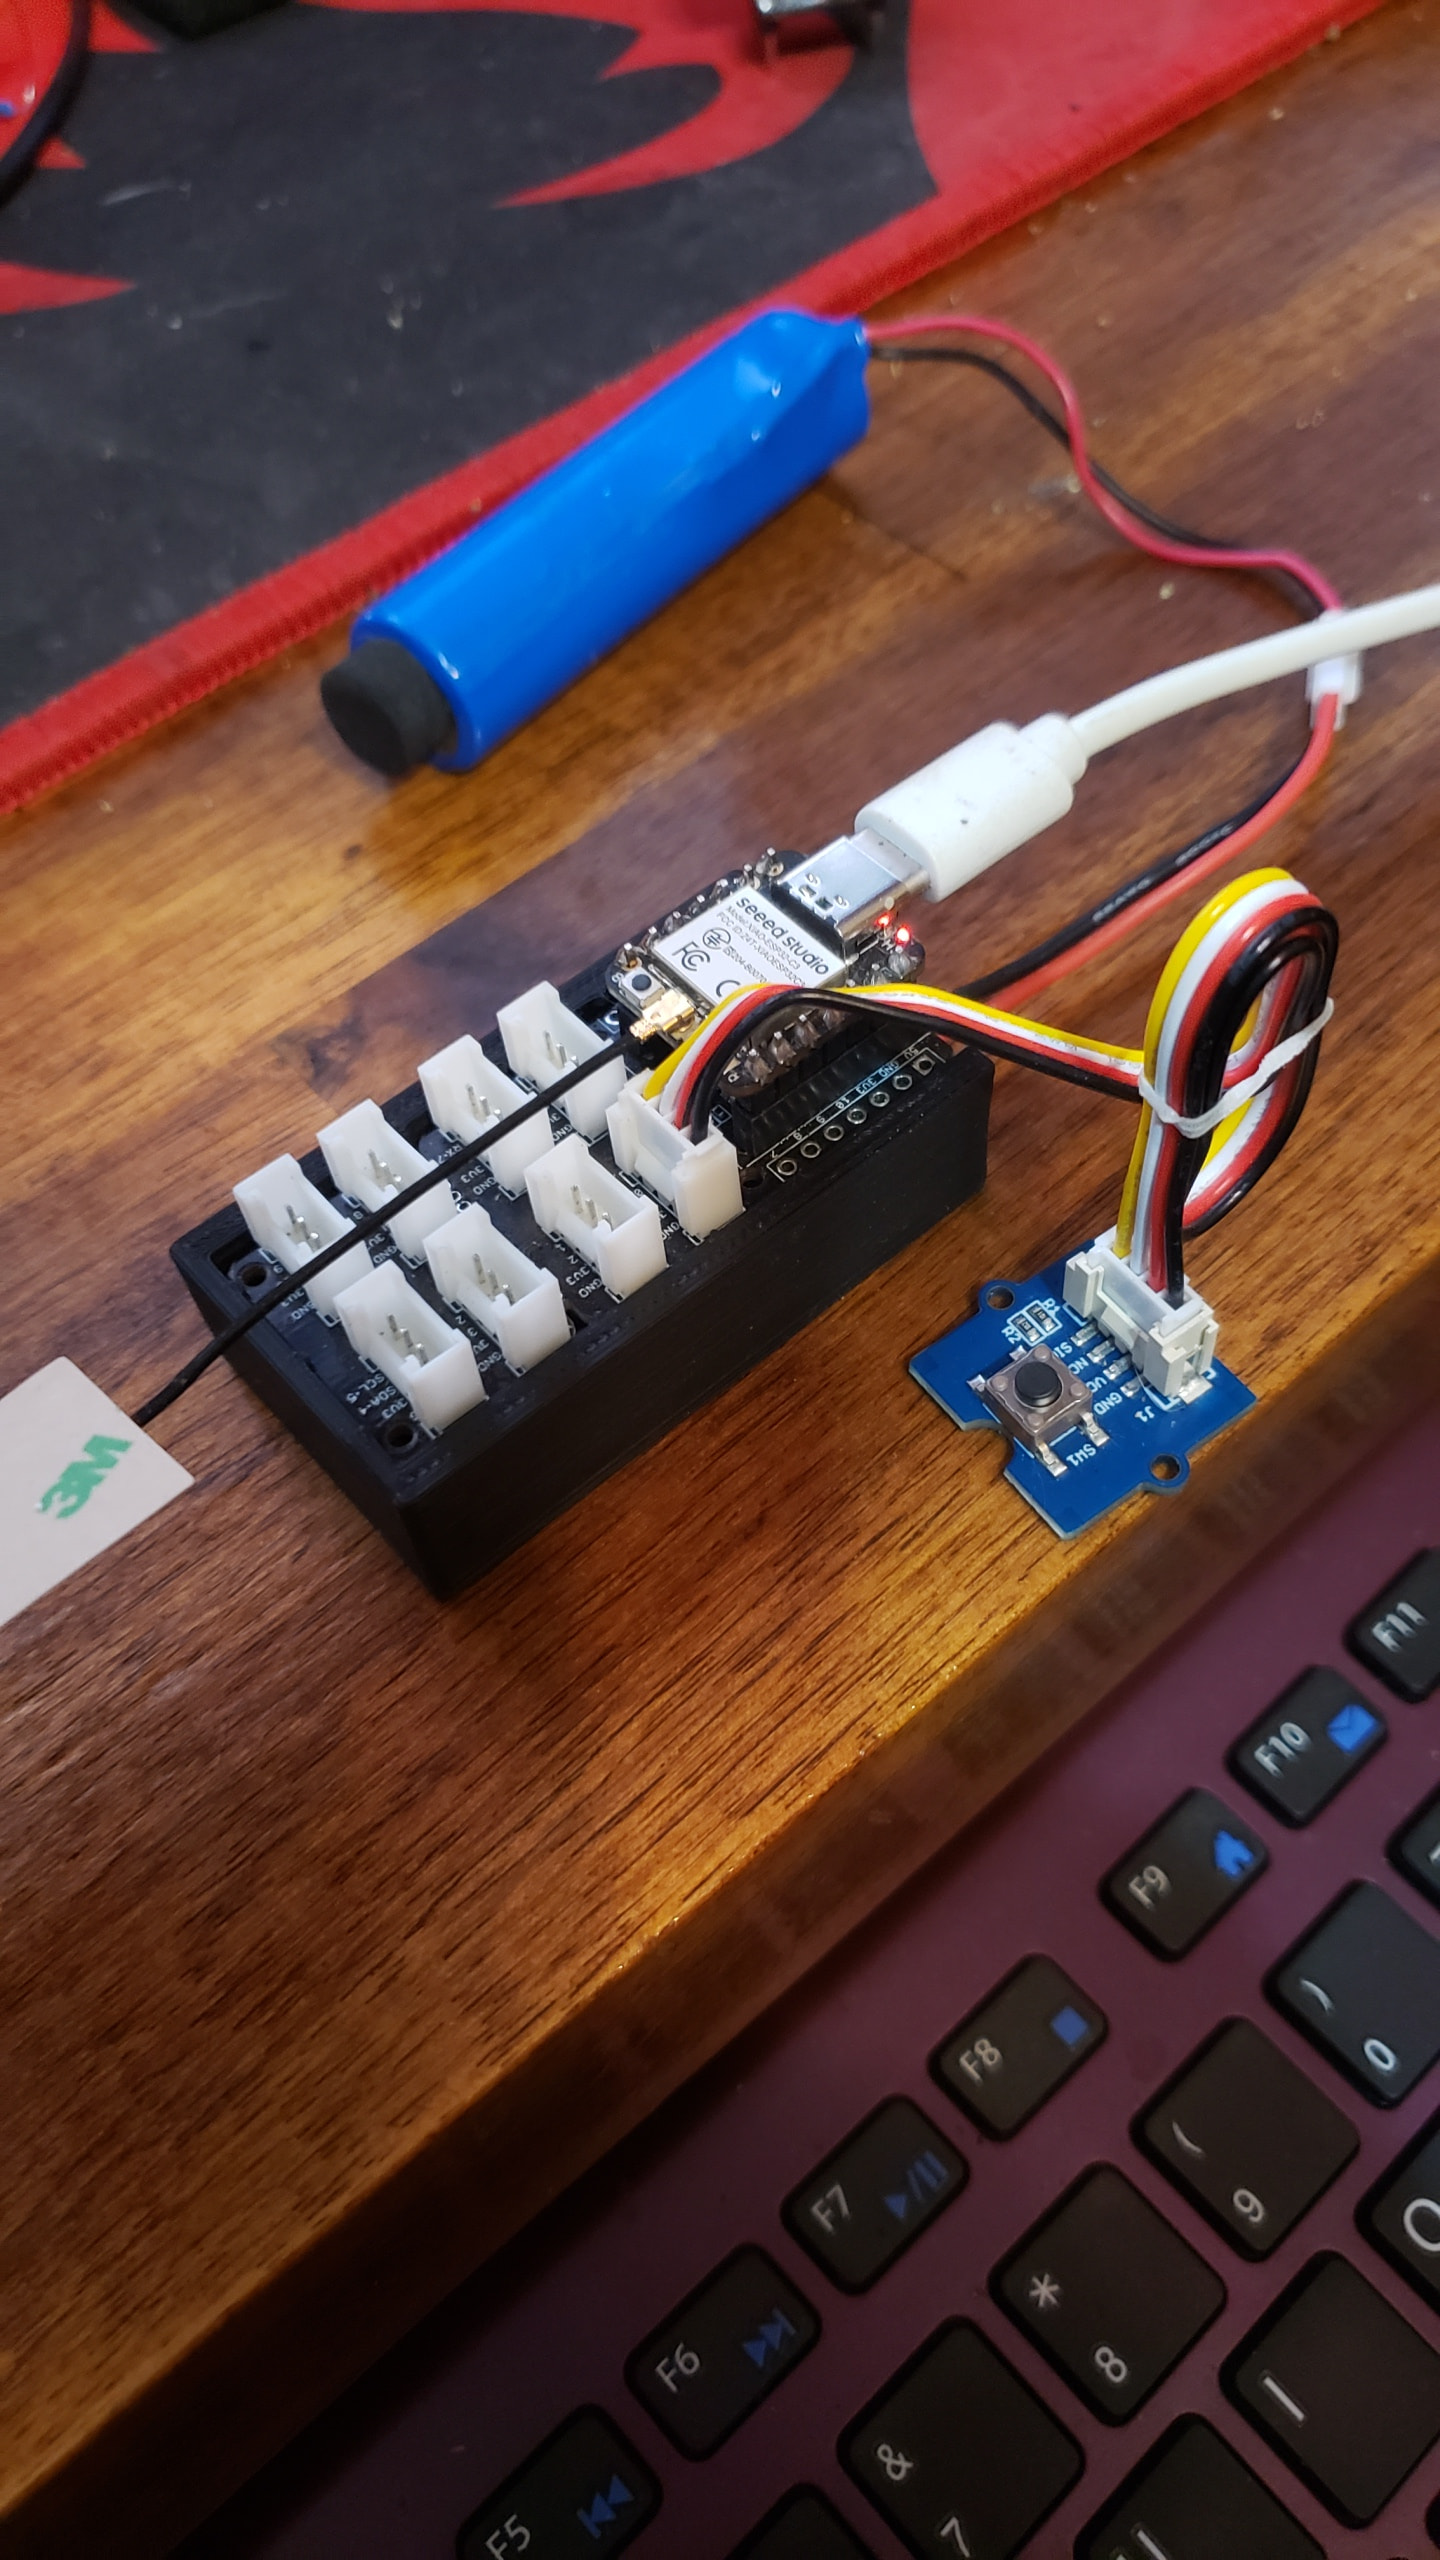
As noted in other posts, it appears the LIPO battery connector is backwards / opposite of every connector / battery leads I’ve ever seen. Can anyone confirm that the negative and positive terminals are indeed accurate as labeled on the board and on the product page? I don’t want to burn this thing out because a board was misprinted. If I plug a battery in the only way it will fit the polarity will be reversed.
The diagram in the “Battery usage” section of the Expansion board wiki is correct.
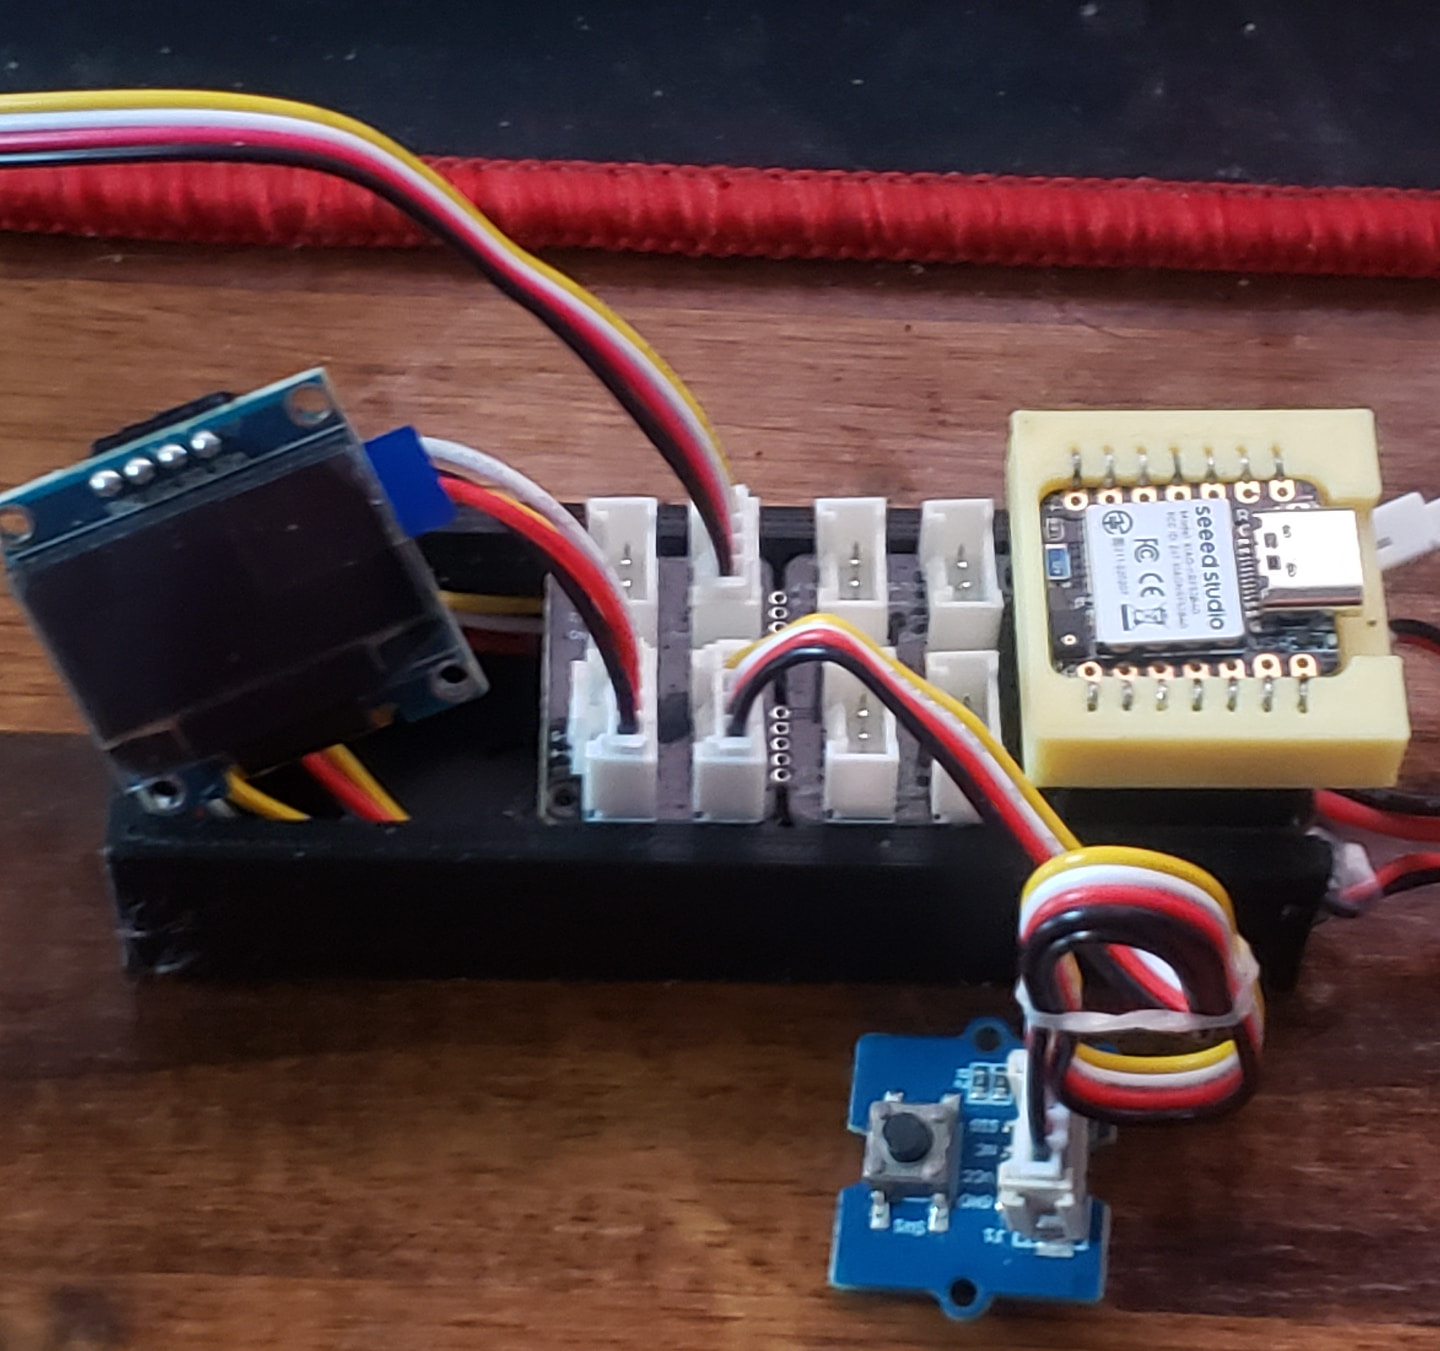
I have connected the battery as shown in this diagram.
‘Seeed Studio XIAO Expansion board | Seeed Studio Wiki’
Thank you for confirming!
yes this is very agrivating… i had to make a special pigtail to adapt my battery to the boards
i found some battery with the polarity reversed but they were much more expensive… and no way to know before purchasing that they are actually wired as indicated
in my case i found the battery i wanted and baught pigtales to adapt and used red and black wire shrink rap to indicate the actual polarity
I just got a cheap (EMB) battery of Amazon with the wrong polarity. If you have some small-bladed watchmaker’s screwdrivers then you can prise up the small plastic tabs on the connector, remove the wires and swap them around. It seems (…after 10 minutes charging!..) to be working ok.
yes… unfortunatly i think what happened is at the last minute the connector was switched from the bottom to the top of the board and it caused the polarity to switch.
Ahh yea this bugs me too. I was using a benchtop PSU and nearly fried my board and XIAO by neglecting to swap polarity on my pigtail. Really frustrating since there is not really any good reason to have this backwards and its such an easy thing to overlook. Thankfully after a few seconds of nothing happening I quickly shut off the supply before I let all the magic smoke out. it all still works, thankfully. i might take everyone’s advice and just make a short adapter lead so that I can use my normal battery and PSU plugs without having to swap wires on those tiny terminals.
ETA: And to clarify, I am actually talking about the ePaper Driver Board v2 not the expansion board, but same issue is on this board.
Hi there,
So. WE all AGREE!
![]()
Someone didn’t have there morning coffee that day.. or there eye glasses on.
We need a refresh anyway on the Grove expansion board, add a I2C PMIC and include the external Flash chip, Would kick A and take names for better projects , OTA’s updates with two slots would be possible , battery level, all the grove connects. it’s like 96% good and 4% weak ![]() IMO
IMO ![]()
HTH
GL ![]() PJ
PJ ![]()
I stopped holding my breath a long time ago… my face turned blue… the real reason is it was not invented by seeed some dudes in Gremany invented it and produced the awesome user manual you never seen anything like that come out of seeed … what da?
Hi there,
We may need take that on as TASK. a few tweaks to the Schematic, an ADD or DELETE on the PCB… BOB is your Uncle.![]() Keep the same dimensions.
Keep the same dimensions.
throw some jumpers on it for the real Support for the differing Xiao’s MCU families require. (one size can’t fit ALL) without some adjustments. seems it was a single purpose , single Xiao intended expansion board. I mean what good is battery management if you can’t access it? so what it has a charger on it, LOL ![]()
Start from the Battery UP… (1) 18650 3.7v 1200mah.
(2) PMIC ic , pick one Nordic, MAxium, TI ? probably 12 more? (main requirement besides all the usual suspects SOC, TtE/TtF (time to empty and time to Full) battery health, and my personal favorite ![]()
Ultra-Low-Power Controls (Ship / Hibernation Modes): Allows the MCU to tell the PMIC to physically decouple the battery line from all system buck regulators during transit or storage. This drops standby consumption down to a near-zero state ($<200\text{nA}$), preventing the 18650 from draining to dead while sitting on a shelf.
but stuff like Charge current, why not make it adjustable , every project needs a tweak, Termination Voltage, Termination current, You see where i am going . REAL Control not half a piece. there is a lot more but that’s the PMIC, senerio
(3) External FLASH…Hello ![]() Why isn’t this a thing?
Why isn’t this a thing? ![]() , EVERY Xiao could use it for the most obvious of reasons, “they don’t come” with one " larger enough for both slots needed for proper , REAL DFU OTA, with crash proof capabilities. Not to mention for speed or for anything streaming or ML based.
, EVERY Xiao could use it for the most obvious of reasons, “they don’t come” with one " larger enough for both slots needed for proper , REAL DFU OTA, with crash proof capabilities. Not to mention for speed or for anything streaming or ML based.
I envision the encloser similar to like what I 3D printed , Holds the existing Board, almost another half too, and a single battery. based on the original version.
Needs a LID..
Then I would add some other connectors besides the groves, Qwiic or STEMMA QT
terminal blocks, spring or screw, Some display options maybe also. Port expander or “PLUS” variant compatible (moreI/O).
It’s ALL there for the taking.
I’m gonna have AI -Agent collect the ideas, use the existing schematic, add the improvements, submit to Seeed Flex and see what comes back ![]()
Might be a 2 headed Pushbutton or some AI slack LOL ![]()
or…?
Stay tuned.
HTH
GL ![]() PJ
PJ ![]()