I use VS Code and PlatformIO and I can upload my code just fine. Don’t have to press any buttons, it just uploads the code.
The problem I’m having is when I go to the serial monitor or what ever VS Code calls it, most the time the wifi start up doesn’t show the IP address or any other of the Serial.Print lines I have in the wifi startup code.
So I’ve been trying to use the reset button to restart the ESP32C3 because I sometimes have to do that with regular esp32 boards but the reset button doesn’t seem to work at all.
I even opened a brand new XIAO ESP32C3 and watched it load up on the serial monitor and tried to use the Reset button too with no luck.
Shouldn’t it reset the ESP32C3 like all the other ESP32 boards I’ve used?
Also the new board outputs this in the serial monitor and I’m not sure if this is correct or not but a different issue that I’m not really worried about.
BLE TEST IS FALT!
Begin First Test…
1
0
1
0
First Test finish!
Begin Second Test…
0
0
1
0
1
1
1
1
GPIO TEST FALT!
1021
ADC TEST FALT!
TEST DONE!
Thanks,
Jeffery
Hi there,
Can You post the code? Are you using a “wait for Serial” if so , Comment it out and try again. Some nuance for coding to use the delay for startup , The Serial Port on ESP is notorious for unclean start up. What initial Baud Rate are you using Also.
HTH
GL  PJ
PJ 
Sure, here is the code. I know sometimes when I switch to the serial monitor I miss the start of the running code which is why I was wanting to use the Reset button.
But I might get the dots trying to connect to the wifi but mostly I get nothing.
#include <Arduino.h>
#include <WiFi.h>
#include <HTTPClient.h>
#include <Arduino_JSON.h>

#define PRINT_DEBUG 1

#if PRINT_DEBUG == 1
#define debugp(x) Serial.print(x)
#define debugpln(x, ...) Serial.println(x)
#define debugpf(x, ...) Serial.printf(x)
#else
#define debugp(x)
#define debugpln(x, ...)
#define debugpf(x, ...)
#endif

#define BUTTON_ON 2
#define BUTTON_OFF 4
#define LED_RED 10
#define LED_GREEN 5
#define LED_BLUE 20

/* Your WiFi Credentials */
const char *ssid = "xxxxxxxxxxxx";       // SSID
const char *password = "xxxxxxxxxxx"; // Password

// Your Domain name with URL path or IP address with path
// const char *serverName = "http://192.168.15.95/cm?cmnd=Power%20Off";

unsigned long button_time = 0;
unsigned long last_button_time = 0;

String httpGETRequest(const char *serverName);

void setup()
{
    Serial.begin(115200);

    WiFi.begin(ssid, password);
    debugpln("Connecting");
    while (WiFi.status() != WL_CONNECTED)
    {
        delay(500);
        debugp(".");
    }
    debugpln("");
    debugp("Connected to WiFi network with IP Address: ");
    debugpln(WiFi.localIP());

    // initialize the pushbutton pin as an input:
    pinMode(BUTTON_ON, INPUT_PULLUP);
    pinMode(BUTTON_OFF, INPUT_PULLUP);

    // initialize the LED Send pin as an output
    // pinMode(LED_RED, OUTPUT);
    // pinMode(LED_GREEN, OUTPUT);
    // pinMode(LED_BLUE, OUTPUT);

} // void setup()

void loop()
{

    // check if the pushbutton is pressed. If it is, the buttonState is HIGH:
    if (digitalRead(BUTTON_ON) == LOW)
    {
        button_time = millis();
        String response = "";
        if (button_time - last_button_time > 250)
        {
            debugpln("Lights On.");
            const char *serverName = "http://192.168.15.95/cm?cmnd=Power%20On";
            response = httpGETRequest(serverName);
            debugpln(response);
            last_button_time = button_time;
        }
    }
    if (digitalRead(BUTTON_OFF) == LOW)
    {
        button_time = millis();
        String response = "";
        if (button_time - last_button_time > 250)
        {
            debugpln("Lights Off.");
            const char *serverName = "http://192.168.15.95/cm?cmnd=Power%20Off";
            response = httpGETRequest(serverName);
            debugpln(response);
            last_button_time = button_time;
        }
    }
} // void loop()

String httpGETRequest(const char *serverName)
{
    WiFiClient client;
    HTTPClient http;
    String payload = "{}";

    debugpln(serverName);

    // Check WiFi connection status
    if (WiFi.status() == WL_CONNECTED)
    {
        // Your Domain name with URL path or IP address with path
        http.begin(client, serverName);

        // Send HTTP POST request
        int httpResponseCode = http.GET();

        if (httpResponseCode > 0)
        {
            Serial.print("HTTP Response code: ");
            Serial.println(httpResponseCode);
            payload = http.getString();
        }
        else
        {
            Serial.print("Error code: ");
            Serial.println(httpResponseCode);
        }
        // Free resources
        http.end();
    } // if (WiFi.status() == WL_CONNECTED)

    return payload;
}
Hi there,
So with yours I got, lots of dots minimum of 5…"
with the delay and baud rate change I got what you see… (one DOT) every time.:+:
Connecting
....................................................................................................................................................................................................................................................................................................................Connecting
..............................................Connecting
......................................................................................Connecting
.....
Connected to WiFi network with IP Address: 192.168.1.171
Connecting
.
Connected to WiFi network with IP Address: 192.168.1.171
Connecting
.
Connected to WiFi network with IP Address: 192.168.1.171
Connecting
.
Connected to WiFi network with IP Address: 192.168.1.171
Connecting
.
Connected to WiFi network with IP Address: 192.168.1.171
I’m using this…
#include <Arduino.h>
#include <WiFi.h>
#include <HTTPClient.h>

#define PRINT_DEBUG 1

#if PRINT_DEBUG == 1
  #define debugp(x) Serial.print(x)
  #define debugpln(x) Serial.println(x)
  #define debugpf(x, ...) Serial.printf(x, ##__VA_ARGS__)
#else
  #define debugp(x)
  #define debugpln(x)
  #define debugpf(x, ...)
#endif

// Define the pins: Using the boot button on GPIO9 and an LED with Relay on pin 2.(GPIO03)
#define BOOT_BUTTON_PIN 9 // Boot button for Xiao EP32C3
#define LED_GREEN 3 //turns the relay and Green LED ON & OFF connected to GPIO3 or PIN2

// WiFi credentials
const char *ssid = "Seeeeed2.4";
const char *password = "NORDIC";

// URLs for controlling the lights via HTTP GET
const char *serverOn  = "http://192.168.15.95/cm?cmnd=Power%20On";
const char *serverOff = "http://192.168.15.95/cm?cmnd=Power%20Off";

// Variables for debounce and LED state tracking
unsigned long lastButtonTime = 0;  // Timestamp of last button press
bool ledState = false;             // false = off, true = on

String httpGETRequest(const char *serverName) {
  WiFiClient client;
  HTTPClient http;
  String payload = "{}";

  debugpln(serverName);

  if (WiFi.status() == WL_CONNECTED) {
    http.begin(client, serverName);
    int httpResponseCode = http.GET();
    if (httpResponseCode > 0) {
      debugpln("HTTP Response code: " + String(httpResponseCode));
      payload = http.getString();
    } else {
      debugpln("Error code: " + String(httpResponseCode));
    }
    http.end();
  }

  return payload;
}

void setup() {
  Serial.begin(9600); // what's the hurry?
  delay(2000);      // Let the port turn on.

  // Connect to WiFi
  WiFi.begin(ssid, password);
  debugpln("Connecting to WiFi...");
  while (WiFi.status() != WL_CONNECTED) {
    delay(500);
    debugp(".");
  }
  debugpln("");
  debugpln("Connected! IP Address: " + WiFi.localIP().toString());

  // Initialize the boot button as input with internal pull-up.
  pinMode(BOOT_BUTTON_PIN, INPUT_PULLUP);

  // Initialize the LED pin as an output.
  pinMode(LED_RED, OUTPUT);
  digitalWrite(LED_RED, LOW);  // Assume LED off initially (adjust polarity as needed)
}

void loop() {
  // Read the boot button state (active low)
  bool buttonState = digitalRead(BOOT_BUTTON_PIN);

  // Check for a button press (transition with debounce)
  if (buttonState == LOW && (millis() - lastButtonTime > 250)) {
    // Toggle LED state
    ledState = !ledState;
    digitalWrite(LED_RED, ledState ? HIGH : LOW);

    // Send the appropriate HTTP GET request based on the new state
    if (ledState) {
      debugpln("Turning lights ON.");
      String response = httpGETRequest(serverOn);
      debugpln(response);
    } else {
      debugpln("Turning lights OFF.");
      String response = httpGETRequest(serverOff);
      debugpln(response);
    }

    // Update the timestamp for debounce
    lastButtonTime = millis();
  }

  delay(10); // Small delay to reduce CPU usage
}
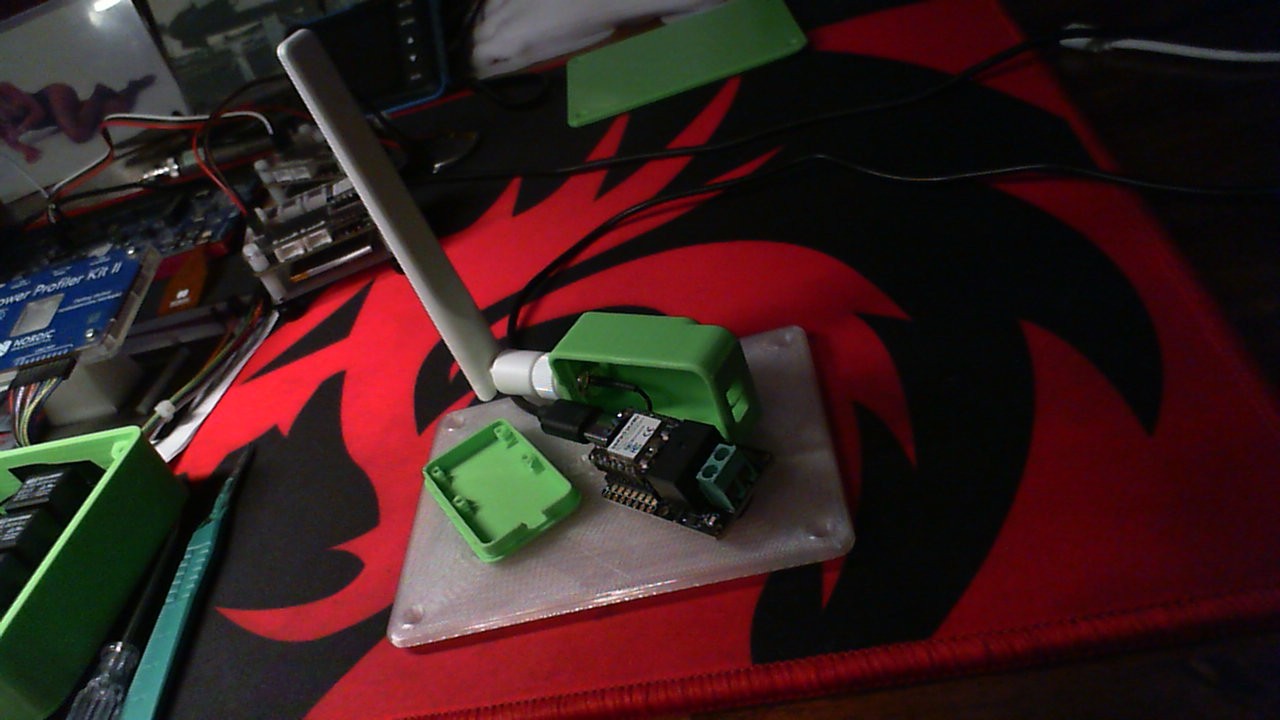
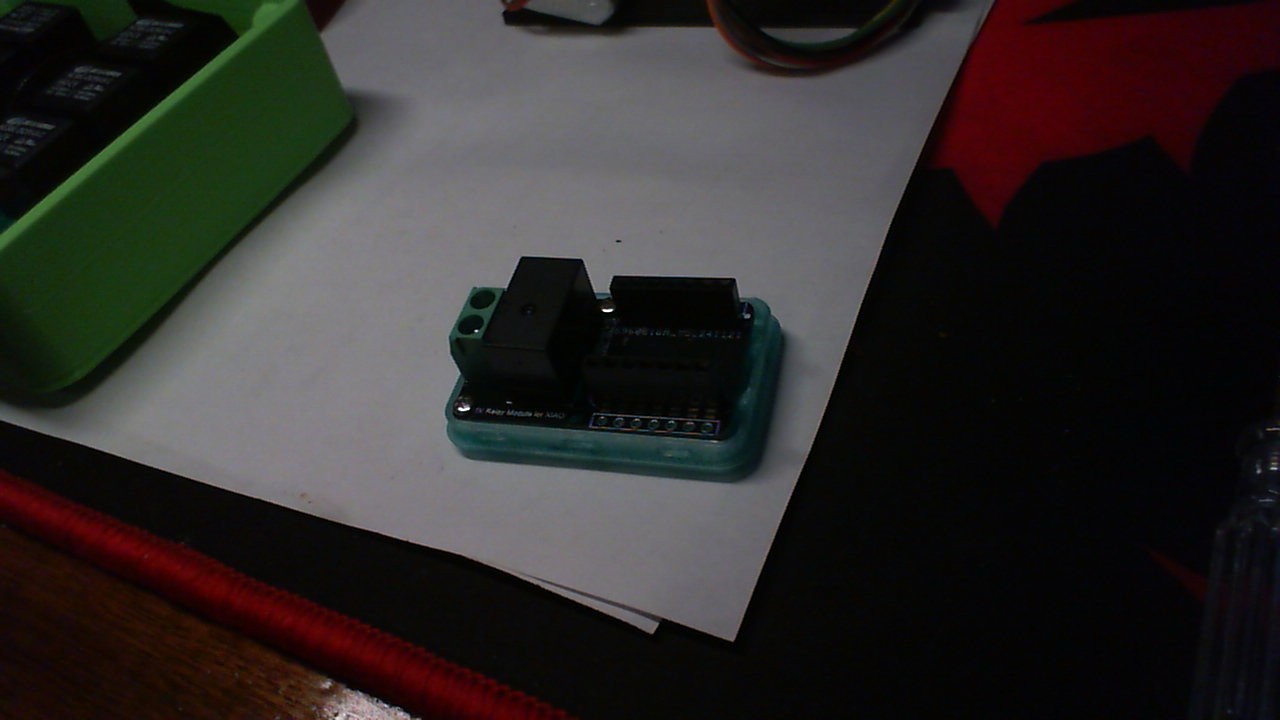
I get this output and the when I press the “Boot Button” and the relay turns on ,  no additional components
Connecting to WiFi...
.
Connected! IP Address: 192.168.1.171
Turning lights ON.
http://192.168.15.95/cm?cmnd=Power%20On
Error code: -1
{}
Turning lights OFF.
http://192.168.15.95/cm?cmnd=Power%20Off
Error code: -1
{}
I don’t have the “#include <Arduino_JSON.h>” so keep that in mind.
HTH
GL PJ
Consider using the boot button and Perhaps “WPS” so nothing is hard coded. (credentials wise) It works very well on the C3 , see the other demo I posted. (just press the WPS button on your router) it does the rest.
I wish we could get all XAIO to reset with a double click of the XIAO Expansion board and yellow breathing light when in boot mode… that works AWESOME!