Xiao Ble Sense - Ota Dfu from Arduino IDE code

Hi all.
Finally I got ota dfu working with the android app Bluefruit Connect and the binaries created in Arduino IDE.
It wasn´t easy, because I didn´t find the solution ready to use in one place, I had to pick up a lot of half-solutions around the forums, just to finally merge everything in something that now is perfectly working, at least for my needings.

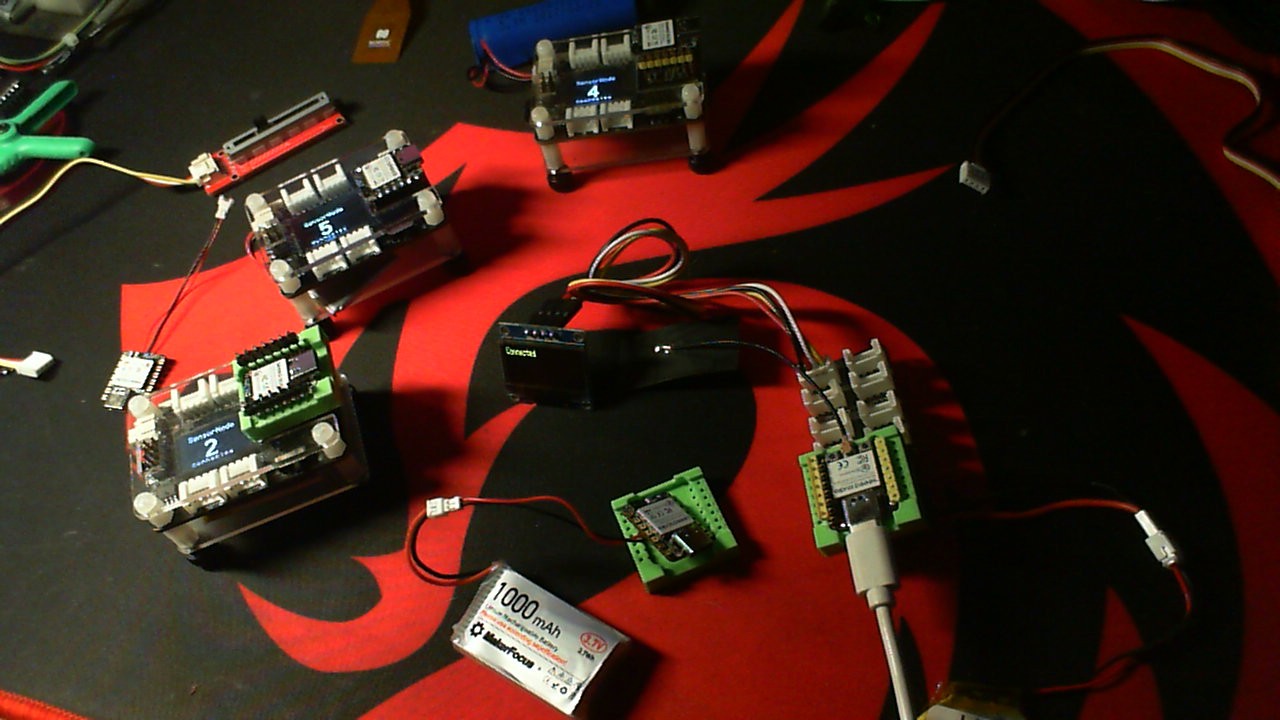
My goal was a completely sealed system, battery operated, without any button or external access, just a signalling led and a magnetic charging port.

The system stays most of the time in ultra low power mode, just to be activated by some accelerometer activity.
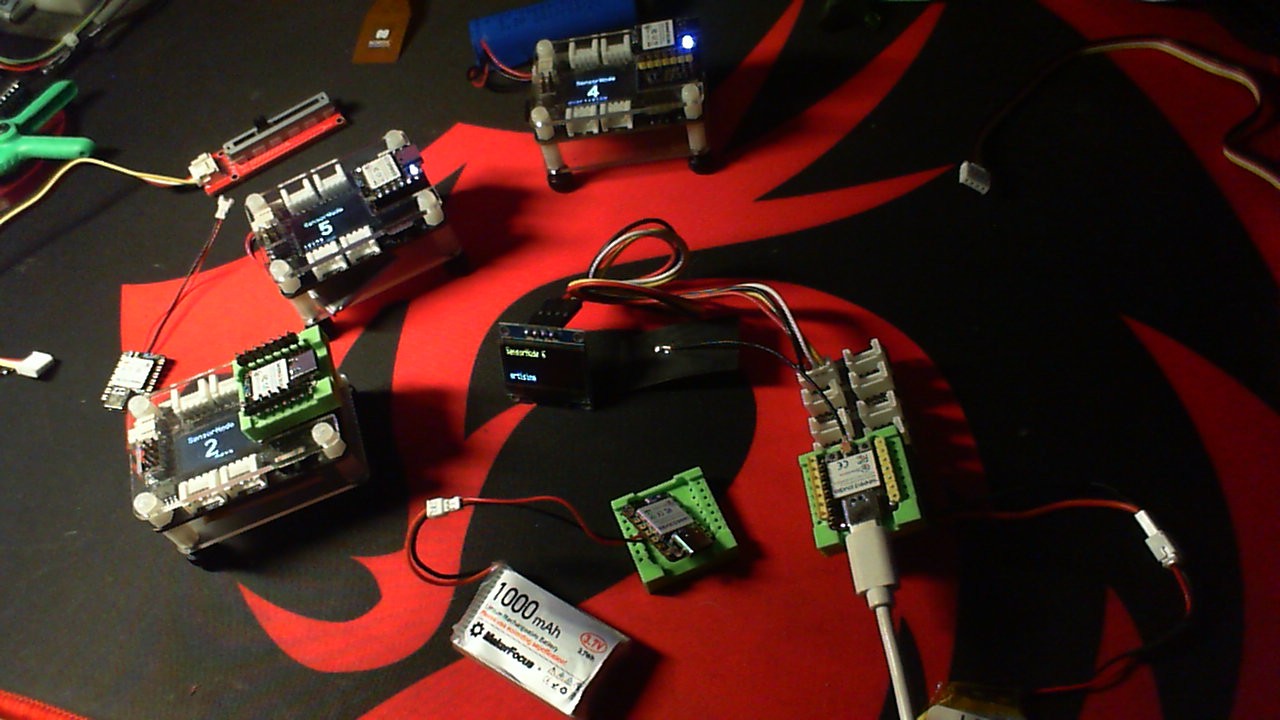
When active it advertises some ble services, among them the bledfu and bleuart services.
Now the app Bluefruit Connect can connect to the board to exchange some data through the bleuart service and , if necessary, to upload a new custom firmware.
Here comes the difficulties, because the process didn´t work out of the box and needed some adjustment to function.
The Updates feature of the Bluefruit Connect app have a Use Custom Firmwares button, which require the selection of a .hex file and a init file, which I thought were those generated by the arduino ide (export compiled bineries), but not exactly.
The “myapp.ino.hex” file is ok, and can be used as is.
The init file (the “myapp.ino.dat” file contained in the “myapp.ino.zip”) for some reason is not usable and makes the process fail, then another must be created using the following command line.
<adafruit-nrfutil.exe dfu genpkg --dev-type 0x0052 --application myapp.ino.hex dfu_package.zip>
The correct “myapp.ino.dat” must be extracted from dfu_package.zip and can be used in the update process, with the original .hex file.

Here another strange thing happens inside the Bluefruit Connect app, when the update process is started.
The board correctly goes in dfu mode ,but the app cannot complete the updating process because the board resets and its ble name changes to ADA_DFU, so the app is no more able to connect to the board again and complete the process (I thought it should do it automatically, because the mac address is the same, but not…)
Anyway, it is possible to make it work in two ways.
1 - cancel the update process when it displays the connection error, move back in the menu , connect to the now available ADA_DFU board and repeat the custom firmware update process, now it will work.
2 - I preferred not to wait for the app error, I forced the board to enter in dfu mode by sending a command through the bleuart protocol, then calling the enterOTADfu() api function inside my code.
Then , when the ADA_DFU board appears in the list, I connect to it and do the update.

Some system specification is important to make everything function:

  • the board must be the right one among the Seeed Nrf52840 Boards (NOT mbed-enabled boards)
  • the original bootloader was changed with an updated one, available in the adafruit repository ( thanks to Aovestdipaperino for the good job done on it)
  • the bledfu service must be advertised with all your other ble services (someone says must be the first service in the list).
    If the bledfu service is not initialized, the update process will work as well, but for some reason the board cannot restart after the update, and you must press the rst button, which in my case is not an option.

I hope this tutorial can help anyone who like me have been struggling for months attempting to make the ota dfu to work.

Hi there,

And Congrats on getting that Salad mixed and working…It’s a big deal the DFU - OTA area everyone can use it if it worked easier.
One reason I like the MCUBoot Bootloader over Adafruity.

Some stuff to consider…and AI observations.

Key Observations on the User’s Approach

  1. He used Adafruit’s adafruit-nrfutil tool, which is fine — it generates the correct zip DFU packages expected by the bootloader.
  2. He had issues with BLE disconnection and name change to ADA_DFU, which is a known quirk with the Adafruit bootloader. The app doesn’t reconnect automatically unless explicitly designed to do so.
  3. He relied on Bluefruit Connect, which isn’t maintained as actively as Nordic’s tools and doesn’t handle edge cases well (like reconnecting to ADA_DFU).

What He Did Right

  • Replaced the outdated bootloader with an Adafruit UF2-compatible one (from AovestdiPaperino’s GitHub likely — he’s known in the community).
  • Used BLE UART to trigger OTA DFU without buttons — ideal for sealed, headless systems.
  • Created a real-world workaround for OTA reconnection glitches.

What Could Be Improved

1. Use nRF Connect for Mobile Instead

  • It automatically handles reconnection to DFU mode device names.
  • Supports DFU ZIP packages directly (the .dat, .hex, .bin bundled in a .zip).
  • Better error reporting and logging.
  • Actively maintained by Nordic.

2. Use a Proper Bootloader with Buttonless DFU Support

  • Either Adafruit’s latest bootloader with buttonless DFU enabled
  • Or MCUboot + Zephyr/NCS (more complex, but truly robust)
  • This solves the “needs manual reset” problem entirely when correctly configured.

3. Simplify With Arduino IDE Tools

  • If the device is always sealed and headless, you can pre-bundle the DFU trigger via:
#include <bluefruit.h>
Bluefruit.begin();
Bluefruit.setTxPower(4);
Bluefruit.setName("SensorNode");
bledfu.begin(); // Needed if using Adafruit bootloader

If doing sealed SensorNodes like my project:

  • :white_check_mark: Stick with Adafruit’s bootloader for UF2 + OTA (just flash it once using SWD).
  • :white_check_mark: Use nrfutil dfu genpkg to generate OTA ZIP from Arduino .hex.
  • :white_check_mark: Trigger DFU in code (enterOTADfu() or NVIC_SystemReset() after setting flags).
  • :white_check_mark: Use nRF Connect for Mobile for smoother updates — especially with multiple SensorNodes.

IMO, Bluefruit Connect can work, but it’s clunky.
nRF Connect for Mobile is more robust, supports reconnections, and should be the go-to for DFU via BLE.

I’m currently working on a Multi-Node connected SensorNode setup
The DFU is the holy grail for this sort of thing.

HTH
GL :slight_smile: PJ :v:


6 SensorNode’s each with TEMP, HUMID, BATTERY, Motion or Digital BLE characteristics. all readable and two Notifies each. All 6 connected to a Xiao ESP32S3 :crossed_fingers:

1 Like

It took me a while to figure out how to perform Bluetooth BLE, over-the-air OTA, device-firmware-upgrade DFU of the Xiao nRF52840. It is actually very easy and so far, robust.

I am using the Arduino framework in the PlatformIO extension for Visual Studio Code

The first thing to do is replace the bootloader of the Xiao nRF52840 with a patched version of the Adafruit bootloader to enable BLE OTA upgrades. The original Adafruit bootloader that the Xiao bootloader is based on had some bugs that prevented OTA working.

Go to the link below and choose the latest bootloader release for your Xiao board - get the update uf2 binary:

e.g. update-xiao_nrf52840_ble_bootloader-0.9.2-OTAFIX2.1-BP1.2_nosd.uf2

Adafruit nRF52 Bootloader with Enhanced OTA DFU

Connect the Xiao board to your PC with a USB cable and place it into bootloader mode by quickly pressing the reset button twice (less than 0.5 seconds!). You should now be able to browse your Xiao board as an external USB device. Copy the patched bootloader uf2 file into the directory of your device. This will automatically overwrite the bootloader and reboot the device. You can put it into bootloader mode again and browse it to check the bootloader did upgrade properly.

With the patched bootloader you can now reboot your device into BLE DFU mode from software and upload new firmware via one of the NRF mobile apps.

In my case, the device is in an IP69 enclosure fixed to my chimney stack. It regularly sends data via LoRa to a hub that returns a short acknowledgement packet. The ack packet includes a control byte that I can use to change sensor settings but also put it into DFU mode so that I can upgrade the firmware without climbing onto the roof.

In PlatformIO to get the firmware binary for uploading: build the working code and look in the hidden .pio folder within the project folder, then the build folder, then the board folder, and find the firmware.zip file - this is what you need to upload using the mobile app. On Android, I have tried both nRF Connect for Mobile, and nRF Device Firmware Update - they both worked.

To reboot the device into DFU mode, issue the following commands in your software:

// The general purpose retention register survives rebooting
// and instructs the bootloader to enter OTA DFU mode,
// so set the register accordingly and reboot
NRF_POWER->GPREGRET = 0xA8; 
NVIC_SystemReset(); // reboot device 

The device will now reboot and start advertising itself via Bluetooth and you can upgrade the firmware using one of the apps. Easy. Note that once in DFU mode, it stays there without timing out, so you have to perform an OTA upgrade, unless there is a way to reboot it which I have not found.

Hi PJ, do you know how to set up Zephyr + MCUboot on the XIAO nRF52840 Sense for buttonless BLE OTA firmware updates?

Hi there,

And Welcome here…

So Setting up Zephyr + MCUboot on the XIAO nRF52840 Sense for a buttonless BLE OTA (Over-the-Air) Device Firmware Upgrade involves a specific configuration architecture. Because the XIAO nRF52840 relies entirely on its internal 1MB flash (without relying on external flash for standard dual-slot FOTA), your application image must be tightly optimized to fit both slot 0 (the primary active slot) and slot 1 (the secondary upgrade slot).

Have a look at this;
https://medium.com/@gorka.z.oro/using-mcumgr-on-zephyr-to-enable-firmware-updates-ota-32cd10823d9d

To establish a completely buttonless experience, you will leverage Zephyr’s standard Management Layer (MCUmgr ) acting as an SMP (Simple Management Protocol) server over Bluetooth.
Use this [LINK HERE](Over-the-Air Update — Zephyr Project Documentation

READ it ALL, to get Pro level Knowledge… it’s not rocket science but it is a process, if you nerf-up a step (technical-term) then it will fail. the Xiao makes it a little tricky but it can be done.
Further, if you see there is a Grove expansion Board available that can add the external FLASH.. so the trick is up. If you want both slots available. :v:

Here is the framework which is where I got stuck by NOT reading all the info. Found my way forward and haven’t looked back! :+1:

Here is the exact framework to implement this setup using the nRF Connect SDK (NCS) or standard Zephyr:

1. Project Directory Structure

To manage both the bootloader (MCUboot) configurations and your main application cleanly via Zephyr’s build system (sysbuild), organize your files like this:
my_ble_ota_project/
├── CMakeLists.txt
├── prj.conf
├── sysbuild.conf
├── src/
│ └── main.c
└── child_image/
└── mcuboot.conf

2. Bootloader Strategy Configuration (sysbuild.conf )

Using sysbuild is the easiest way to generate a unified firmware package (merged.hex) containing both MCUboot and your signed application.

Create a sysbuild.conf in your root directory to instruct the compiler to pull in the bootloader:

# Enable MCUboot compilation as a child image
SB_CONFIG_BOOTLOADER_MCUBOOT=y

DO NOT forget this step… :grin: :backhand_index_pointing_up:

3. Application Configuration (prj.conf )

Your main application requires the inclusion of the MCUboot configuration flags, the Bluetooth stack, and the MCUmgr subsystem running the SMP server over BLE. Add these definitions to your prj.conf

# Tell the application it is being booted by MCUboot
CONFIG_BOOTLOADER_MCUBOOT=y

# Enable Bluetooth and required peripherals
CONFIG_BT=y
CONFIG_BT_PERIPHERAL=y
CONFIG_BT_DEVICE_NAME="XIAO_BLE_OTA"

# Enable MCUmgr and the SMP Server over Bluetooth
CONFIG_MCUMGR=y
CONFIG_MCUMGR_TRANSPORT_BT=y

# Enable specific MCUmgr management handlers (Image & OS management)
CONFIG_MCUMGR_GRP_IMG=y
CONFIG_MCUMGR_GRP_OS=y

# System dependencies for MCUmgr 
CONFIG_NET_BUF=y
CONFIG_ZMQ=n # Ensure no overhead network protocols are active

4. Flash Partitioning (pm_static.yml)

The regular dual-slot swapping mechanism needs enough space for slot-0 and slot-1 partitions inside the internal 1MB flash.

Because the default partitions might give too much weight to MCUboot or leave irregular sizing, you should create a pm_static.yml file in your root folder to ensure explicit layout constraints.

:warning: Memory Warning: The total space for your application binary cannot exceed half of the remaining internal flash (typically around 420 KB to 450 KB max per slot). If your compiled code exceeds this size, the compilation will fail, and you would have to resort to a single-slot configuration utilizing MCUboot Serial Recovery (USB/UART) rather than buttonless Bluetooth OTA.

5. Software Execution (main.c)

To initialize the buttonless trigger mechanism, you don’t need any complex software intercept code. Once the CONFIG_MCUMGR_TRANSPORT_BT layer is configured, the OS management group handles resets automatically.

Your main.c just needs to initialize the standard Bluetooth stack and start advertising:

#include <zephyr/kernel.h>
#include <zephyr/bluetooth/bluetooth.h>
#include <zephyr/bluetooth/gap.h>

/* MCUmgr headers are handled automatically under the hood when 
   the transport layer initialization tasks are compiled. */

static const struct bt_data ad[] = {
    BT_DATA_BYTES(BT_DATA_FLAGS, (BT_LE_AD_GENERAL | BT_LE_AD_NO_BREDR)),
    BT_DATA_CHRC_STRING(BT_DATA_NAME_COMPLETE, "XIAO_BLE_OTA"),
};

int main(void) {
    int err;

    /* Initialize Bluetooth */
    err = bt_enable(NULL);
    if (err) {
        return 0;
    }

    /* Start advertising so clients can connect and push updates */
    err = bt_le_adv_start(BT_LE_ADV_CONN, ad, ARRAY_SIZE(ad), NULL, 0);
    if (err) {
        return 0;
    }

    while (1) {
        k_sleep(K_FOREVER);
    }
    return 0;
}
  1. Pushing Updates Over-The-Air
    Once your initial image (merged.hex) is flashed to the device via your debugger, future updates are compiled directly as update packages.

  2. Locate the update binary: Look in your build path under build/zephyr/app_update.bin. This file is already signed with the default development cryptographic keys generated by the build system.

  3. Execute Buttonless DFU: * Via Mobile App: Open the nRF Connect for Mobile or Device Firmware Update app on iOS/Android. Connect to "XIAO_BLE_OTA", select the MCUmgr/SMP tool profile, upload the app_update.bin file, and choose Test & Confirm
    Via Command Line (mcumgr CLI):
    -bash

Upload the new image via BLE

mcumgr --conntype ble --connstring name=XIAO_BLE_OTA image upload app_update.bin

List images to verify hash upload status

mcumgr --conntype ble --connstring name=XIAO_BLE_OTA image list

Instruct MCUboot to swap to the new image upon the next reboot sequence

mcumgr --conntype ble --connstring name=XIAO_BLE_OTA image test <HASH_OF_NEW_IMAGE>

Trigger the buttonless soft reset remotely

mcumgr --conntype ble --connstring name=XIAO_BLE_OTA os reset

Once the device reboots, MCUboot will execute the swap layout safely. If the code executes successfully without crashing, the image will self-confirm (or you can confirm it manually via the client) to finish the permanent slot switchover. :+1:

HTH
GL :v: PJ :+1:

Also check out the demo on the nRF54L15 SEEED/Nordic board. That demo shows it step by step performing it.
look over the code in the GIT. :wink:

Thank you so much - you are the GOAT

1 Like