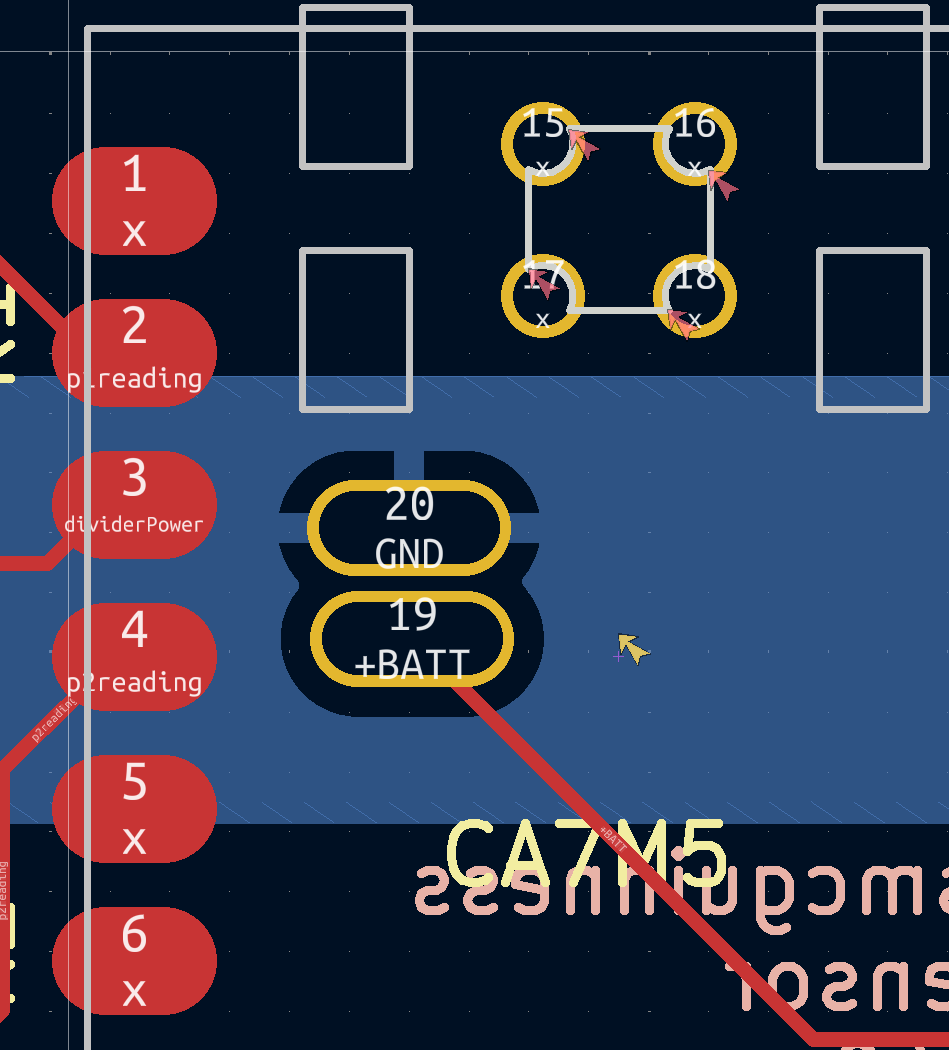
I’m designing a PCB for the XIAO BLE. As part of this, I want to use the battery terminals on the rear. As I don’t have a reflow or hot air station, I’m forced to use a through hole approach.
I tried the official Seeed KiCAD footprint, but it wasn’t very reliable. For the 2nd variation on my design, I made the plated through holes into larger oval shapes, but that didn’t work properly either (my first attempt only connected to + terminal)
Do not make the ovals too big, You want the PAD on the Xiao to be the bigger of the pair. Plated through Hole (check) I see a GIGANTIC ground Plane around the Bat minus…no,no… Use a pad then trace connect it to the ground plane. USE solder PASTE not round roll. and as @cgwaltney FLUX plenty of flux when you solder over do it. WHY?
the flux helps stabilize the temp and allow the solder to flow instead of too much heat DRY heat , that will melt stuff and lift PCB PADs.
I have soldered over 30 by hand at one go without one failure. Using that technique.
Check out the thread I have on here showing the PCB.
HTH
GL PJ
FYI the tip should be able to fit down into the hole and touch the BAT PAD. FYI. You can use the round roll to fill the hole after it’s attached and tested is what I do too.
i dont do much soldering at all… and for a very long time i did not use flux or used flux core solder… I needed some more solder and with Radio Shack out of buisness, i ordered a little kit from amazon… one of the best purchased of my electronic life, it came with a round petri dish of flux, a coil of solder and two small screw drivers phillips and flat head. I now use the flat head screw driver to slap the flux on the new parts. It makes an obvious and immediate difference… Kinda like replacing a cpu without thermal paste… you cant just use the old paste and call it good… It just dont work that way.
you apply the flux as a goop, like vasiline if it is my kind
you apply the iron… the heat immediatly turns the goop to a fluid and it runs all over the art area.
The heat is applied and the solder applied
the only problem is the flux resin needs to be cleaned off with alchool
i use pump hand sanitizer for this
my advice… if you dont have flux you dont know flux…
So I see the effort for sure…
Unfortunatly , NO on the battery if you want any charging, or extra parts. Maybe someone else can chime in on there methods.
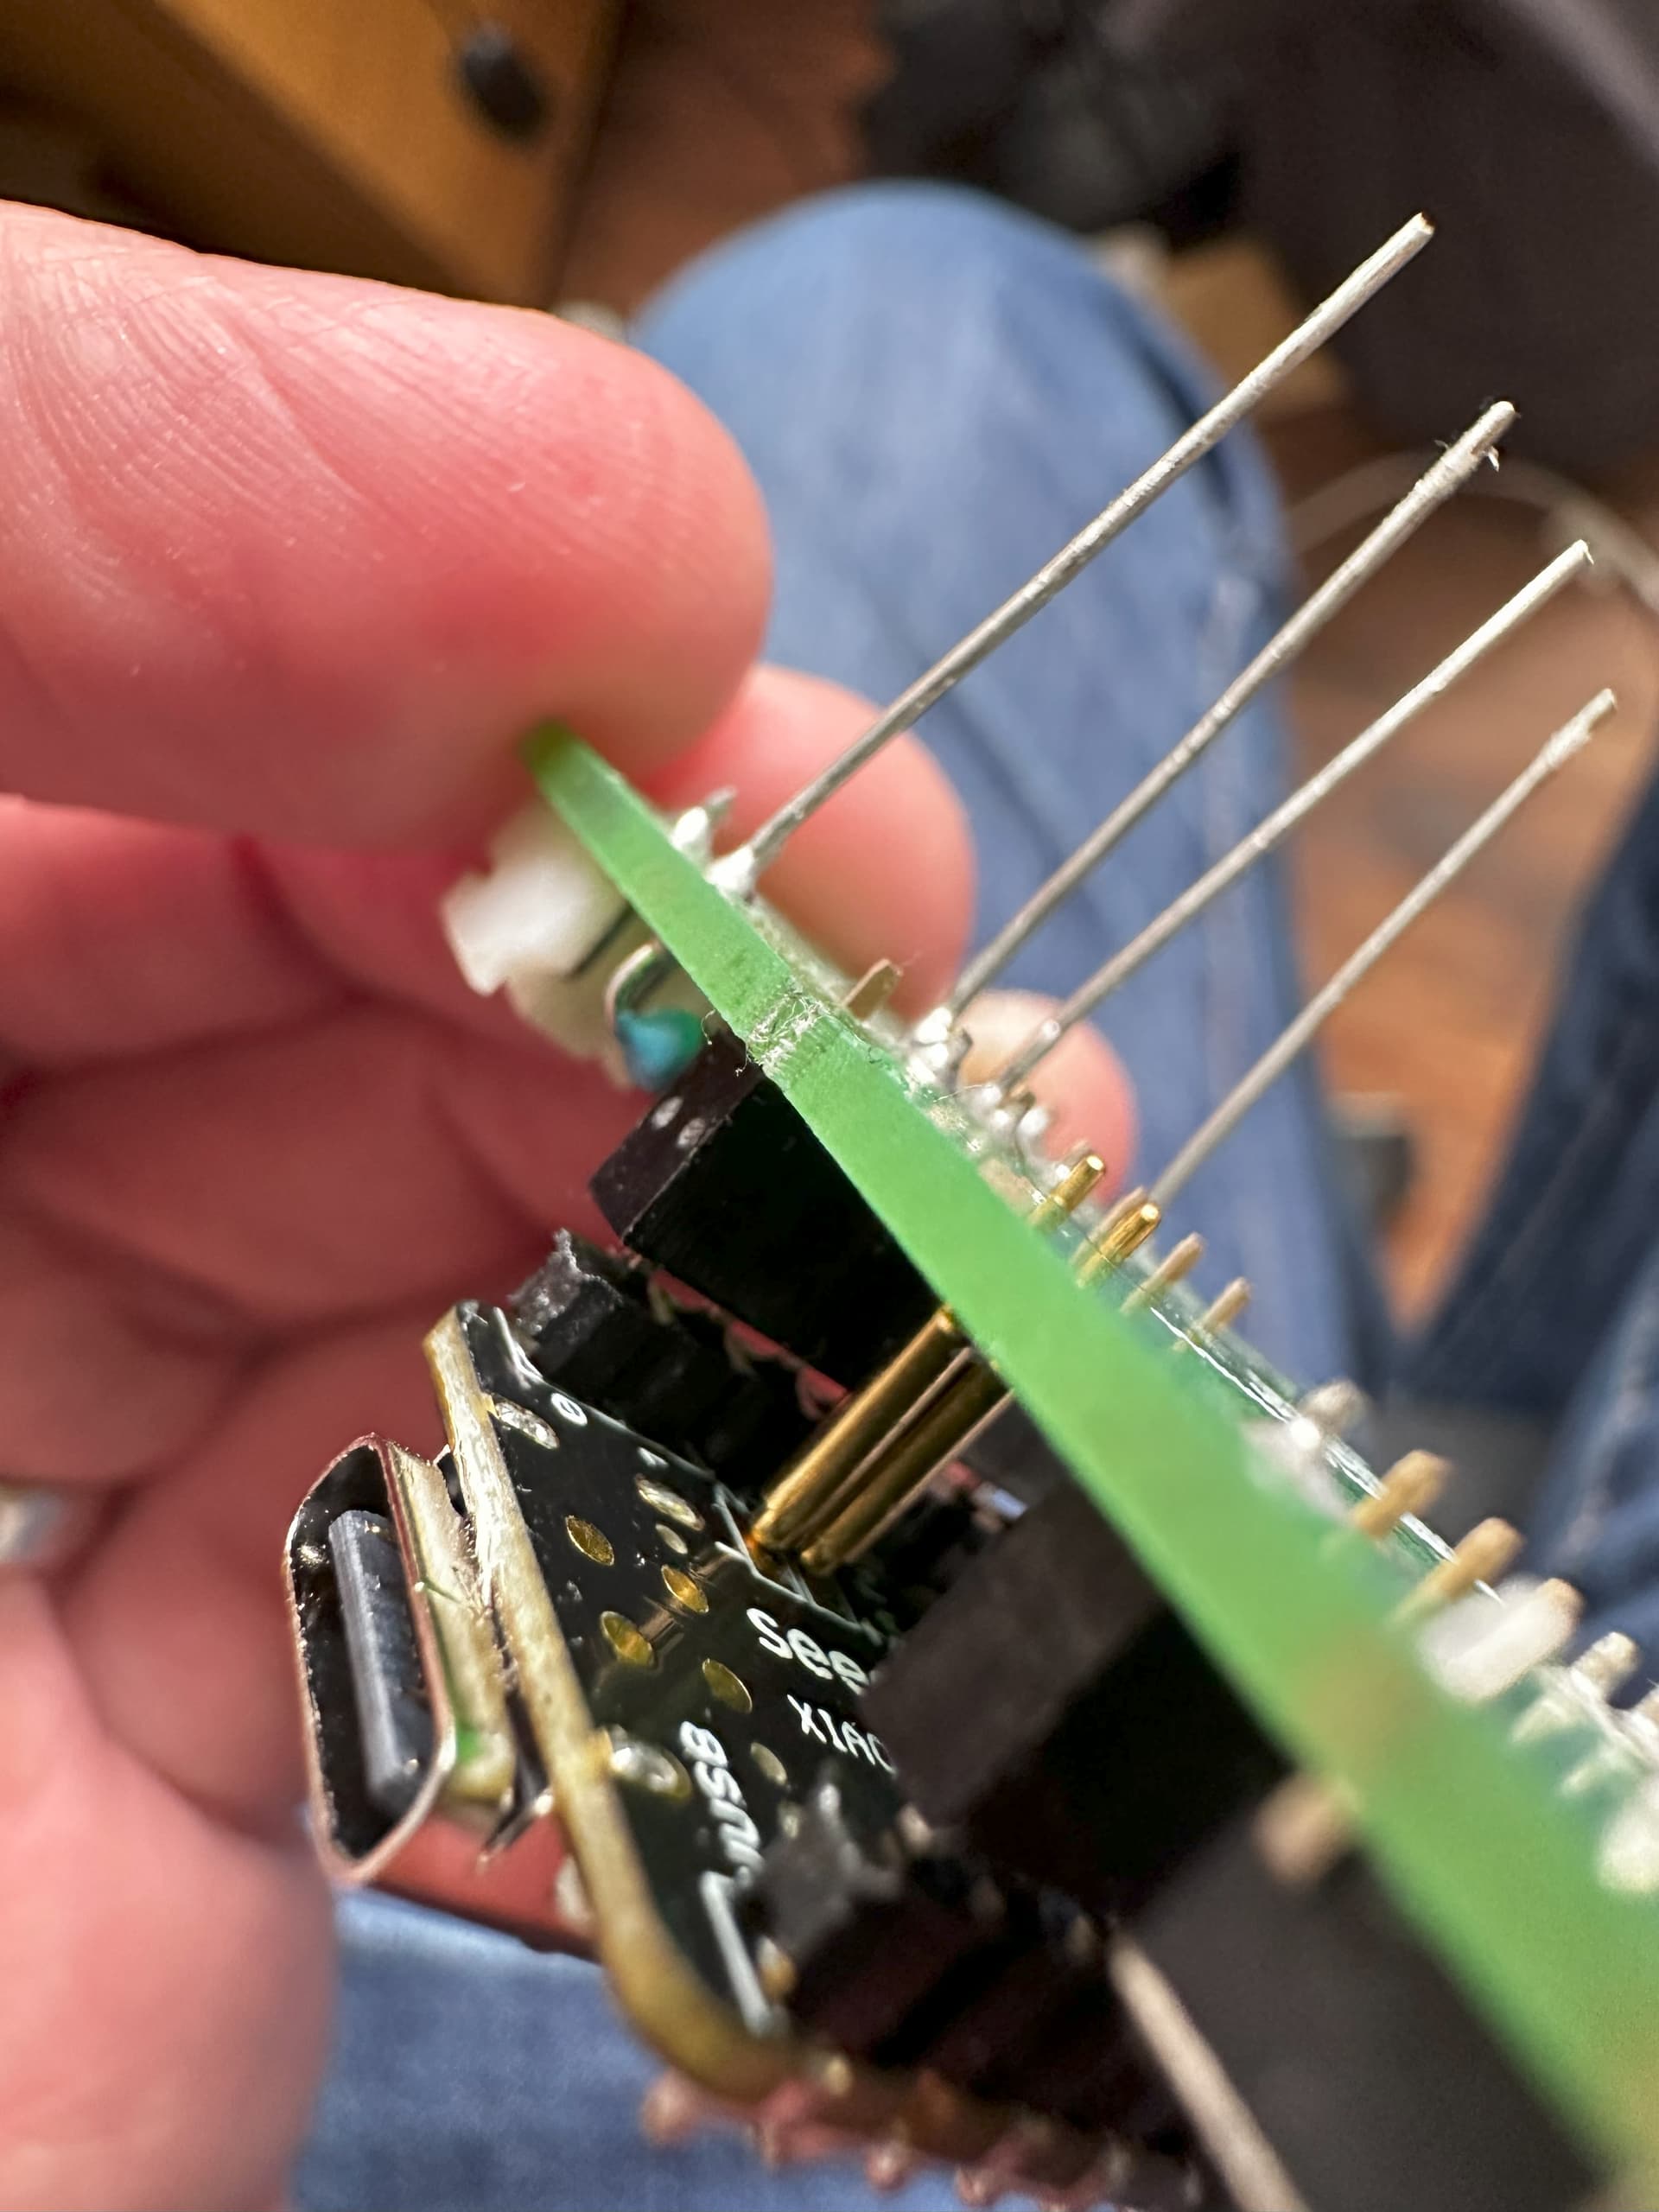
Also maybe have a gander at the 3D printed socket body you can add your own pins to. One has an accommodation for some battery connections (black one) Search Xiao Socket…to see them.
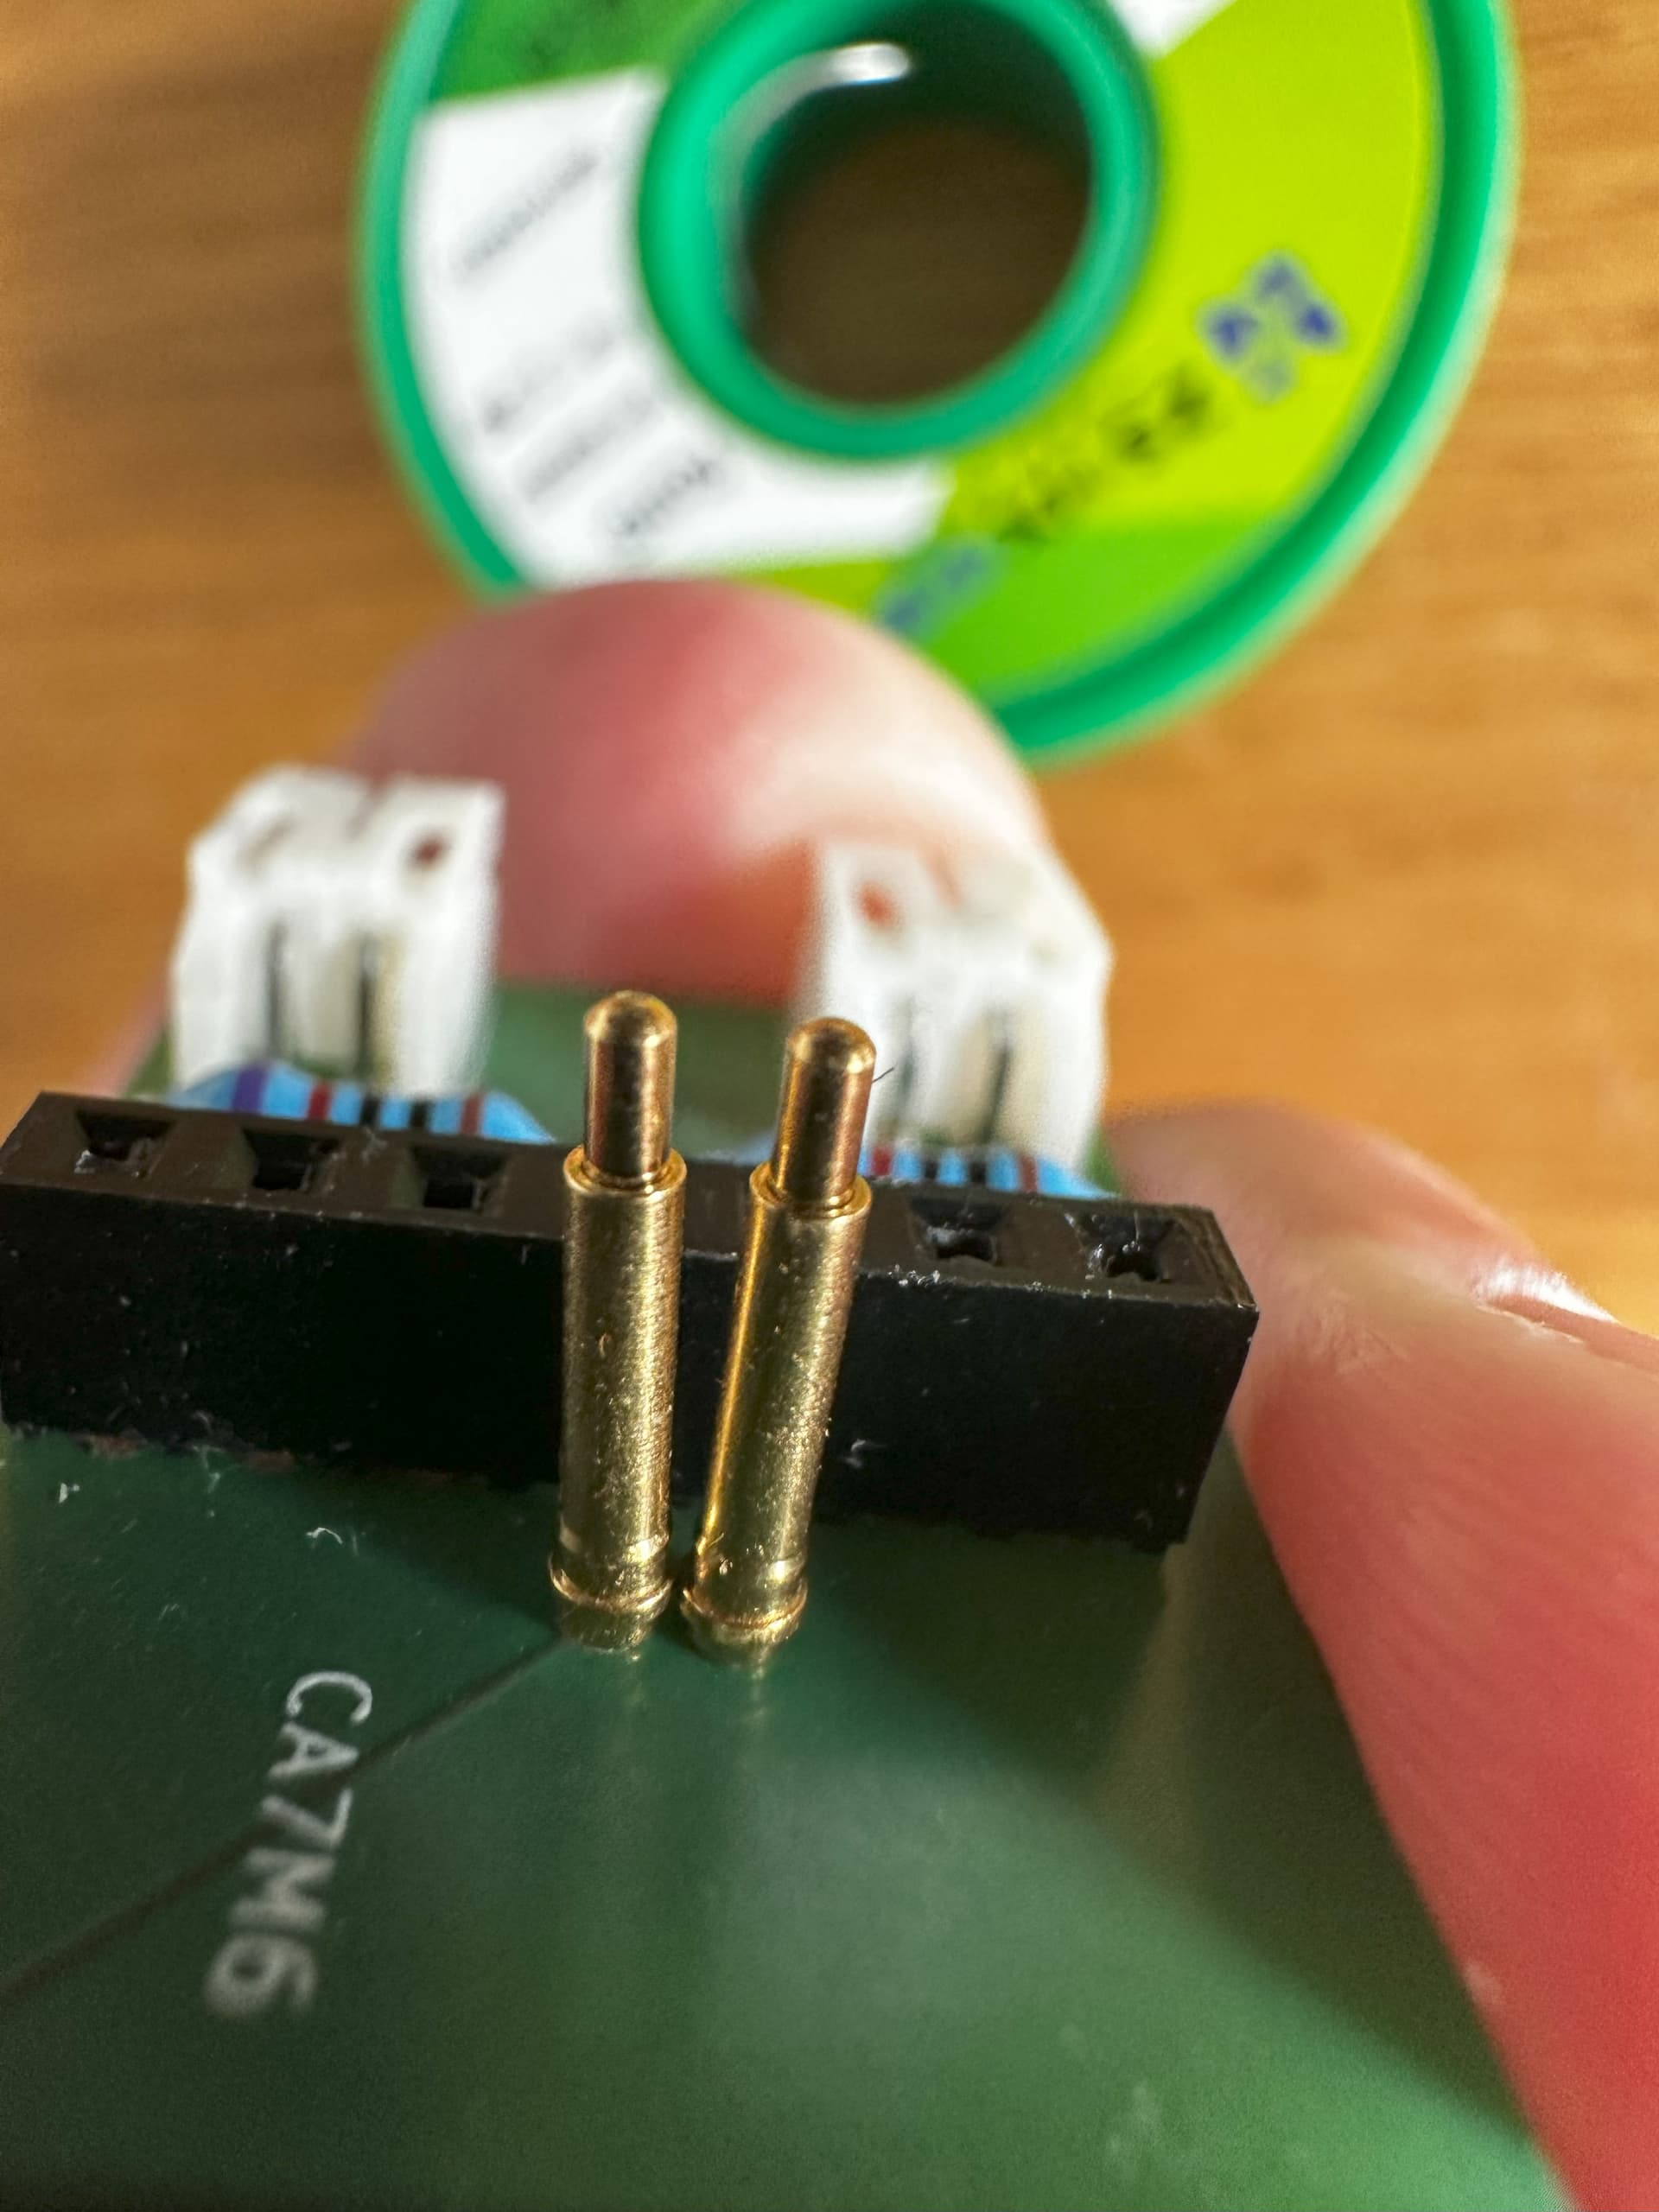
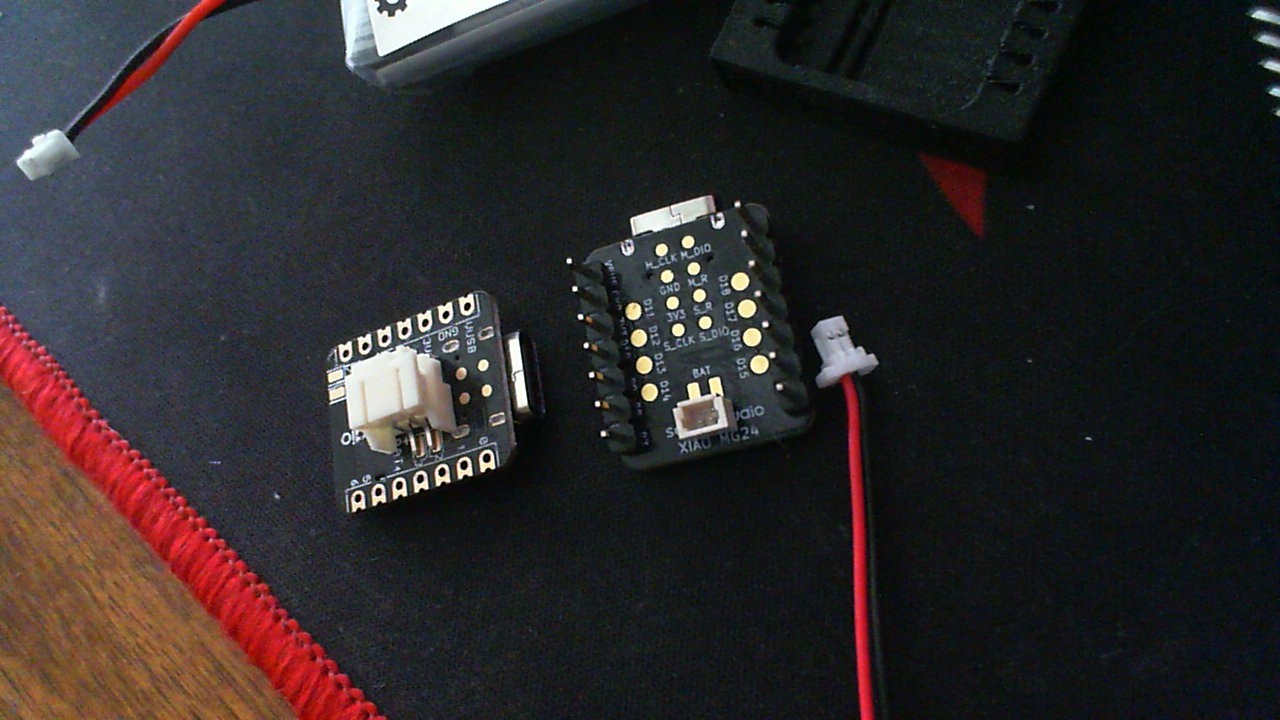
Another Approach is SInce you have a Raised Pin header on there, why not just solder a JST battery connector to the bottom of the Xiao?
like this (horizontal or vertical) Probably could solder just some pins and place the connector (female) on the Xiao also could work, as you plug in the Xiao the Battery pins on PCB would engage the Female connector on the bottom of the Xiao
I just use Solder Paste and a really hot soldering iron.
Best to put it on before the top board is sandwiched but can also be applied through the hole if large enough.
I don’t use a pencil tip, rather a flat or blade tip the size of the top solder pad. I use a dab of a flux pen or dob of flux paste for thermal “assistance”.
your green board is way to thick to get the thru hole to work i am thinking
I say put flux on the power pads of the XIAO… then pre-solder (tin) the contacts… then also flux and tin top of pogo pins… then sandwitch together and apply heat with the iron to the pogo pins and make the connection solid