Hi everyone!
I’m working on my University thesis project which consists in a battery-less heart rate monitor, powered by different energy sources which charge up a supercapacitor. I’m planning on hooking up a XIAO nRF52840 to the supercap, and an AD8232 HR sensor board to the Xiao. At this point I’m not sure whether I should be using the BAT pins connected to the battery charge chip or the 3.3V/GND pins on the board. What do you guys suggest? I can give you more info if you ask.
Thanks in advance!
Hi there,
And welcome here, Have a look at he Xiao WiKi it tells you about that and more, I would say use the Battery pads. You can’t use the 3.3 v pin that is a regulated output to 700Ma. It is meant to be powered through the USB C port. You can use the 5v pin if no USB is ever connected or a diode is in place blocking.
HTH
GL ![]() PJ
PJ ![]()
Cool, it’s good to know since I’ve read a bunch of threads on the matter but wasn’t exaclty sure what to do. Another thing to be extra safe: as far as I know the battery charge IC is set up to charge any rechargeable cells up to 3.7V. If my supercap is rated below that should I still trust it to connect the cap to the BAT pins?
YOLO… ![]()
Do you have a link to the super caps. What is the end goal? to run a device for a very short period of time or No lipo batteries allowed?
Doesn’t sound like they have enough Mah?
GL ![]() PJ
PJ ![]()
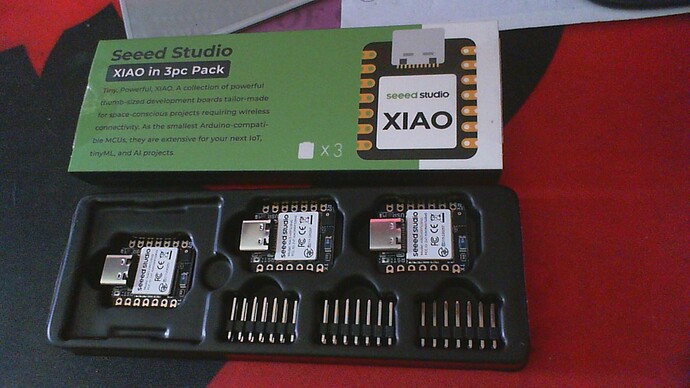
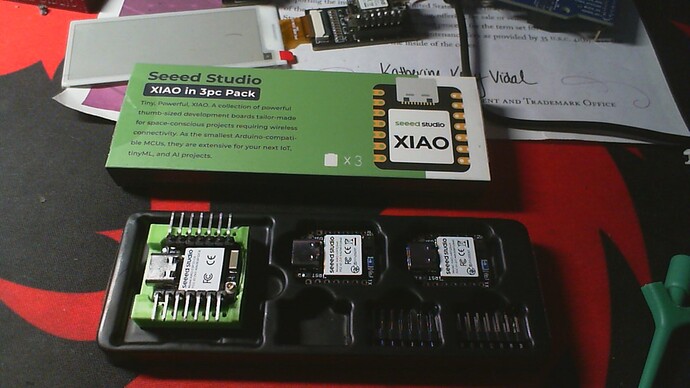
I think some guy named monkeyface said XIAO Nrf is the most lowest power of the XIAO… as for university projects… just experiment… i would say invest in a XIAO 3 pac
Hi NebulAle,
The maximum output voltage of the BQ25100 charge control IC is 4.23V. Check the datasheet. Use capacitors with a minimum withstand voltage of 5V, preferably 6.3V.
Hi there, What like this…
That sexy New Cardboard Sound… ![]()
![]()
Get yours today… The 3 PAK ![]()
GL ![]() PJ
PJ ![]()
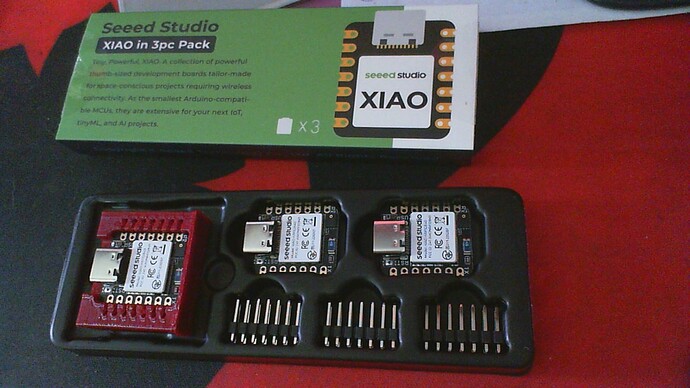
You can always improve…
BTT sends a Duck with there stuff
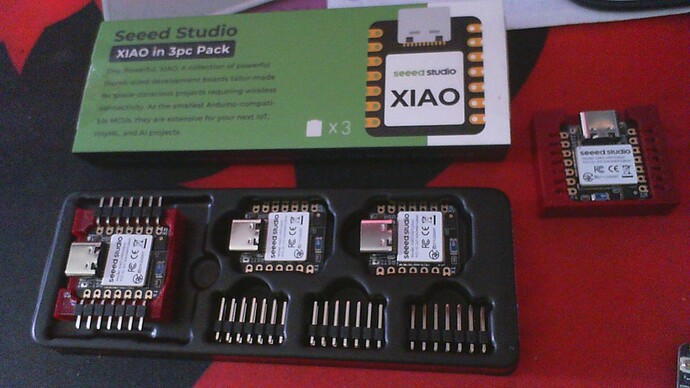
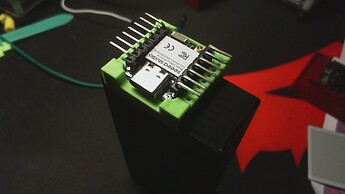
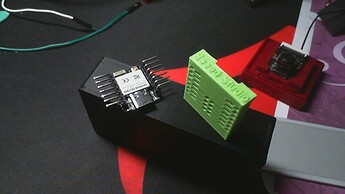
Seeed could send a socket
Now that’s a value.
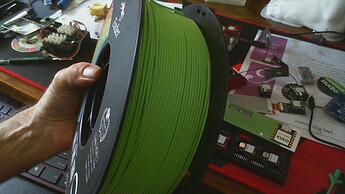
May have to print one in SEEED Green … LOL
GL
Hi again! I haven’t pulled the trigger on one specific model yet but I was initially looking at Li-Ion supercaps by Vinatech. Unfortunately they aren’t rated for more than 3.8V so not ideal for my application. I found some interesting alternatives though, the SCM series from Kyocera AVX or the KVR series from Eaton seem more appropriate. The goal would be to provide a sustained charge to power my Xiao MCU and my heart rate sensor, considering that there should pretty much always be energy coming from the harvesters (an array of TEG cells and - since I couldn’t get my hands on a Kinetron kinetic energy harvester - a small solar panel, both complete with the appropriate voltage boost circuitry).
Ok good, following your advice I looked a bit more into the datasheets and found some supercaps that might work well.
Damn I would’ve loved it if it came with my order too! ![]() In any case I wasn’t aware of the bundles at the time so I just bought 3 units separately.
In any case I wasn’t aware of the bundles at the time so I just bought 3 units separately.
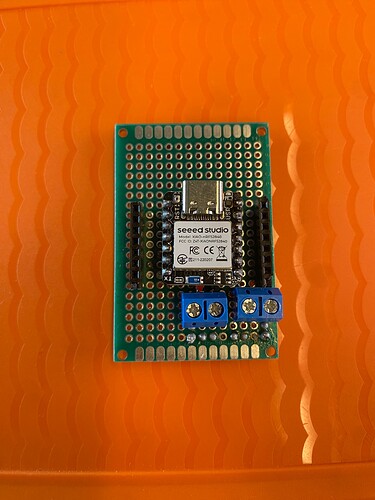
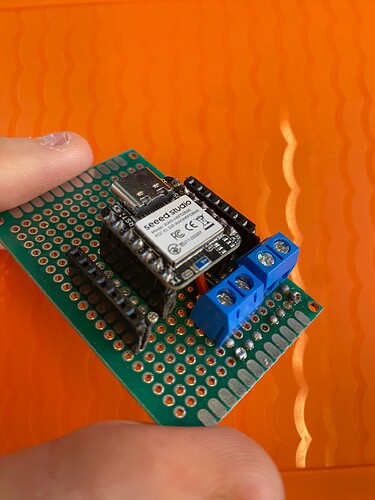
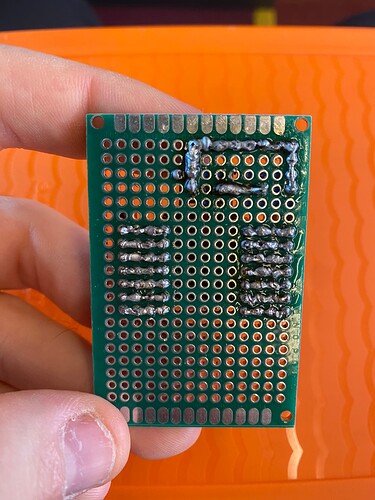
I ended up making my own test socket on a prototyping board; I made sure to include screw terminals so that I could hot-swap the power supply connected to the BAT terminals.
Hi there,
Just having some fun, The socket is up on thingiverse you can print one along with a lot of other stuff for Xiao ![]()
HTH
GL ![]() PJ
PJ
![]()
send pictures! we love to watch!
Yup! Took a peak a few days ago. I’d love to print some stuff for myself but I’ve been pretty busy as of late, can’t really spend too much time on that…
I’ll make sure to send ‘em as soon as I get home!
For the purpose of this project, I assume that the current consumption of XIAO needs to be as low as possible.
If so, I recommend using non-mbed “Seeed nRF52 Boards” for the BoardSupportPackage, which can reduce the sleep current.
Thanks for the awesome source material @cgwaltney ! And yes @msfujino, current consumption should be kept in the order of 10-100uA most of the time, so thanks for the heads up. I’ll dig into the nitty-gritty of low-power operation in a little bit, so everything helps.
