Odyssey J4125 v2 OS and analogs

Hi,

I am evaluating the possibility to buy a Odyssey J4125 v2, but from the documentation I have few doublts.

  1. it is not clear how the RPI co-processor is used, i.e. can I install the RaspberryOs? Or do I program it by using Arduino? How can I use its gpio?
  2. Is there any option to read some analog pins? In v1 it seems possible via arduino on 28 pin connector, is it still possible in v2?

Thank you,
reagrds

1 Like

Hello.

  1. you can flash Ubuntu to control the GPIO as shown in the Wiki below.
    Accessing 40-pin GPIO | Seeed Studio Wiki
  2. v2’s 28pin is the same as v1’s pin function. You can of course use analog pins on the 28pin of v2 as well.

Hi,

thank you for the reply.
Sorry, but I still do not understand.
How can i drive the 28 pins in v2? In the doc (Getting Started with ODYSSEY - X86J41x5 | Seeed Studio Wiki), there are instruction for v1 28pins by using Arduino. Is it the same for v2? Or where are the instructions for v2? Because the co-processor is no more an Arduino…

Thank you,
regards

Hi @FStefanni
Sorry to keep you waiting. In order to resolve your confusion, we have scheduled a test. We will contact you as soon as we have the results. But in my opinion, installing arduino on all Ubuntu systems is the same

1 Like


Hello, this is its ADC pinout, please select the RP2040 development board in the arduino IDE

1 Like

Hi,

this is exactly what I need, thank you.
Maybe this could be stated in the doc, to help other people in the future (both the schema and the board to select).

Regards

Hi,
I’m experimenting a similar problem. I bought some Odyssey J4125 v2, but the Getting Started guide,
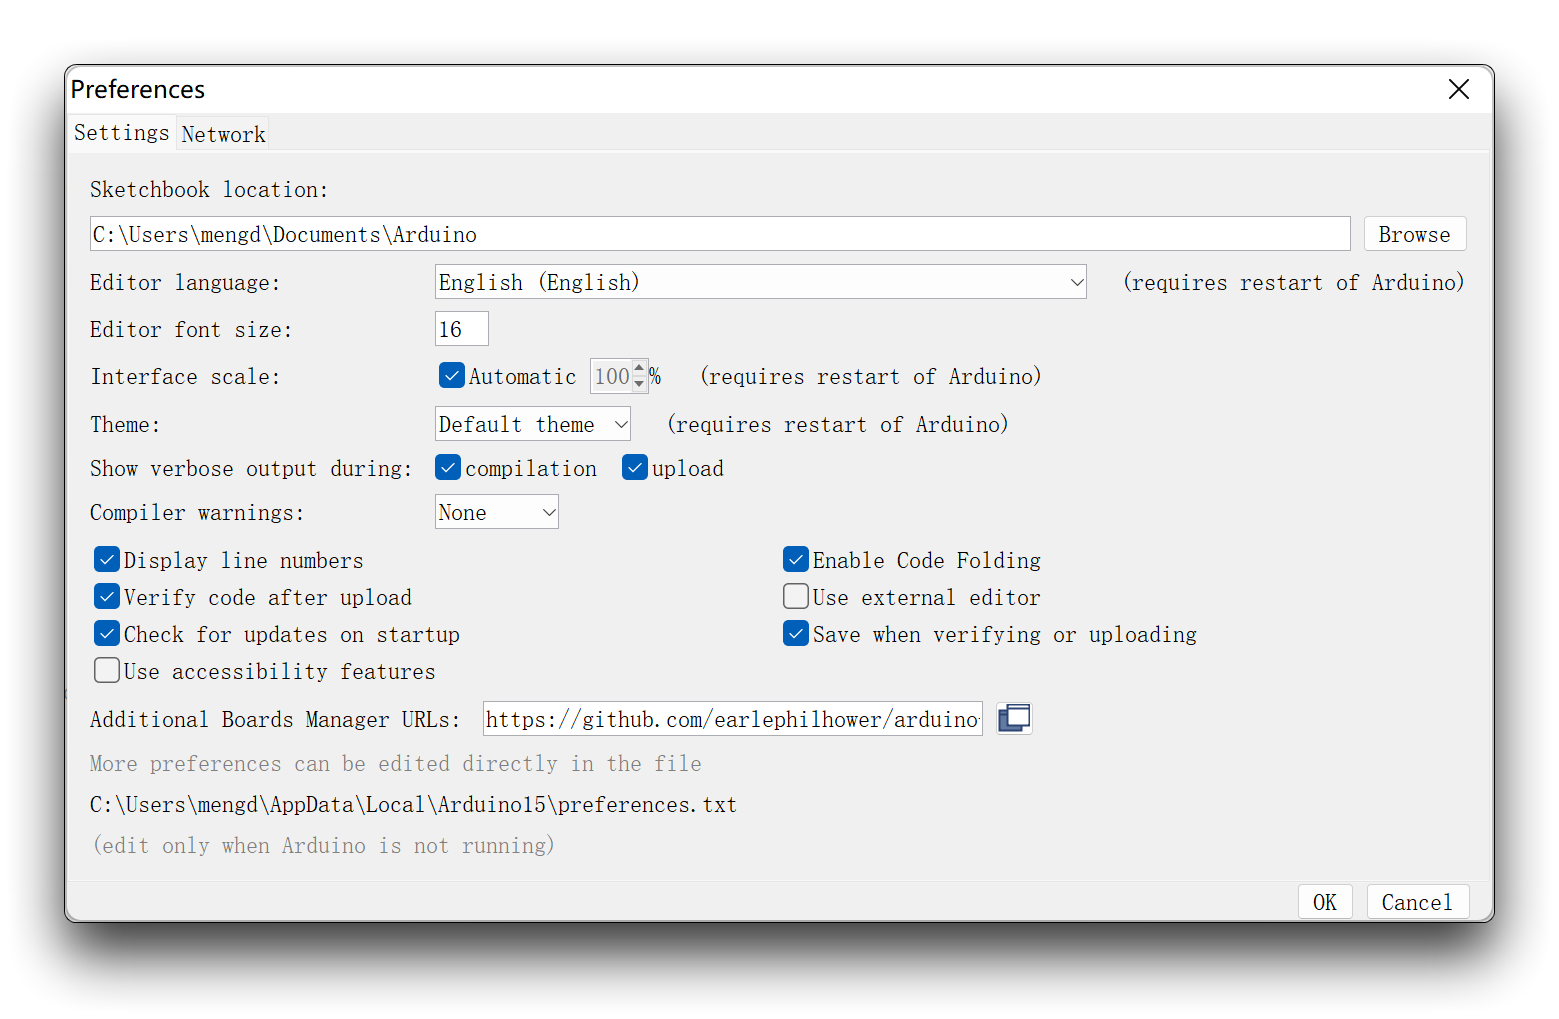
only has information about ATSAMD21G18 on Arduino IDE that seems to not apply to the RP2040. I’ve installed and programmed ATSAMD21G18 on ubuntu with no problems on the older Odyssey J4105, but I dont know how to proceed with this new version. I need some document or guide to install RP2040 on ubuntu.

Best regards, Gio.

Hi there

If you want to use the Odyssey J4125V2 on the Arduino IDE, you can follow these steps:

  1. Install Arduino in the same way as described in the Wiki.
    Getting Started with ODYSSEY - X86J41x5 | Seeed Studio Wiki

  2. Add the Raspberry Pi Pico board package to your Arduino IDE.

Go to File > Preferences and enter the following URL in the Additional Boards Manager URLs field:

https://github.com/earlephilhower/arduino-pico/releases/download/global/package_rp2040_index.json

  1. Go to Tools > Board > Boards Manager…, and enter “RP2040” in the search box. Select the latest version of “Raspberry Pi Pico/RP2040” and install it.

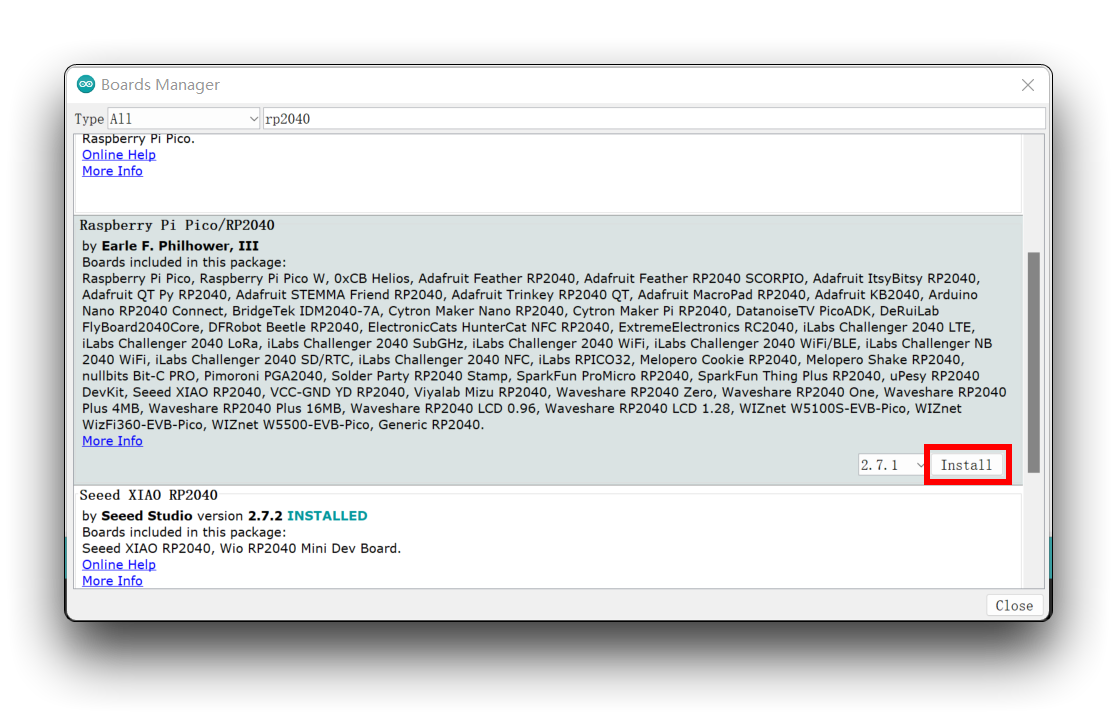
  2. Select your “Raspberry Pi Pico” and the corresponding port.

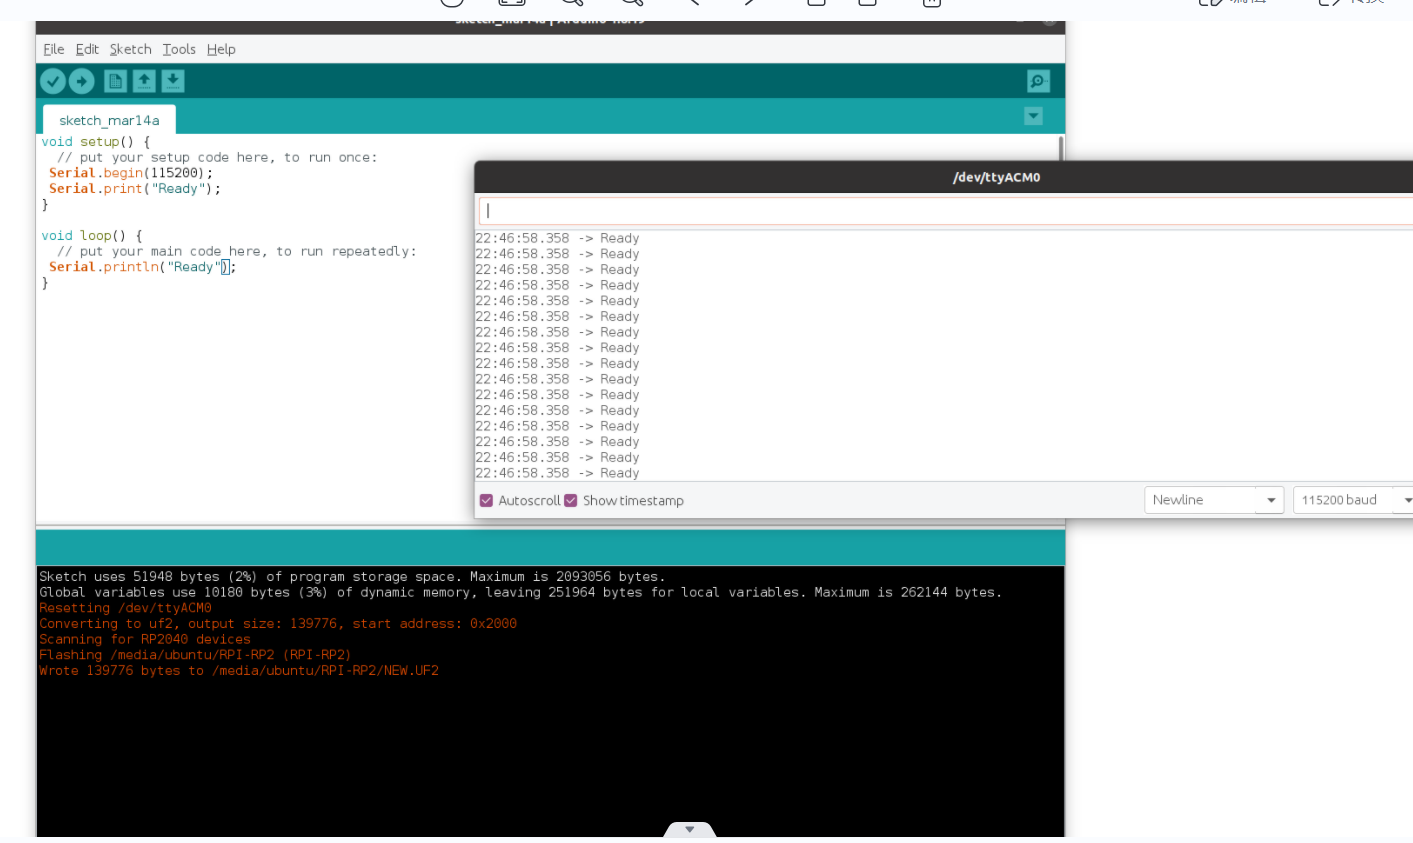
  3. You have now finished setting up the Odyssey J4125V2 RP2040 for Arduino IDE on Ubuntu 20.04.
    I wrote a simple program and the serial monitor shows as expected

I hope this can help you.

1 Like

Thank you for the response. This guide works perfectly on the J4125v2 for installing RP2040 with Arduino IDE. I hope this will be added to the wiki for new users, with the addition of the pinout for the RP2040.

Best regards, Gio.

Thanks for your feedback!
We’ll update the wiki as soon as possible