Configure IMX219 and IMX477 on reComputer J30/40
Seeed has made modifications to the device tree to cooperate with reComputer (Classic) J30/40 to use IMX219/IMX477 camera. To use these cameras on JetPack 6, additional changes will be needed.
The below examples were demonstrated on JetPack 6.2 (Jetson Linux R36.4.3) with reComputer J30/J40.
Similar operations can be performed across JetPack 6.0/6.1, these files were from our repo. Select different tags to work with your JetPack.
IMX219
- Download the device tree overlay file.
# Create a workspace

$ mkdir overlay

$ cd overlay

# Download device tree overlay

$ wget -L https://raw.github.com/Seeed-Studio/Linux_for_Tegra/r36.4.3/source/hardware/nvidia/t23x/nv-public/overlay/tegra234-p3767-camera-p3768-imx219-dual-seeed.dts

# create a workspace structure for later building

$ mkdir dt-bindings

$ cd dt-bindings

# download the include file

$ wget -L https://raw.github.com/Seeed-Studio/Linux_for_Tegra/r36.4.3/source/hardware/nvidia/t23x/nv-public/include/platforms/dt-bindings/tegra234-p3767-0000-common.h
Note
The device tree include file tegra234-camera-rbpcv2-imx219.dtsi was a part of NVidia’s official BSP source, our repo didn’t provideit. If you need to download and extract the file you want, navigate to your current BSP page, for an example, JetPack 6.2 (Jetson Linux R36.4.3):
Download the Driver Package (BSP) Sources:
$ wget https://developer.nvidia.com/downloads/embedded/l4t/r36_release_v4.3/sources/public_sources.tbz2
And extract the BSP source (oot modules). Use find command to locate the path of the file you need and copy the file to overlay workspace
# extract the source

$ tar xf public_sources.tbz2

# continue extract the kernel out of tree module source

$ cd Linux_for_Tegra/source

$ tar xf kernel_oot_modules_src.tbz2

# Use find command to find your file

$ find ./ -iname tegra234-camera-rbpcv2-imx219.dtsi

# copy the file to workspace folder

$ cp <PATH_to_Your_File> ~/overlay/
Most of the device tree include files or header files were placed under /usr/src/linux-headers-5.15.148-tegra-ubuntu22.04_aarch64/3rdparty/canonical/linux-jammy/kernel-source/include. But you may need the official BSP source for out of tree module files.
end of note
- Compile the device tree overlay
# back to workspace root folder

$ cd ..

# use cpp for pre-process

$ cpp -nostdinc -I ./ \

-I /usr/src/linux-headers-5.15.148-tegra-ubuntu22.04_aarch64/3rdparty/canonical/linux-jammy/kernel-source/include \

-undef -x assembler-with-cpp \

tegra234-p3767-camera-p3768-imx219-dual-seeed.dts \

-o tegra234-p3767-camera-p3768-imx219-dual-seeed.dts.pp

# compile

$ dtc -I dts -O dtb -o tegra234-p3767-camera-p3768-imx219-dual-seeed.dtbo tegra234-p3767-camera-p3768-imx219-dual-seeed.dts.pp
- Copy the device tree blob overlay to
/bootfolder
$ sudo cp tegra234-p3767-camera-p3768-imx219-dual-seeed.dtbo /boot
Use Jetson IO to configure the CSI Pins
Since our overlay file was copied to /boot folder, we can use Jetson IO to configure the pins.
Launch Jetson IO with
sudo /opt/nvidia/jetson-io/jetson-io.py
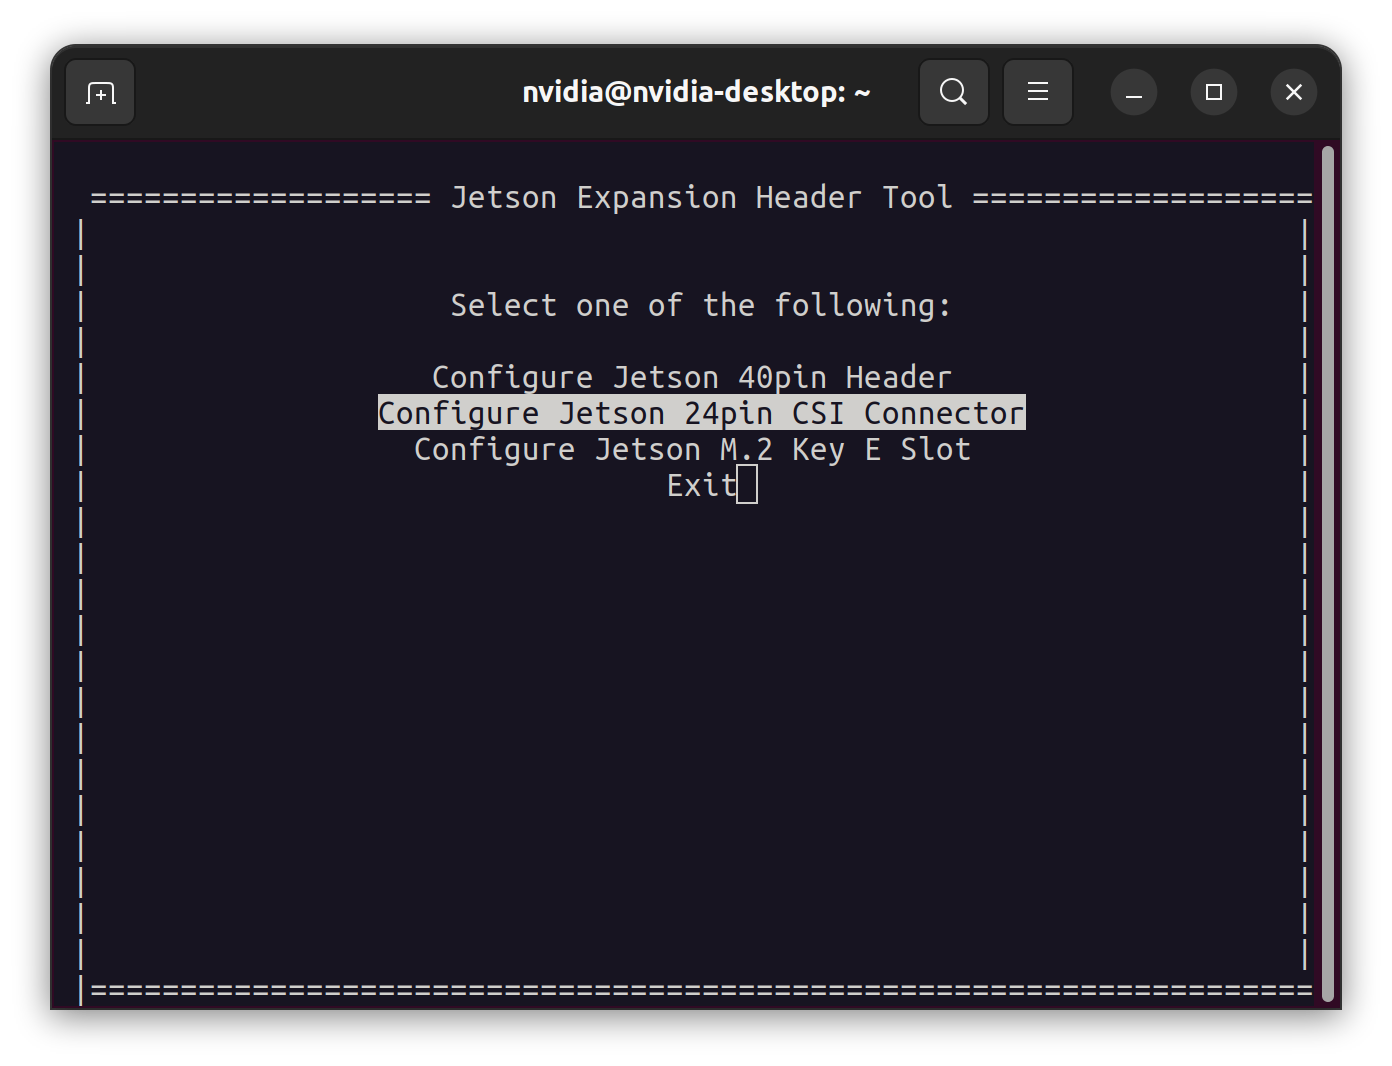
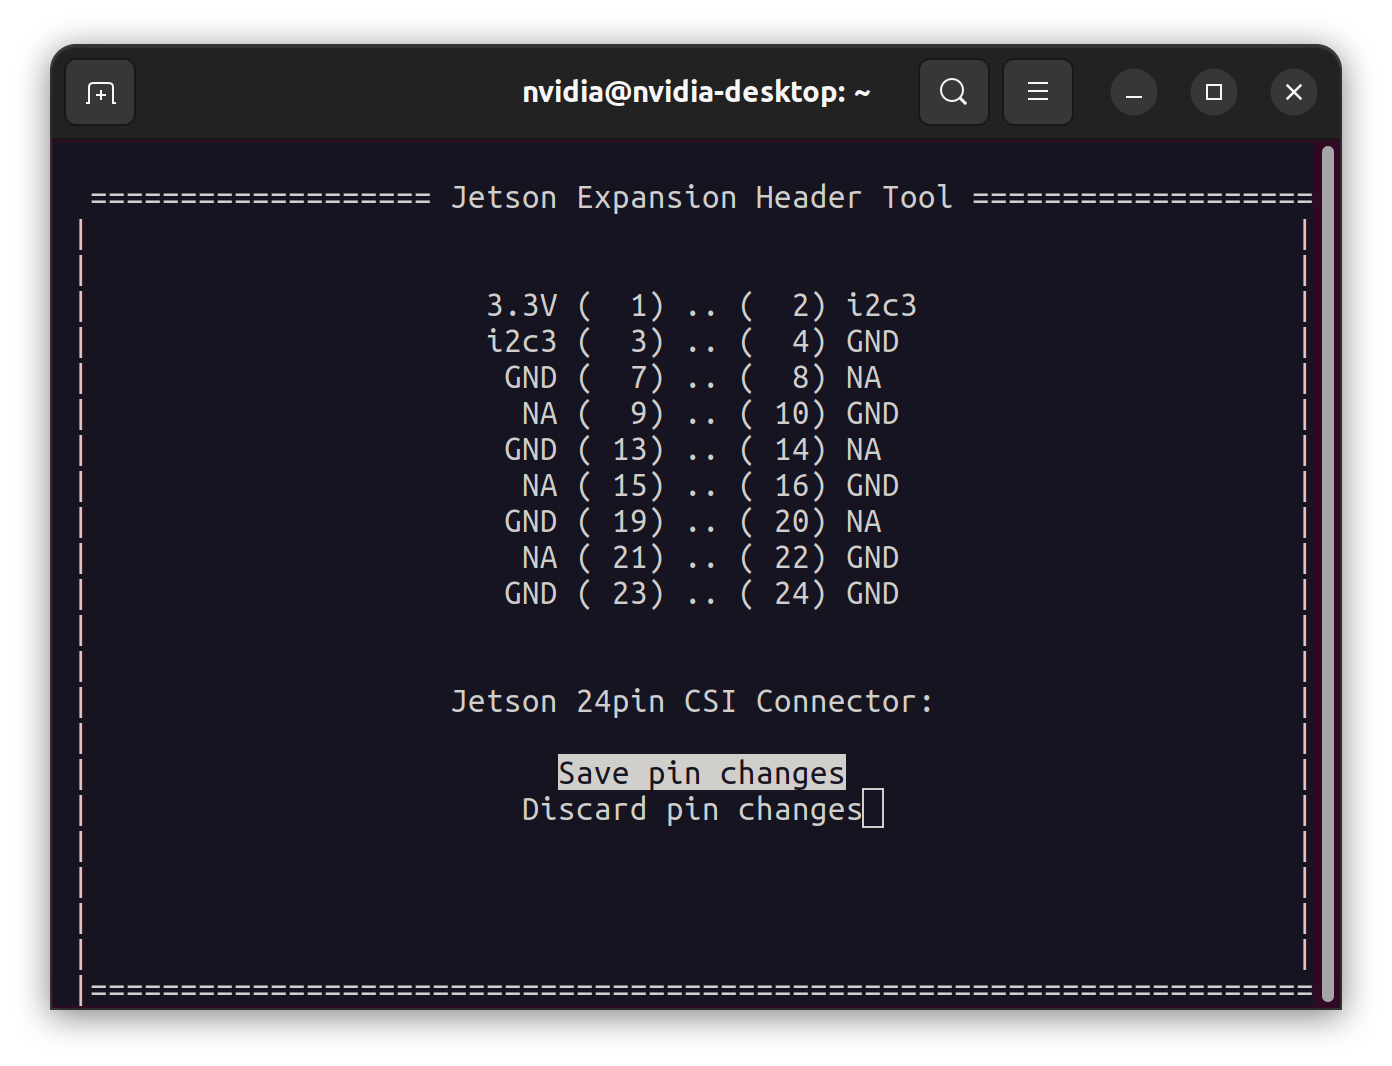
Select:
→ Configure Jetson 24pin CSI Connector
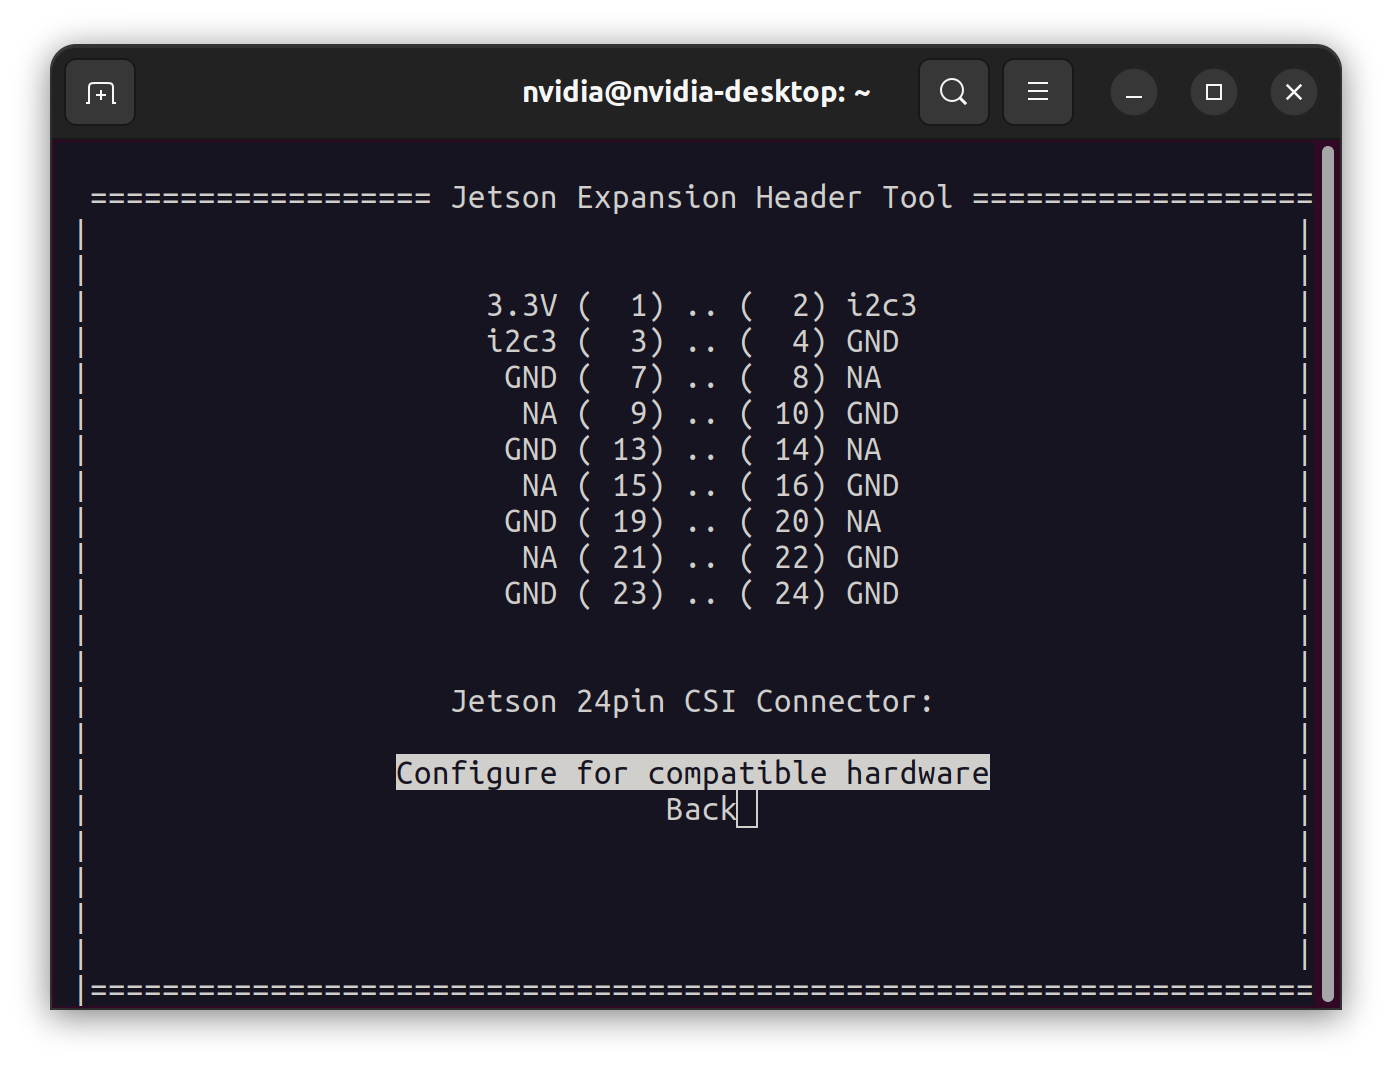
→ Configure for compatible hardware
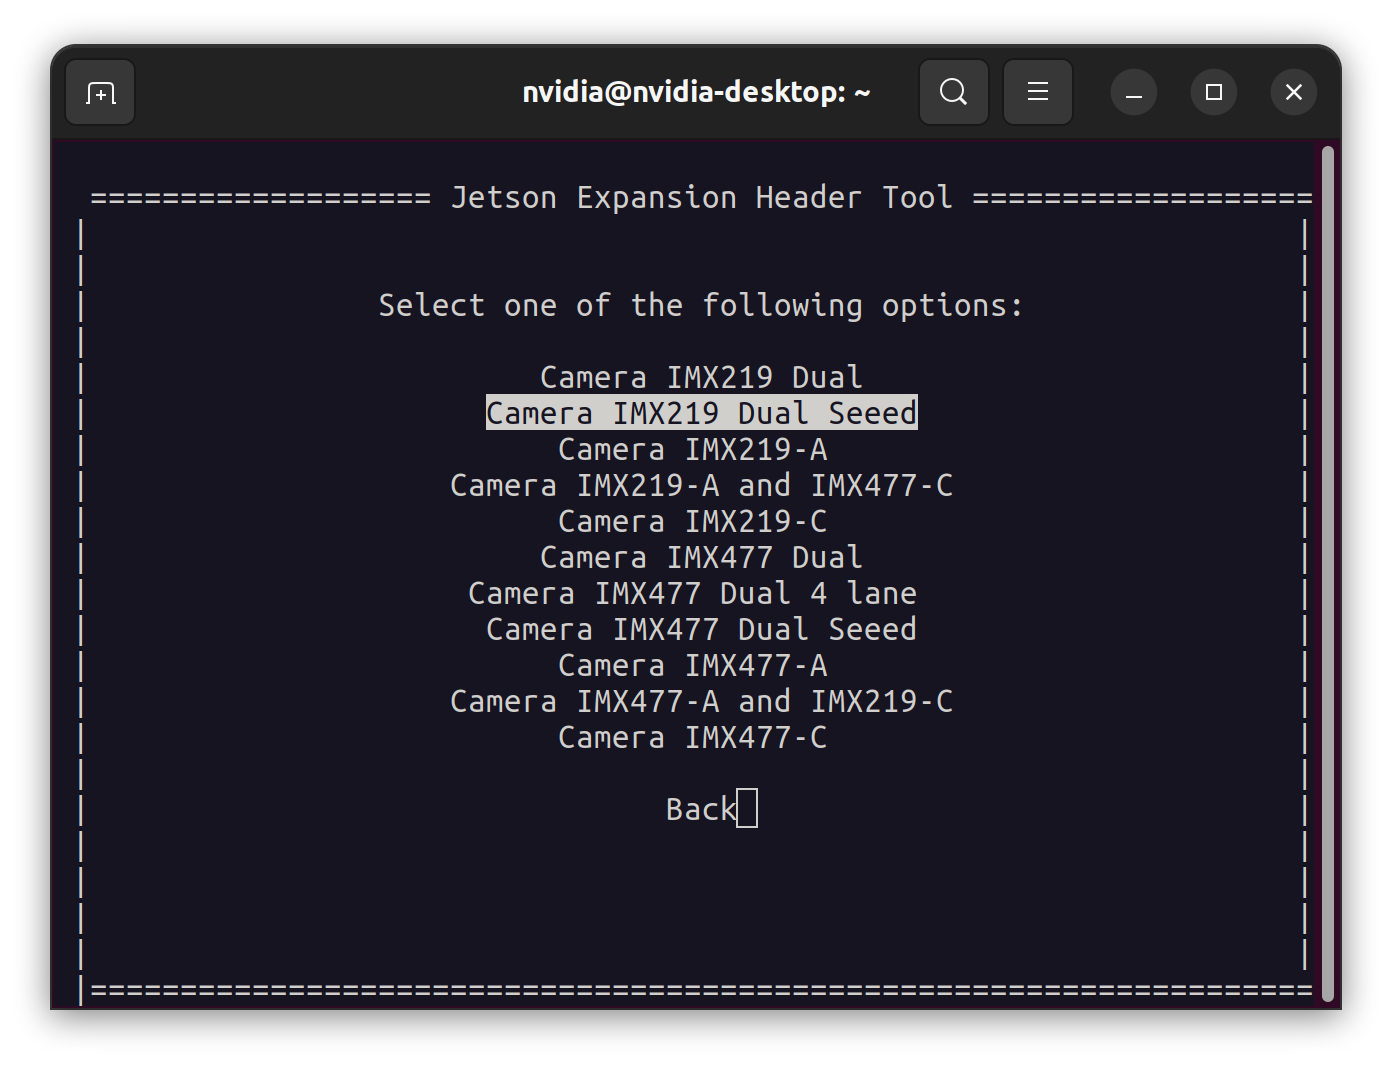
→ Camera IMX219 Dual Seeed
→ Save pin changes
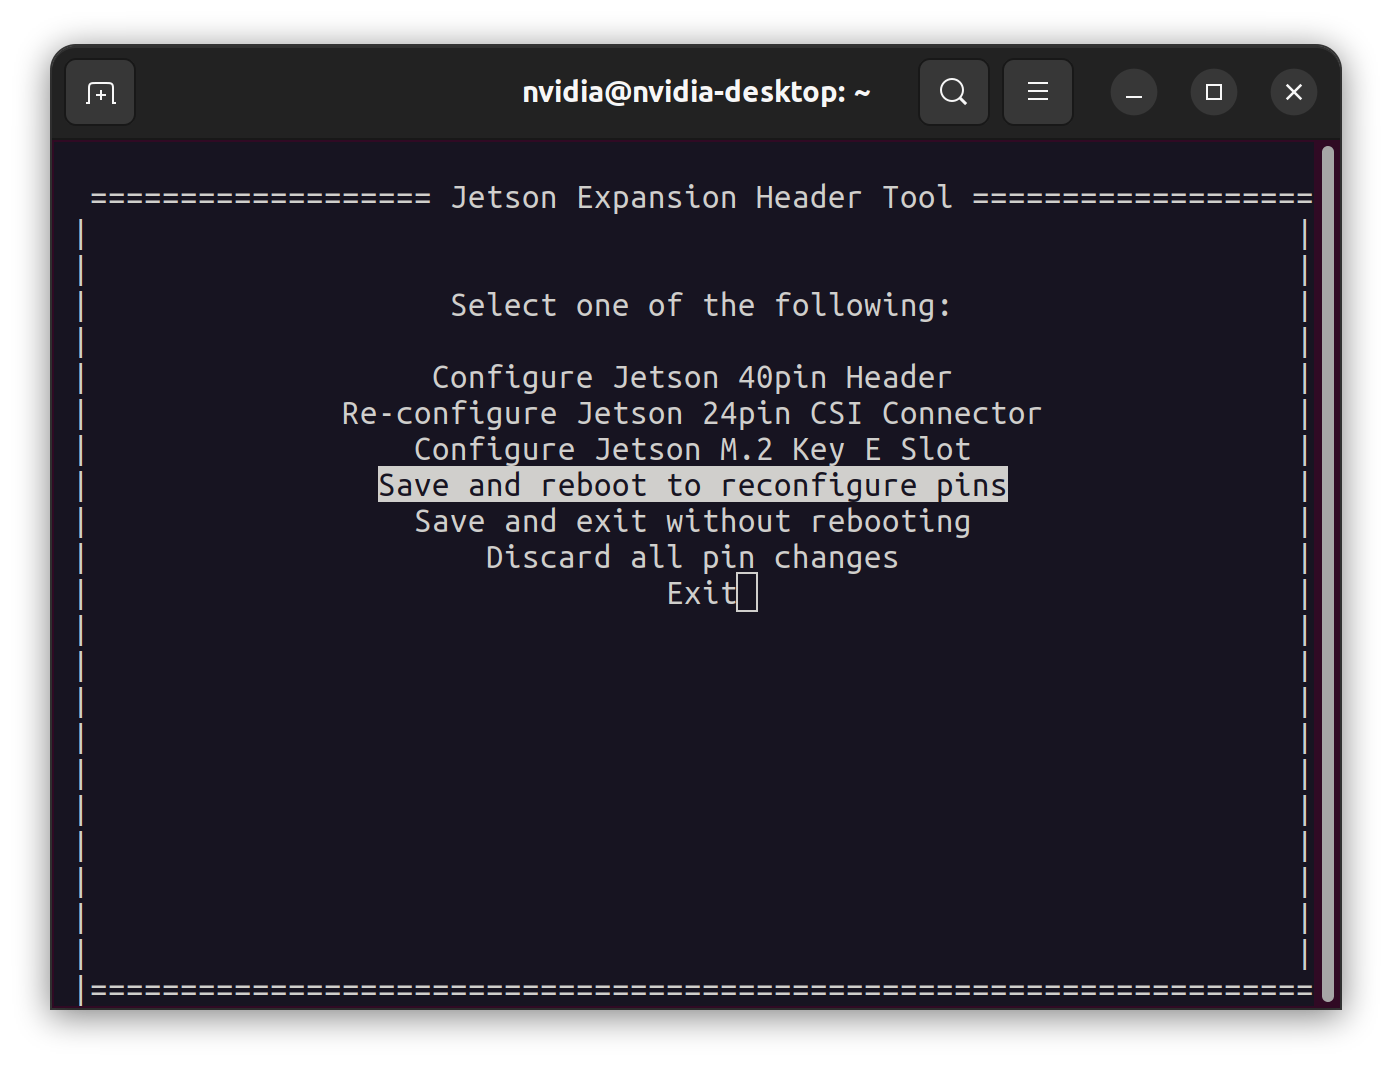
After this, you can either reboot now with Save and reboot to reconfigure pins or save and exit without rebooting.
Selecting the overlay.
The device tree overlay was compiled to main device tree binary when booted, the Jetson UEFI will ask you which configurations you wish to load. Here we select the configurations we want.

In above boot process, select 1: Custom Header Config: <CSI Camera IMX219 Dual Seeed>
Note
Usually, if you made modifications with Jetson IO, jetson will boot with your configurations by default, but if you faced the issue when booting, you can press 0 to enter primary kernel and fix the errors before continuing.
end of note
IMX477
- Download the device tree overlay file.
# Create a workspace

$ mkdir overlay

$ cd overlay

# Download device tree overlay

$ wget -L https://raw.github.com/Seeed-Studio/Linux_for_Tegra/r36.4.3/source/hardware/nvidia/t23x/nv-public/overlay/tegra234-p3767-camera-p3768-imx477-dual-seeed.dts

# create a workspace structure for later building

$ mkdir dt-bindings

$ cd dt-bindings

# download the include file

$ wget -L https://raw.github.com/Seeed-Studio/Linux_for_Tegra/r36.4.3/source/hardware/nvidia/t23x/nv-public/include/platforms/dt-bindings/tegra234-p3767-0000-common.h
- Compile the device tree overlay
# back to workspace root folder

$ cd ..

# use cpp for pre-process

$ cpp -nostdinc -I ./ \

-I /usr/src/linux-headers-5.15.148-tegra-ubuntu22.04_aarch64/3rdparty/canonical/linux-jammy/kernel-source/include \

-undef -x assembler-with-cpp \

tegra234-p3767-camera-p3768-imx477-dual-seeed.dts \

-o tegra234-p3767-camera-p3768-imx477-dual-seeed.dts.pp

# compile

$ dtc -I dts -O dtb -o tegra234-p3767-camera-p3768-imx477-dual-seeed.dtbo tegra234-p3767-camera-p3768-imx477-dual-seeed.dts.pp
- Copy the device tree blob overlay to
/bootfolder
$ sudo cp tegra234-p3767-camera-p3768-imx477-dual-seeed.dtbo /boot
::: info
All changes have been published on Seeed’s Linux_for_Tegra repo. You can select different Jetson Linux branch and see the modifications.
:::
Use Jetson IO to configure the CSI Pins
Since our overlay file was copied to /boot folder, we can use Jetson IO to configure the pins.
Launch Jetson IO with
sudo /opt/nvidia/jetson-io/jetson-io.py
Select:
Configure Jetson 24pin CSI Connector → Configure for compatible hardware → Camera IMX477 Dual Seeed → Save pin changes
After this, you can either reboot now with Save and reboot to reconfigure pins or save and exit without rebooting.
Note
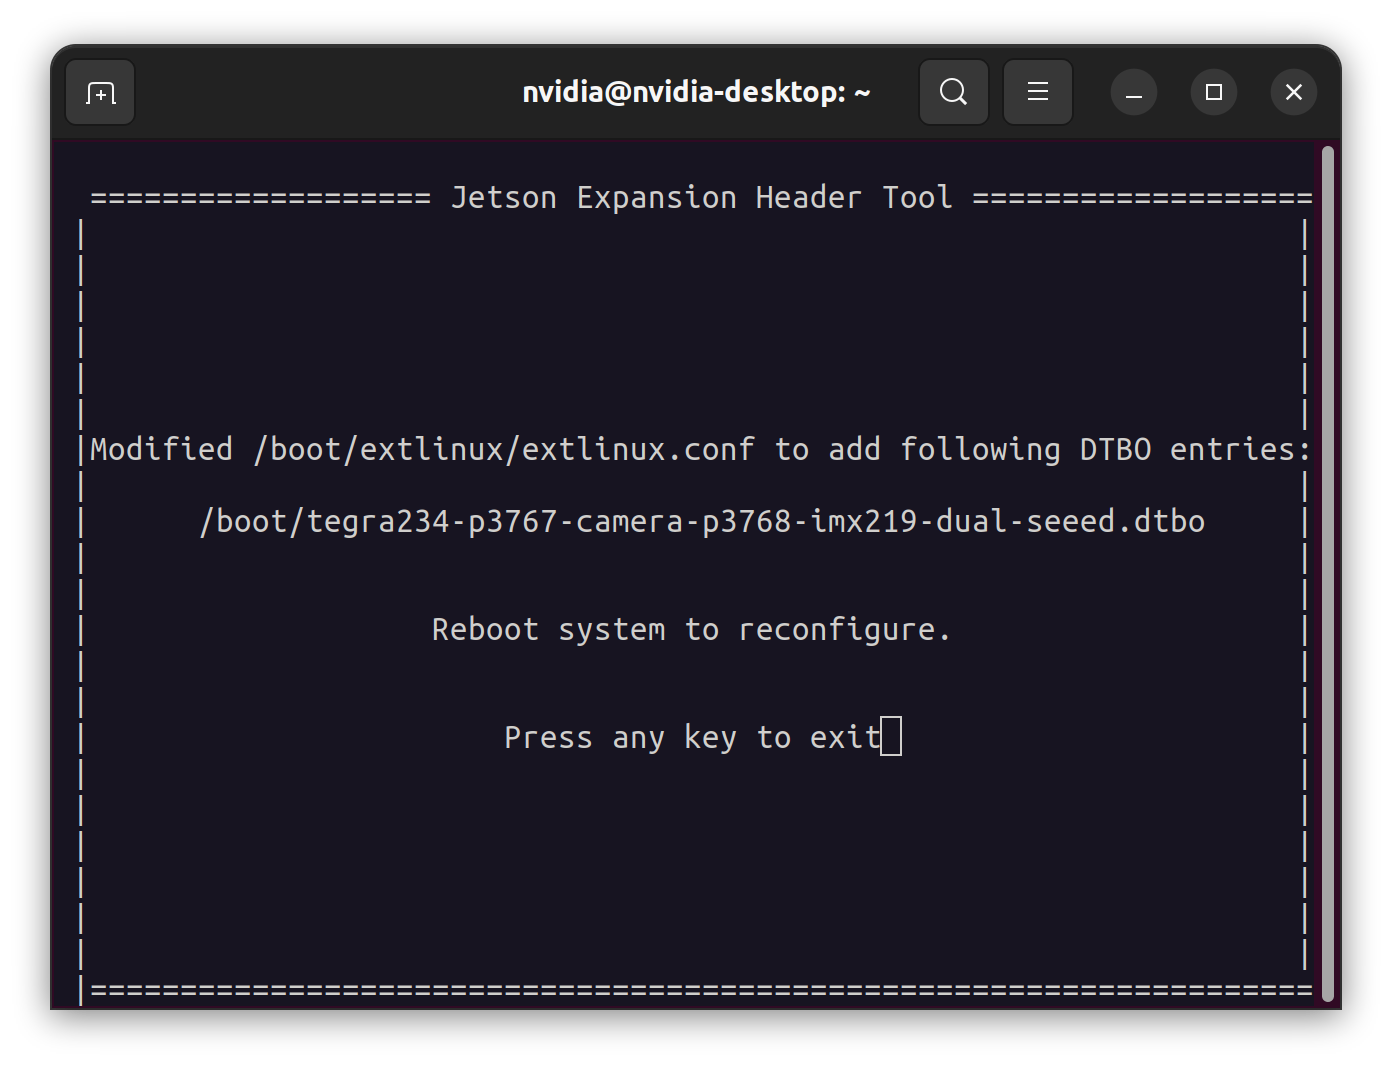
When you save the configuration, the corresponding boot parameters will be written to /boot/extlinux/extlinux.conf (LABEL JetsonIO)
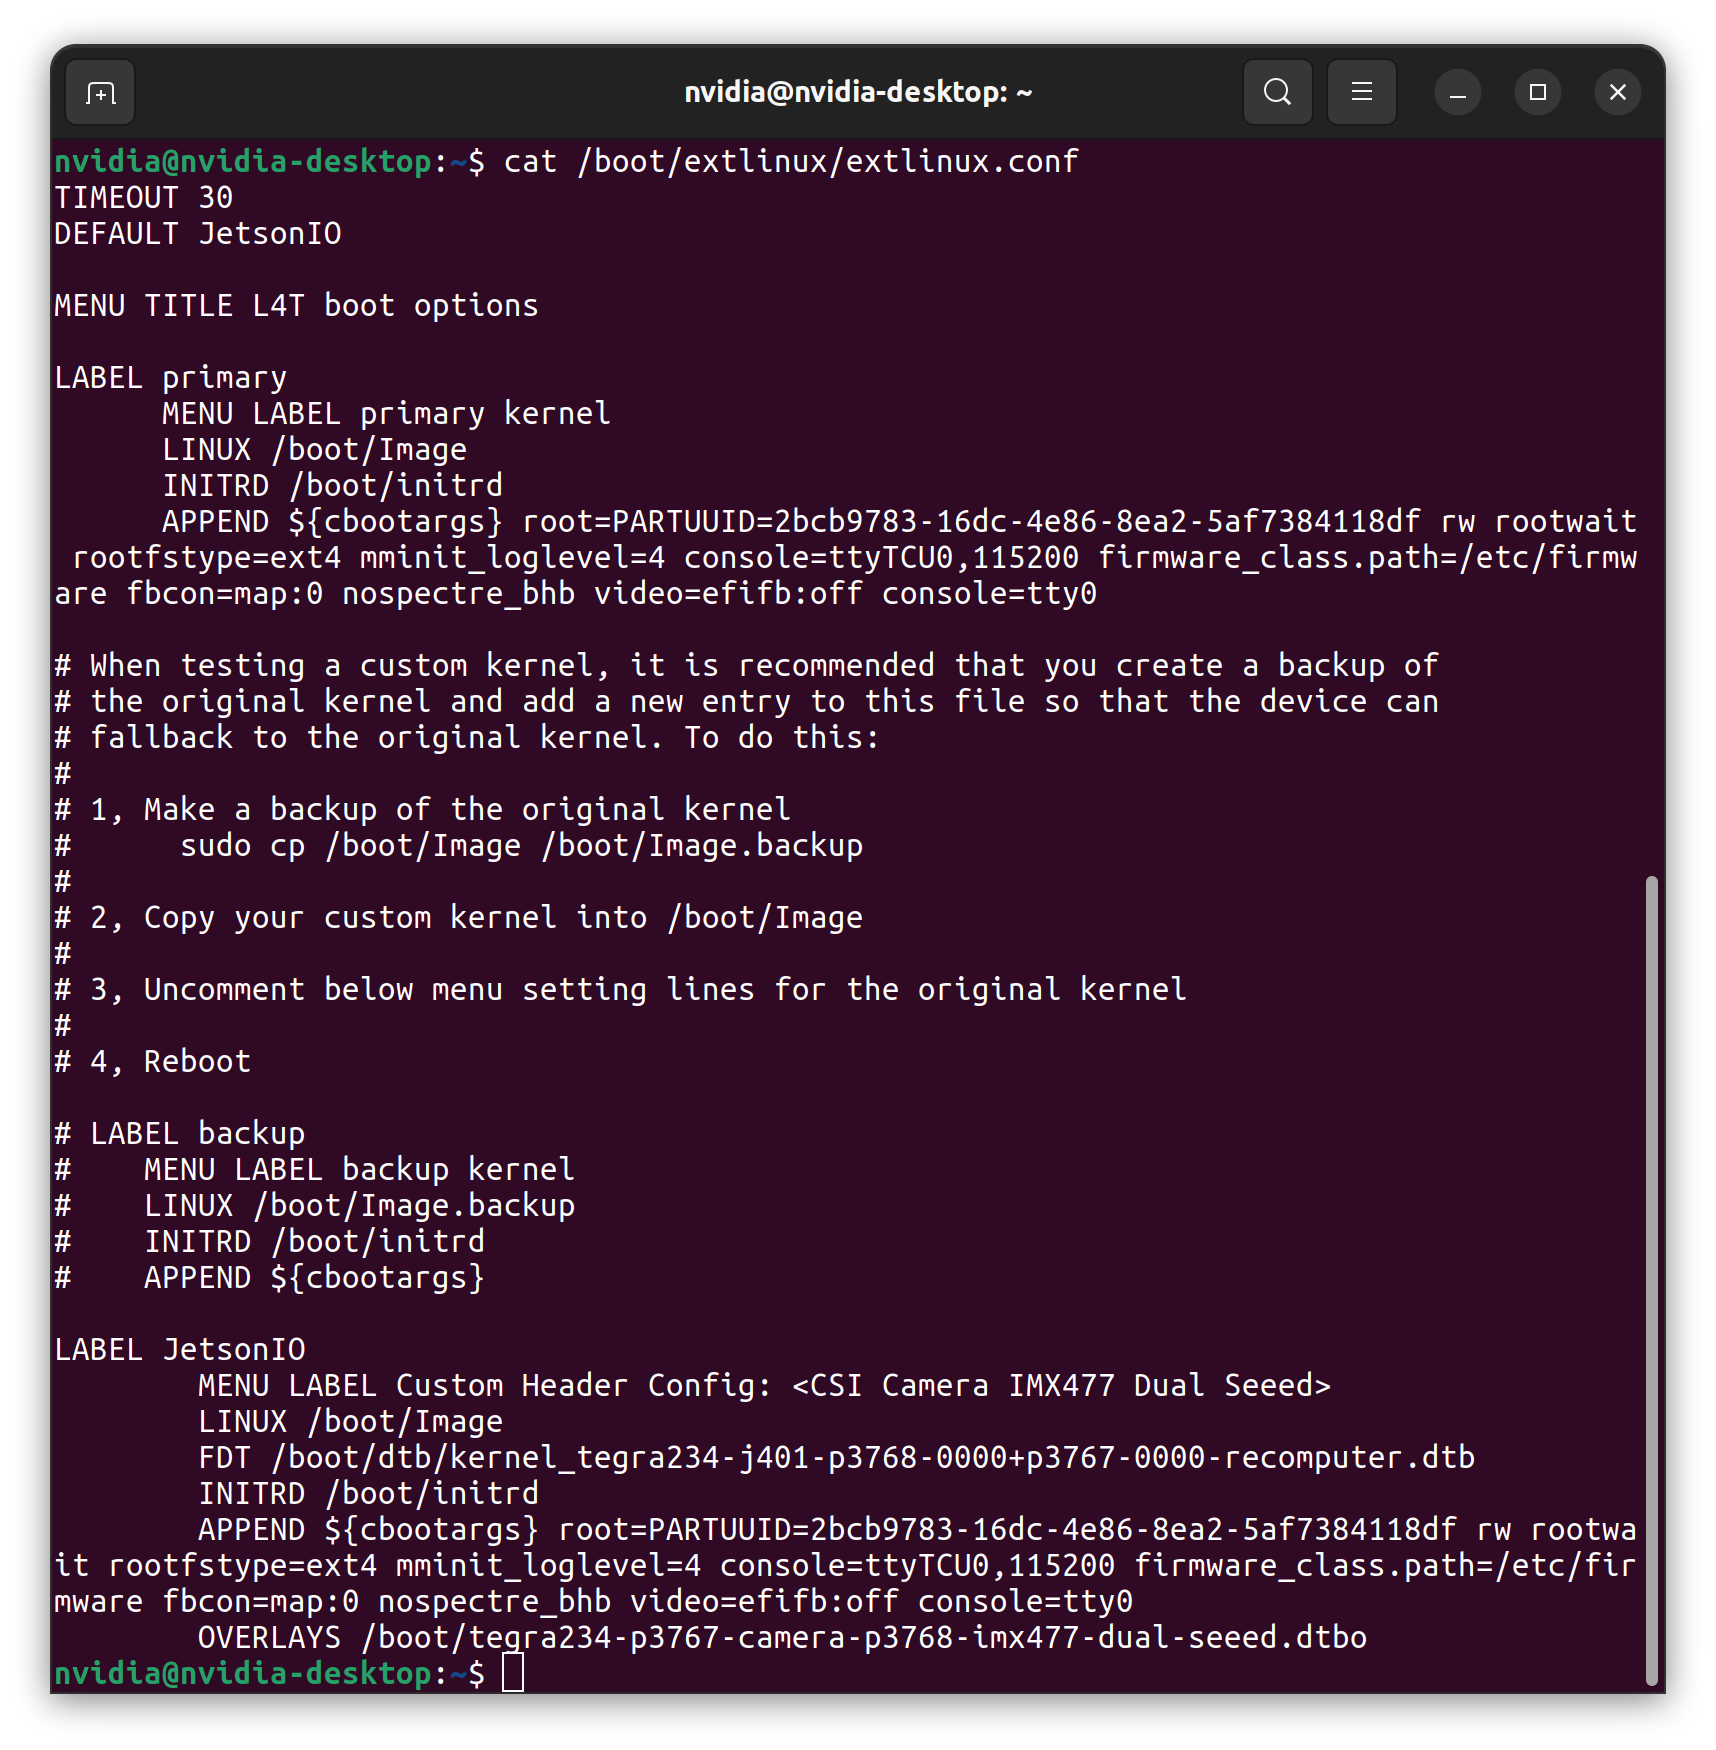
end of note
Selecting the overlay.
The device tree overlay was compiled to main device tree binary when booted, the Jetson UEFI will ask you which configurations you wish to load. Here we select the configurations we want.

In above boot process, select 1: Custom Header Config: <CSI Camera IMX477 Dual Seeed>
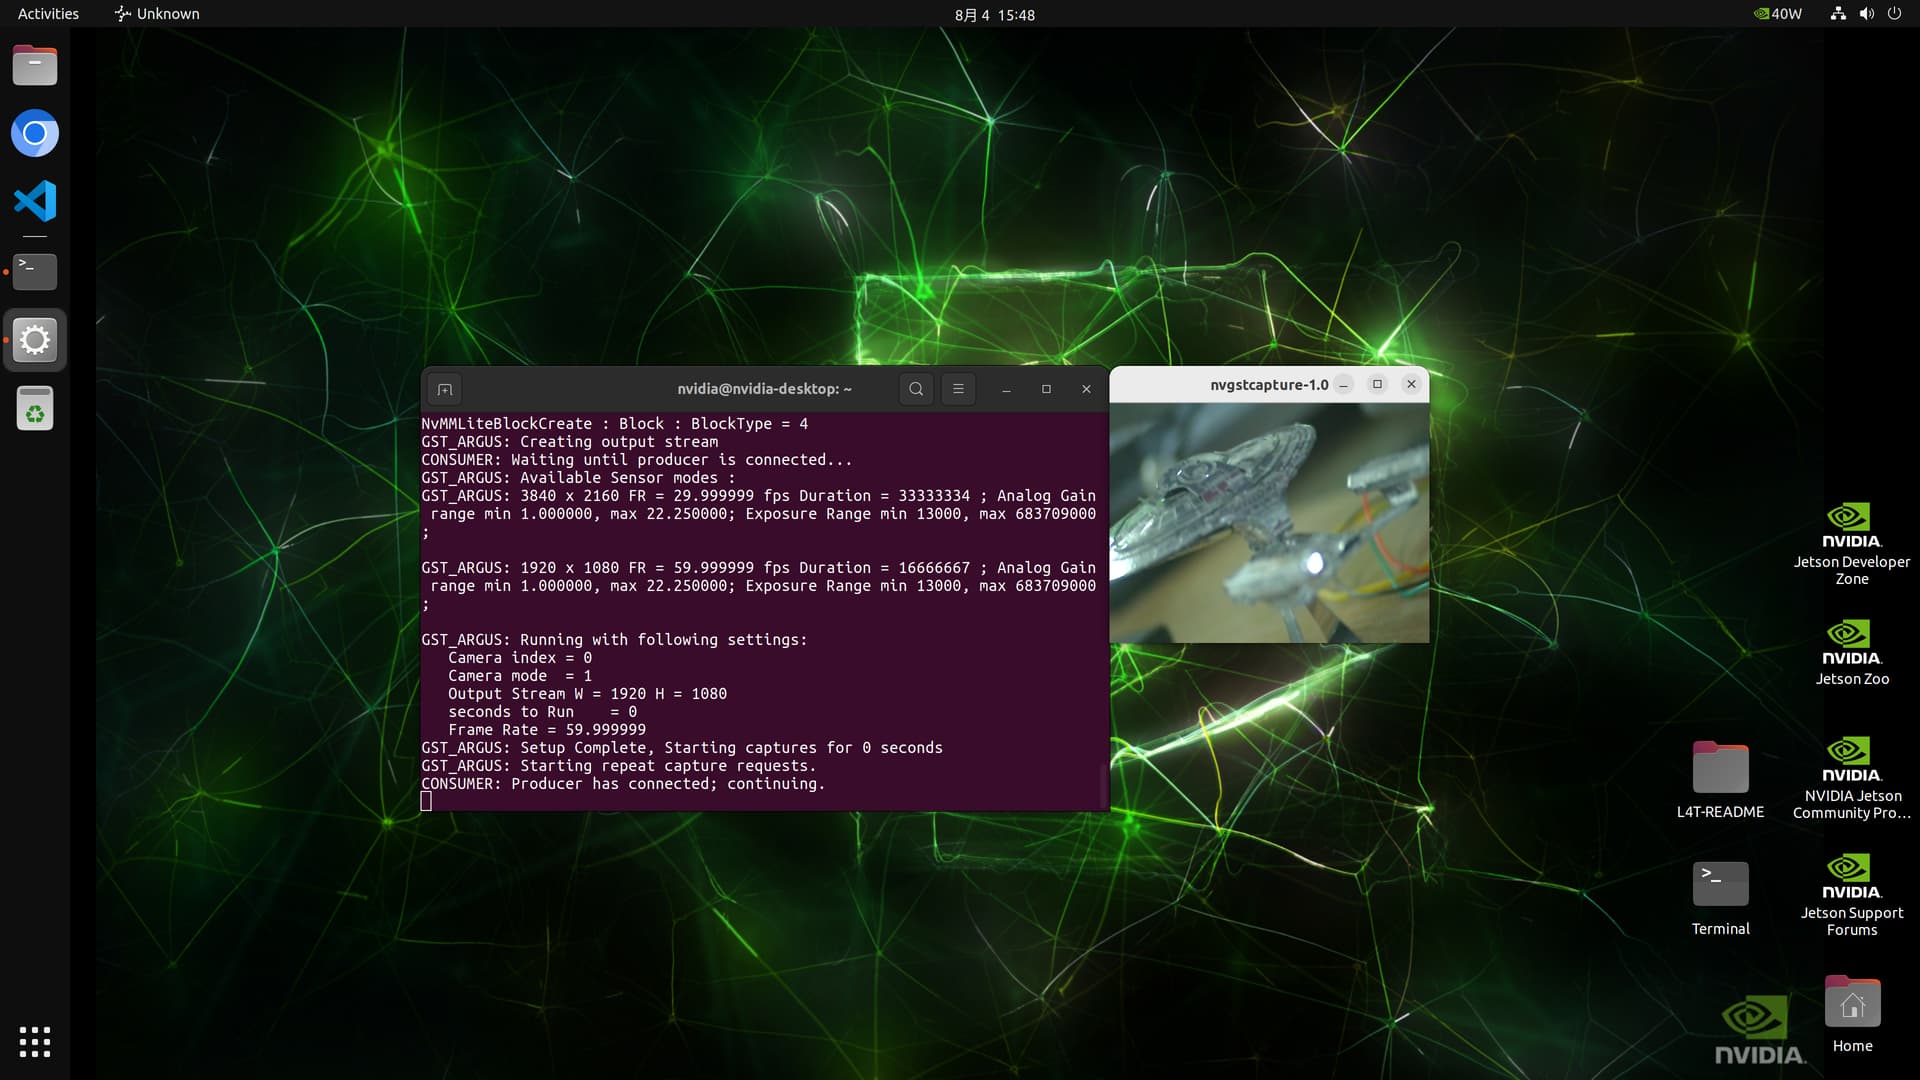
Test the device
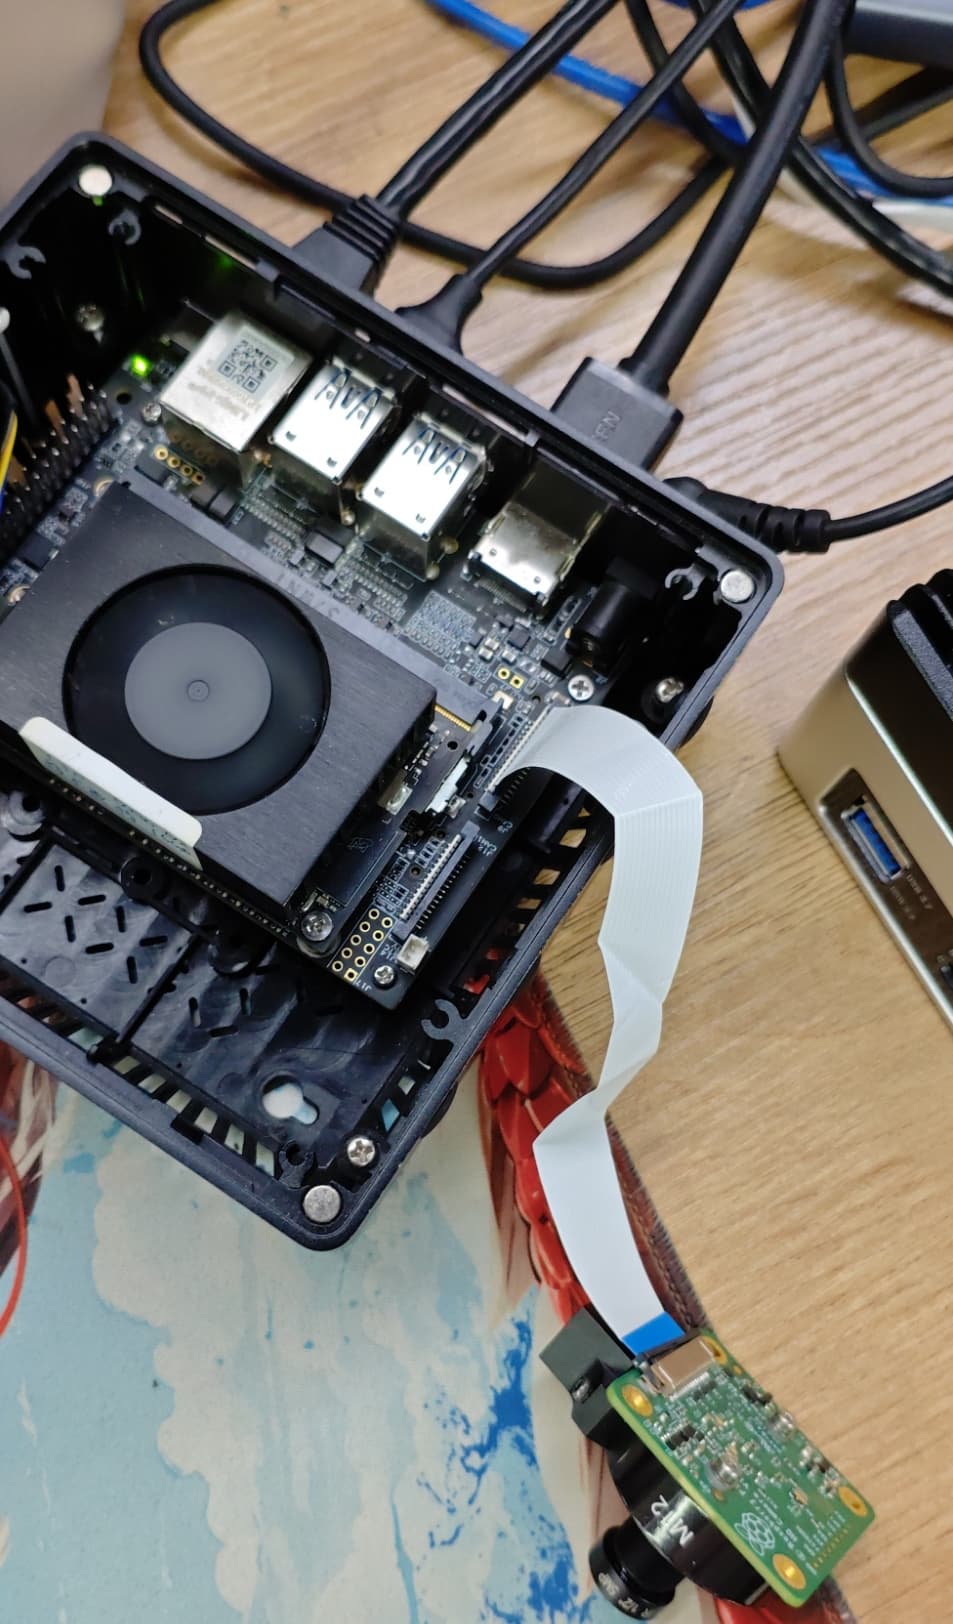
Connect the IMX219/IMX477 (MIPI CSI is not designed for hot-plugging, so please power off the device before connecting the camera, and then power it back on) and run
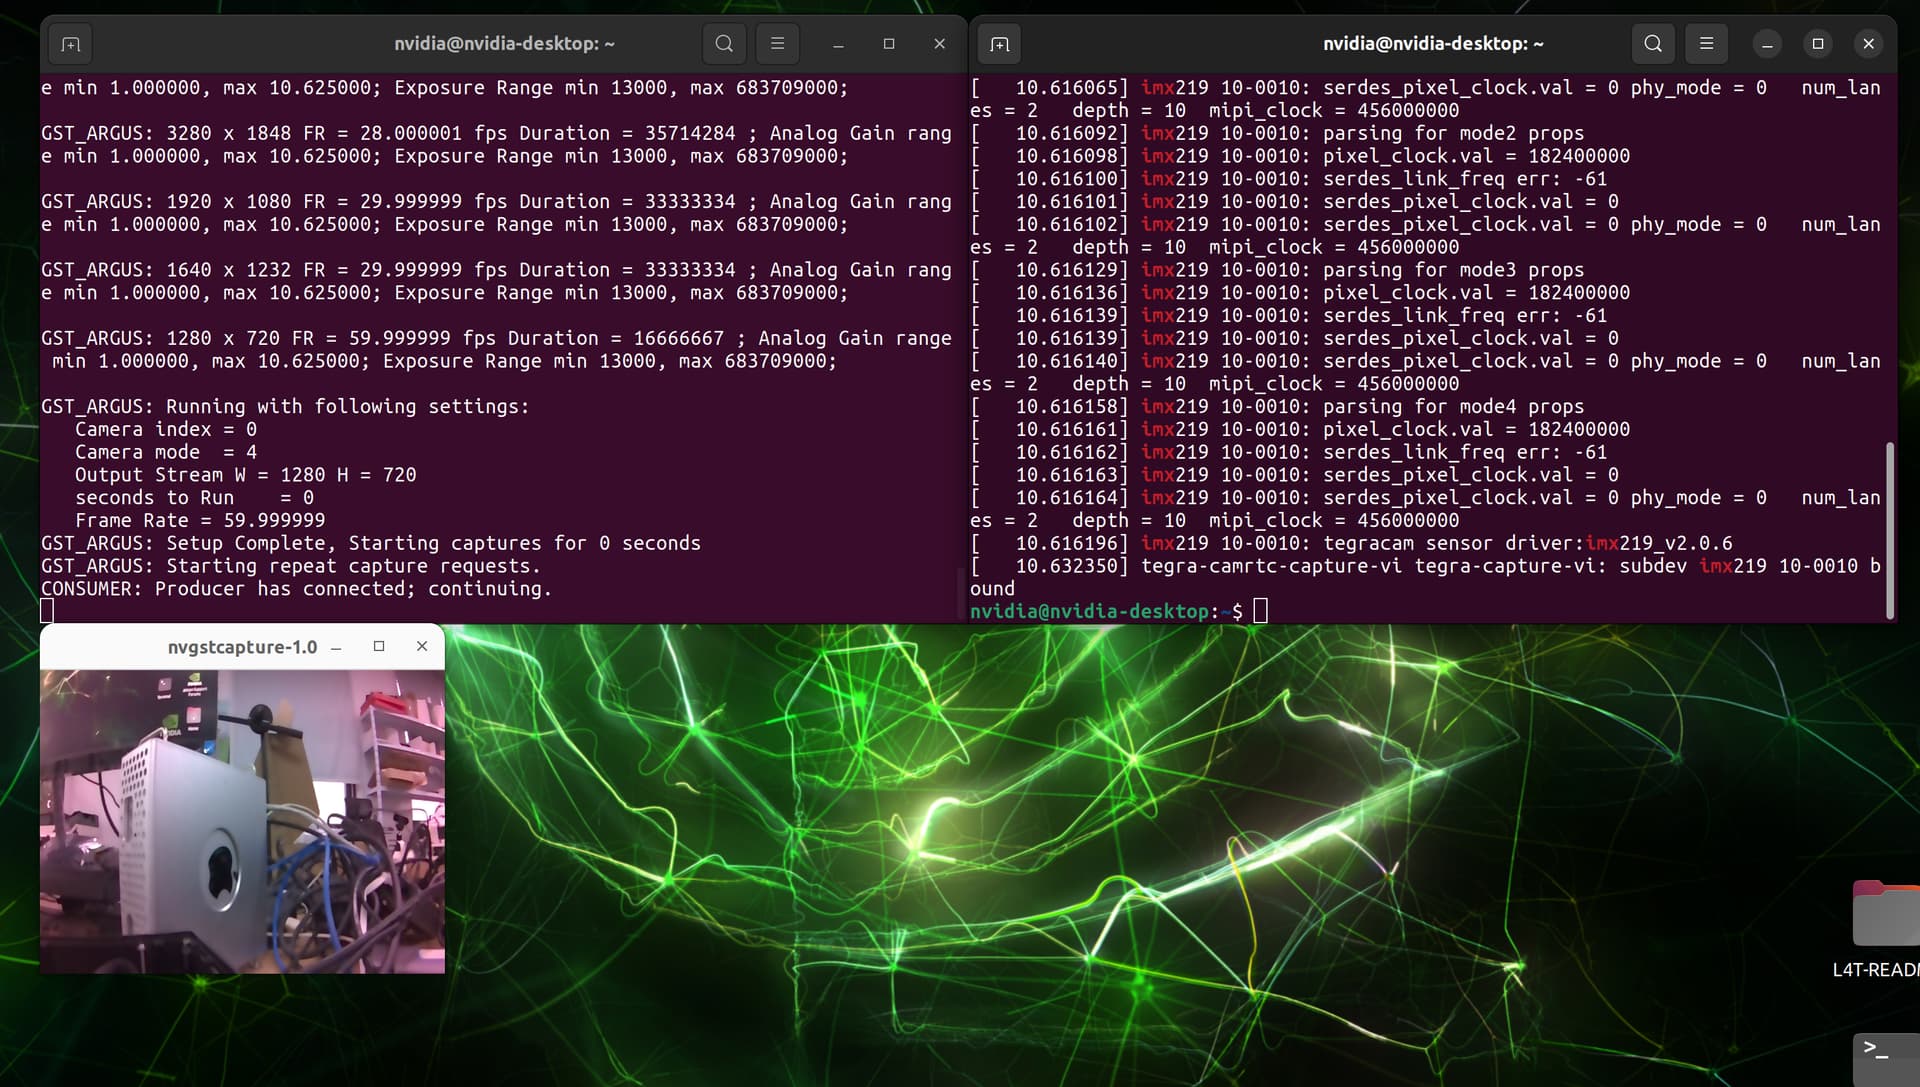
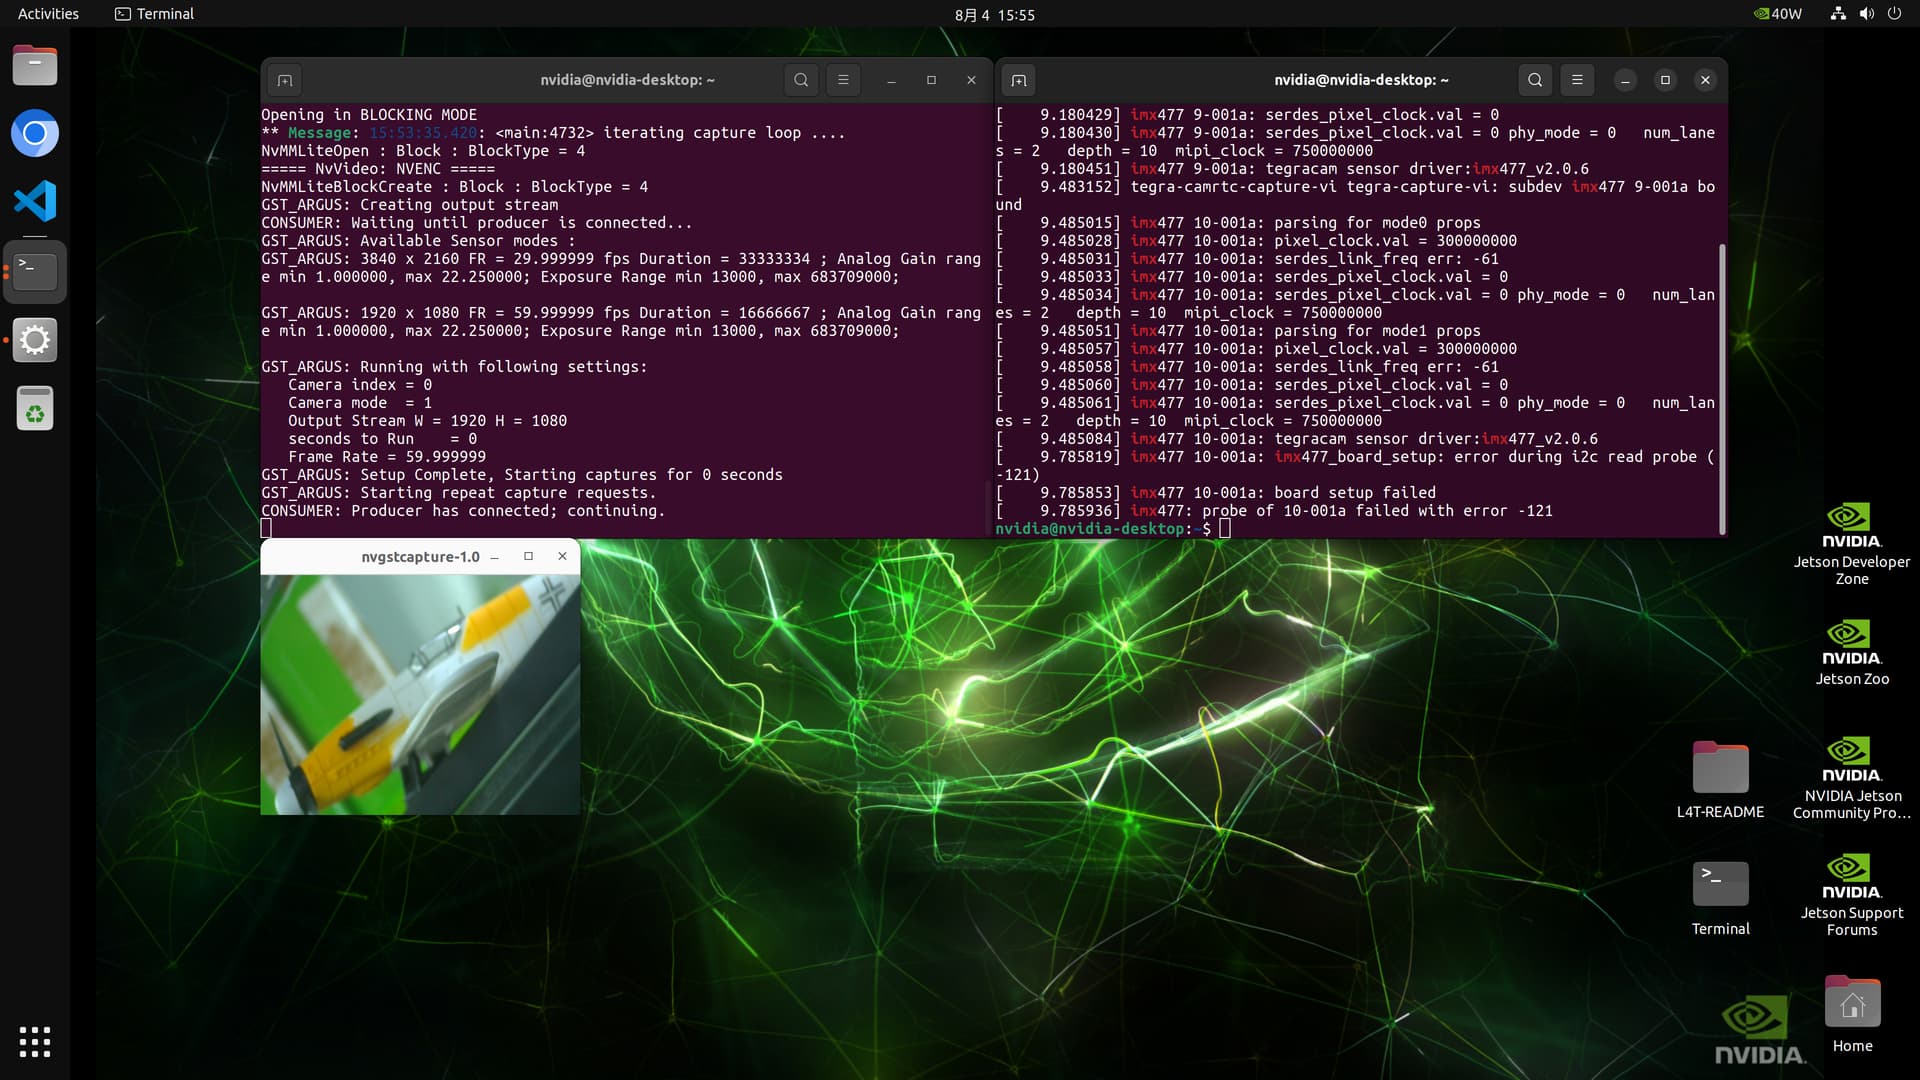
$ nvgstcapture
Note
You can check kernel logs for camera connection and recognition status
$ sudo dmesg | grep imx

The kernel logs are helpful for troubleshooting.
end of note
- IMX 219


- IMX 477 CAM 0
nvgstcapture --sensor-id 0
- IMX477 CAM 1
nvgstcapture --sensor-id 1