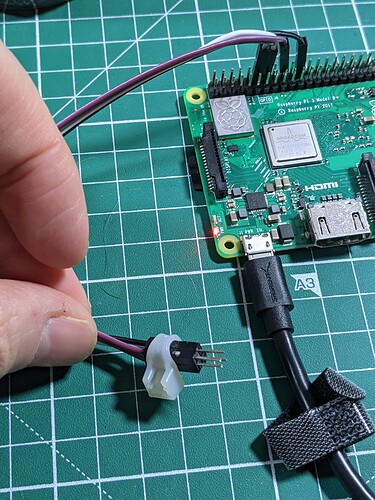
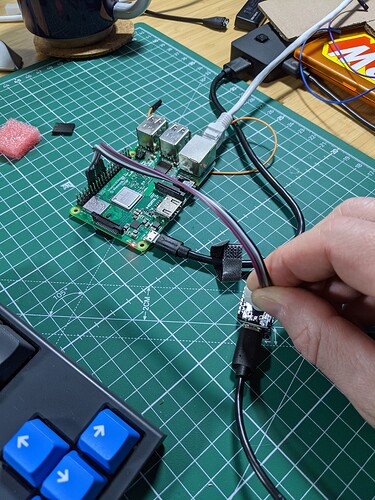
So guys, finally, i was able to revive my dead XIAO after hours of research on google. It can be done by following this guide from Adafruit.
Overview | Programming Microcontrollers using OpenOCD on a Raspberry Pi | Adafruit Learning System
Things needed
- Raspberry pi
- Some jumper wires
- Soldering skills to break out the SWDIO and SWDCLK pins from the bottom of the board
 (i had 2 XIAOs bricked. The first one’s pads came off trying to solder
  )
)
IMPORTANT
- Download and keep the original XIAO bootloader froim here:
- Follow the Adafruit guide to build openocd on raspberry pi and make the connections as mentioned. However, in the last stage of burning bootloader, the openocd commands need a change.
Instead of the command
program samd21_sam_ba verify
use the command
flash write_image “bootloader-XIAO_m0-v3.7.0-33-g90ff611-dirty.bin”
Also, i had to add the following lines in my openocd cfg file - though guide mentiontions its needed only for pi zero/1/2
bcm2835gpio_swd_nums 25 24
bcm2835gpio_trst_num 7
bcm2835gpio_srst_num 18
The chip was not getting discovered without those commands.
Once you execute the openocd command (sudo openocd -f openocd.cfg ),
you should see the amber LED pulsing ![]() . You can now connect the XIAO to computer and upload your code using arduino.
. You can now connect the XIAO to computer and upload your code using arduino.
Here is my config file for reference,
source [find interface/raspberrypi2-native.cfg]
transport select swdset CHIPNAME at91samd21g18
source [find target/at91samdXX.cfg]#did not yet manage to make a working setup using srst
#reset_config srst_only
reset_config srst_nogateadapter_nsrst_delay 400
adapter_nsrst_assert_width 100bcm2835gpio_swd_nums 25 24
bcm2835gpio_trst_num 7
bcm2835gpio_srst_num 18#bcm2835gpio_peripheral_base 0xFE000000
#bcm2835gpio_speed_coeffs 236181 60init
targets
reset halt
at91samd chip-erase
at91samd bootloader 0
flash write_image “bootloader-XIAO_m0-v3.7.0-33-g90ff611-dirty.bin”
#at91samd bootloader 8192
reset
shutdown
Let me know if you have any questions regarding the procedure (Note: I am not an openocd/swd expert)

